I'm Amanda and I’m passionate about creating a well loved and well lived in home for my family and I I'd love to help you do the same!
learn more...
hey there!
Shop
Shop
Shop
HOME
style
spring
let's connect
get on the list
never miss out.
get exclusive tips, news & free resources!
Enroll Now!
shop ART
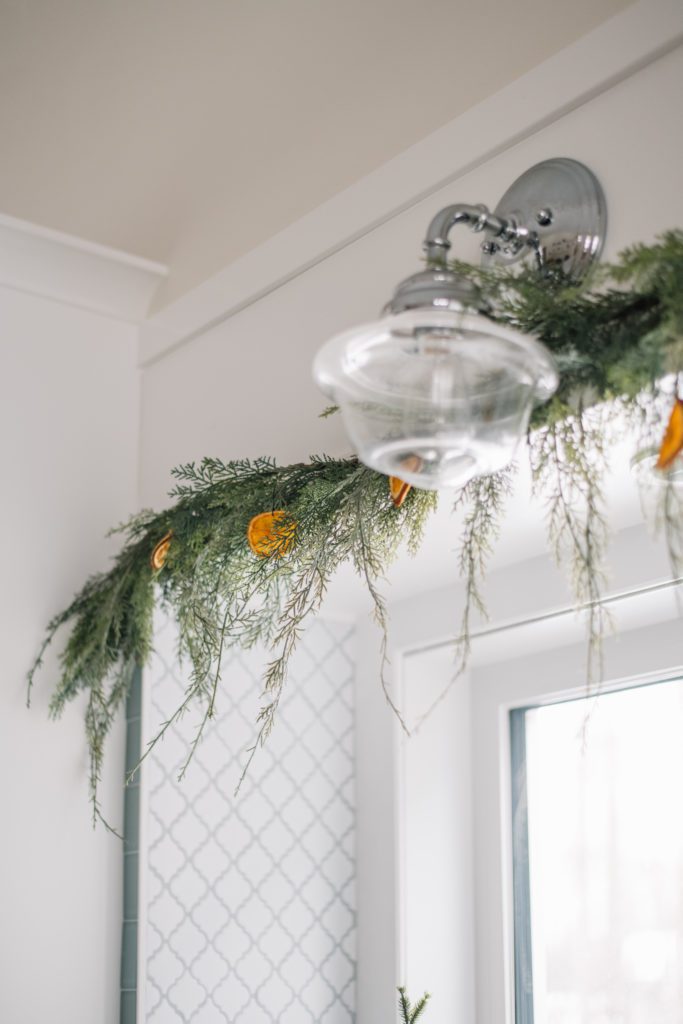
I love adding natural elements to my decor during the holiday season! Dried orange garlands add a touch of Scandinavian style and a fun pop of colour. They also make your house smell like citrus and only cost a few dollars to make! Here is a simple tutorial on how to make a dried orange garland.
Estimated reading time: 9 minutes
Note: This post may contain affiliate links that won’t change your price but may share some commission.

FREE DRIED ORANGE GARLAND RECIPE ART PRINT
Want a prettier way to print your recipe? This vintage style art print would look so good framed in the kitchen. And as a bonus, when you sign up for The Ginger Home Newsletter you get access to all my other printable freebies as well!

Dried orange garlands are so simple to make. You only need a few supplies, most of which you probably already have in your home! So let’s get cooking! Here’s what you will need to get started creating your DIY Dried Orange Garland!
Table of Contents
Dried Orange Garland Supply List
You will need:
- 4-5 large oranges
- Sharp knife
- Cutting board
- Cookie sheets
- Parchment paper
- Paper towel
- Fishing wire or twine

STEP 1 – Turn on the Oven
Preheat the oven to 225º F. I like to use the convection setting on my oven as it moves the air around more and I find I don’t necessarily need to flip the orange slices, but this is optional!
STEP 2 – Prep Cookie Sheets
Line cookie sheets with parchment paper.
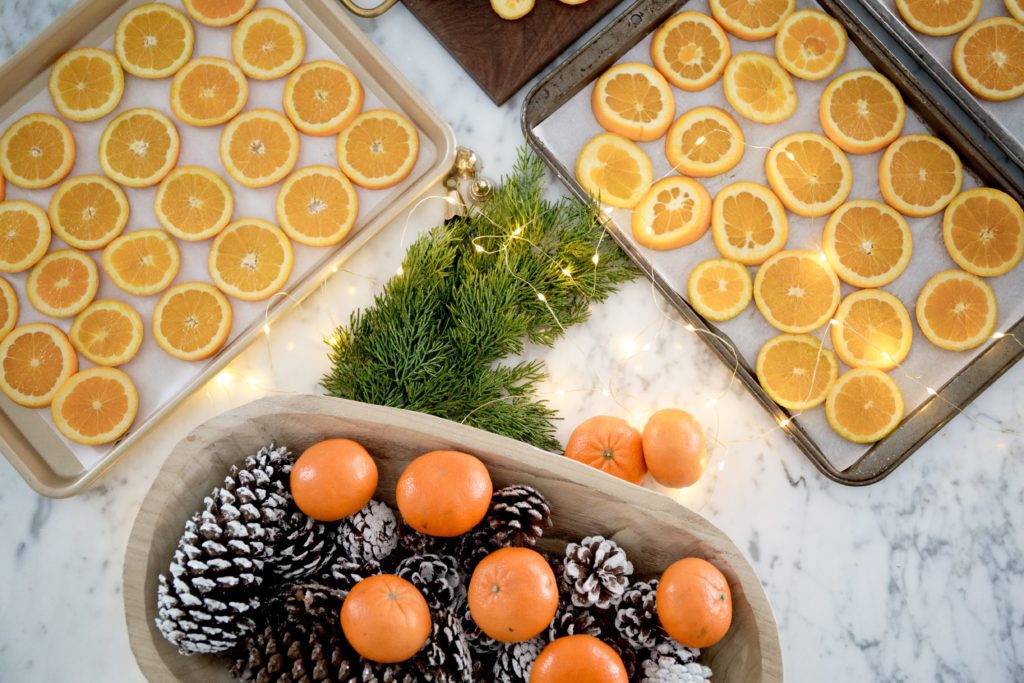
I set out three cookies sheets as I wanted to make enough orange slices to create a long garland as well as hang extra slices on Christmas trees around the house.
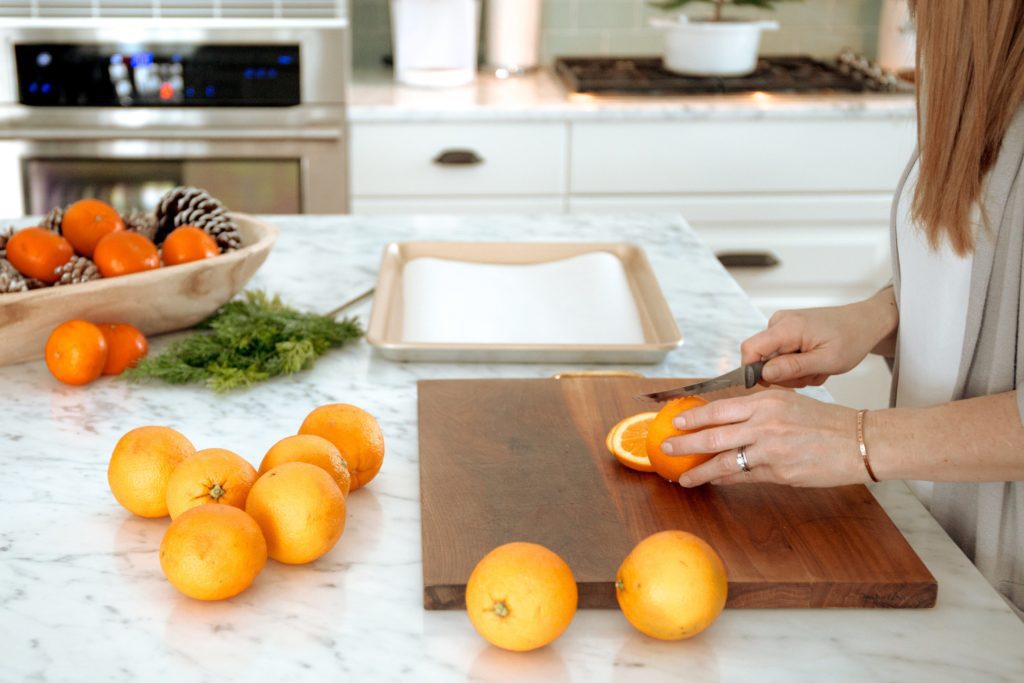
STEP 3 – Slice Oranges
Slice oranges 1/8 to 1/4 inch thick and place in a single layer on the cookie sheets.
Blot with paper towel to remove excess moisture and speed up the drying process.
STEP 4 – Bake Oranges
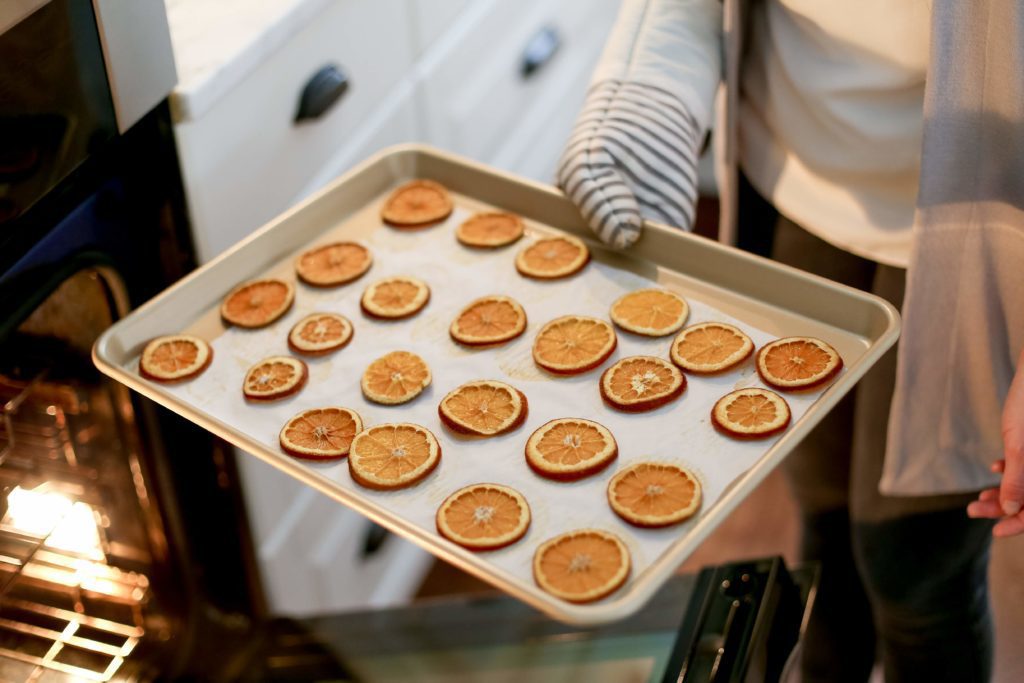
Place in the oven and bake for approximately 3 hours at 225ºF or until the oranges start to turn slightly brown and dry.
You can flip the oranges about halfway through the baking process to help them brown evenly and dry on both sides.
Note: Not all ovens are the same and lots of readers have said that they’ve needed to set their oven to a lower setting to avoid burning the orange slices. You could start as low as 170ºF and see how it goes if your oven is on the hotter side!
STEP 5 – Let Orange Slices Cool
Let the orange slices cool! They smell so good! I just let mine cool for a few hours right on the tray and then made my garlands. I figured they would just dry more hanging up. But if you wanted to, you could place them on a cooling rack and leave them out for a few days to make sure they were extra dry!

STEP 6 – String Oranges & Decorate
String the oranges onto clear fishing line. Poke the line through the flesh of the orange, not the rind!
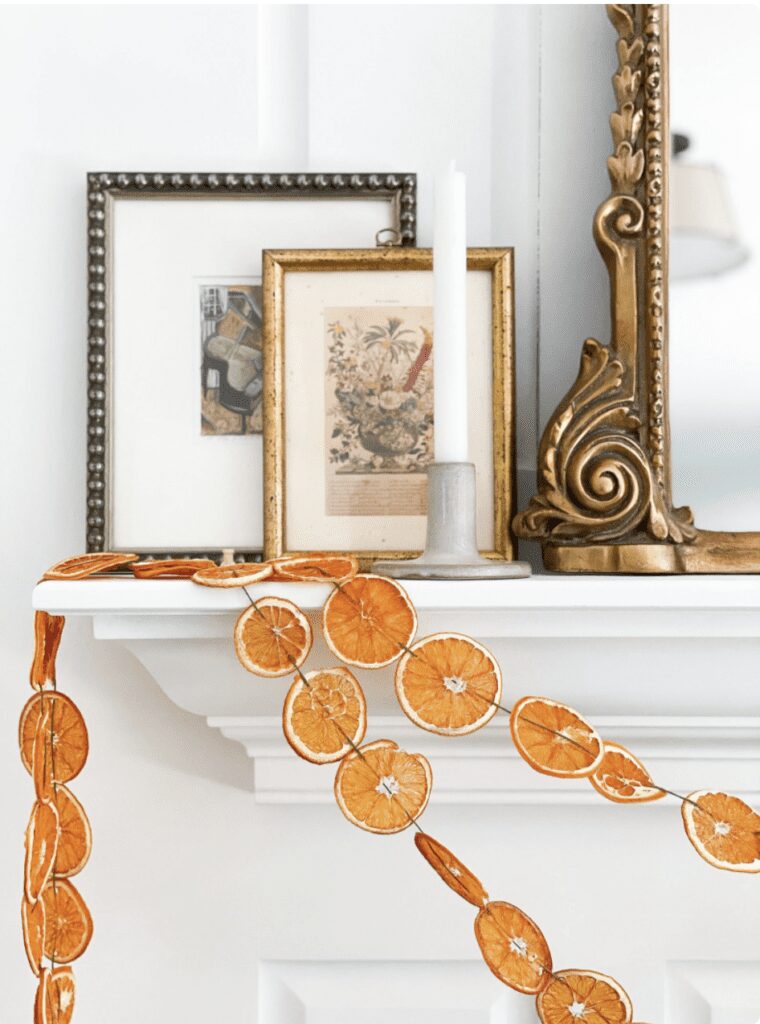
You can string them close together, or leave 1-2 inch gaps as I did for a more minimal look.
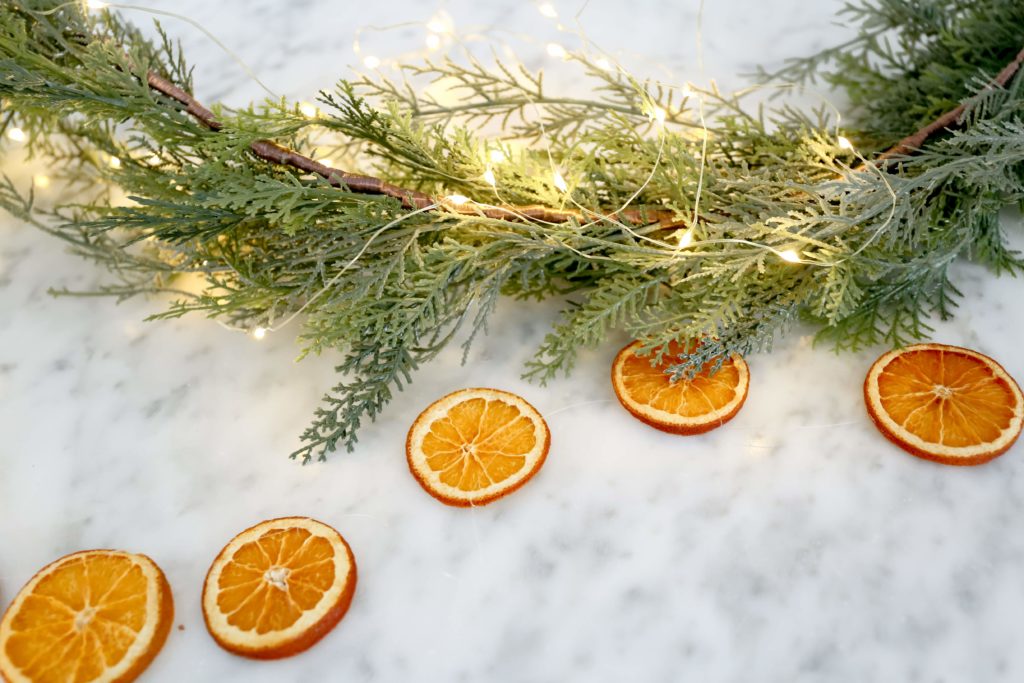
The fishing line is invisible and makes the oranges look like they are floating! Use a string of oranges to trim a cedar or fir garland as I did above our kitchen sink!

PRINTABLE DRIED ORANGE GARLAND INSTRUCTIONS
Dried Orange Garland FAQs
Here are the answers to some of the most common questions I’ve been asked about my dried orange garlands.
Dried orange garlands will last the entire season and beyond. This is another reason that they are such a great DIY. Not only are they cost-effective, but they will last the whole season unlike a lot of fresh or natural décor options.
You can keep dried orange garlands and reuse them year after year. Some readers have said they’ve kept theirs for up to 7 years! The trick is to store them in an airtight container. One reader also suggested spraying with hair spray on each side to help preserve them for longer.
I prefer to make my garlands fresh each year though as it’s so easy to do. You can compost the slices each year if you don’t want to keep them.
Dried orange garlands smell delicious as they are cooking and then they retain a slight aroma when they are dried. The smell is definitely not overwhelming, but they add a nice slightly woodsy citrus scent to your home.
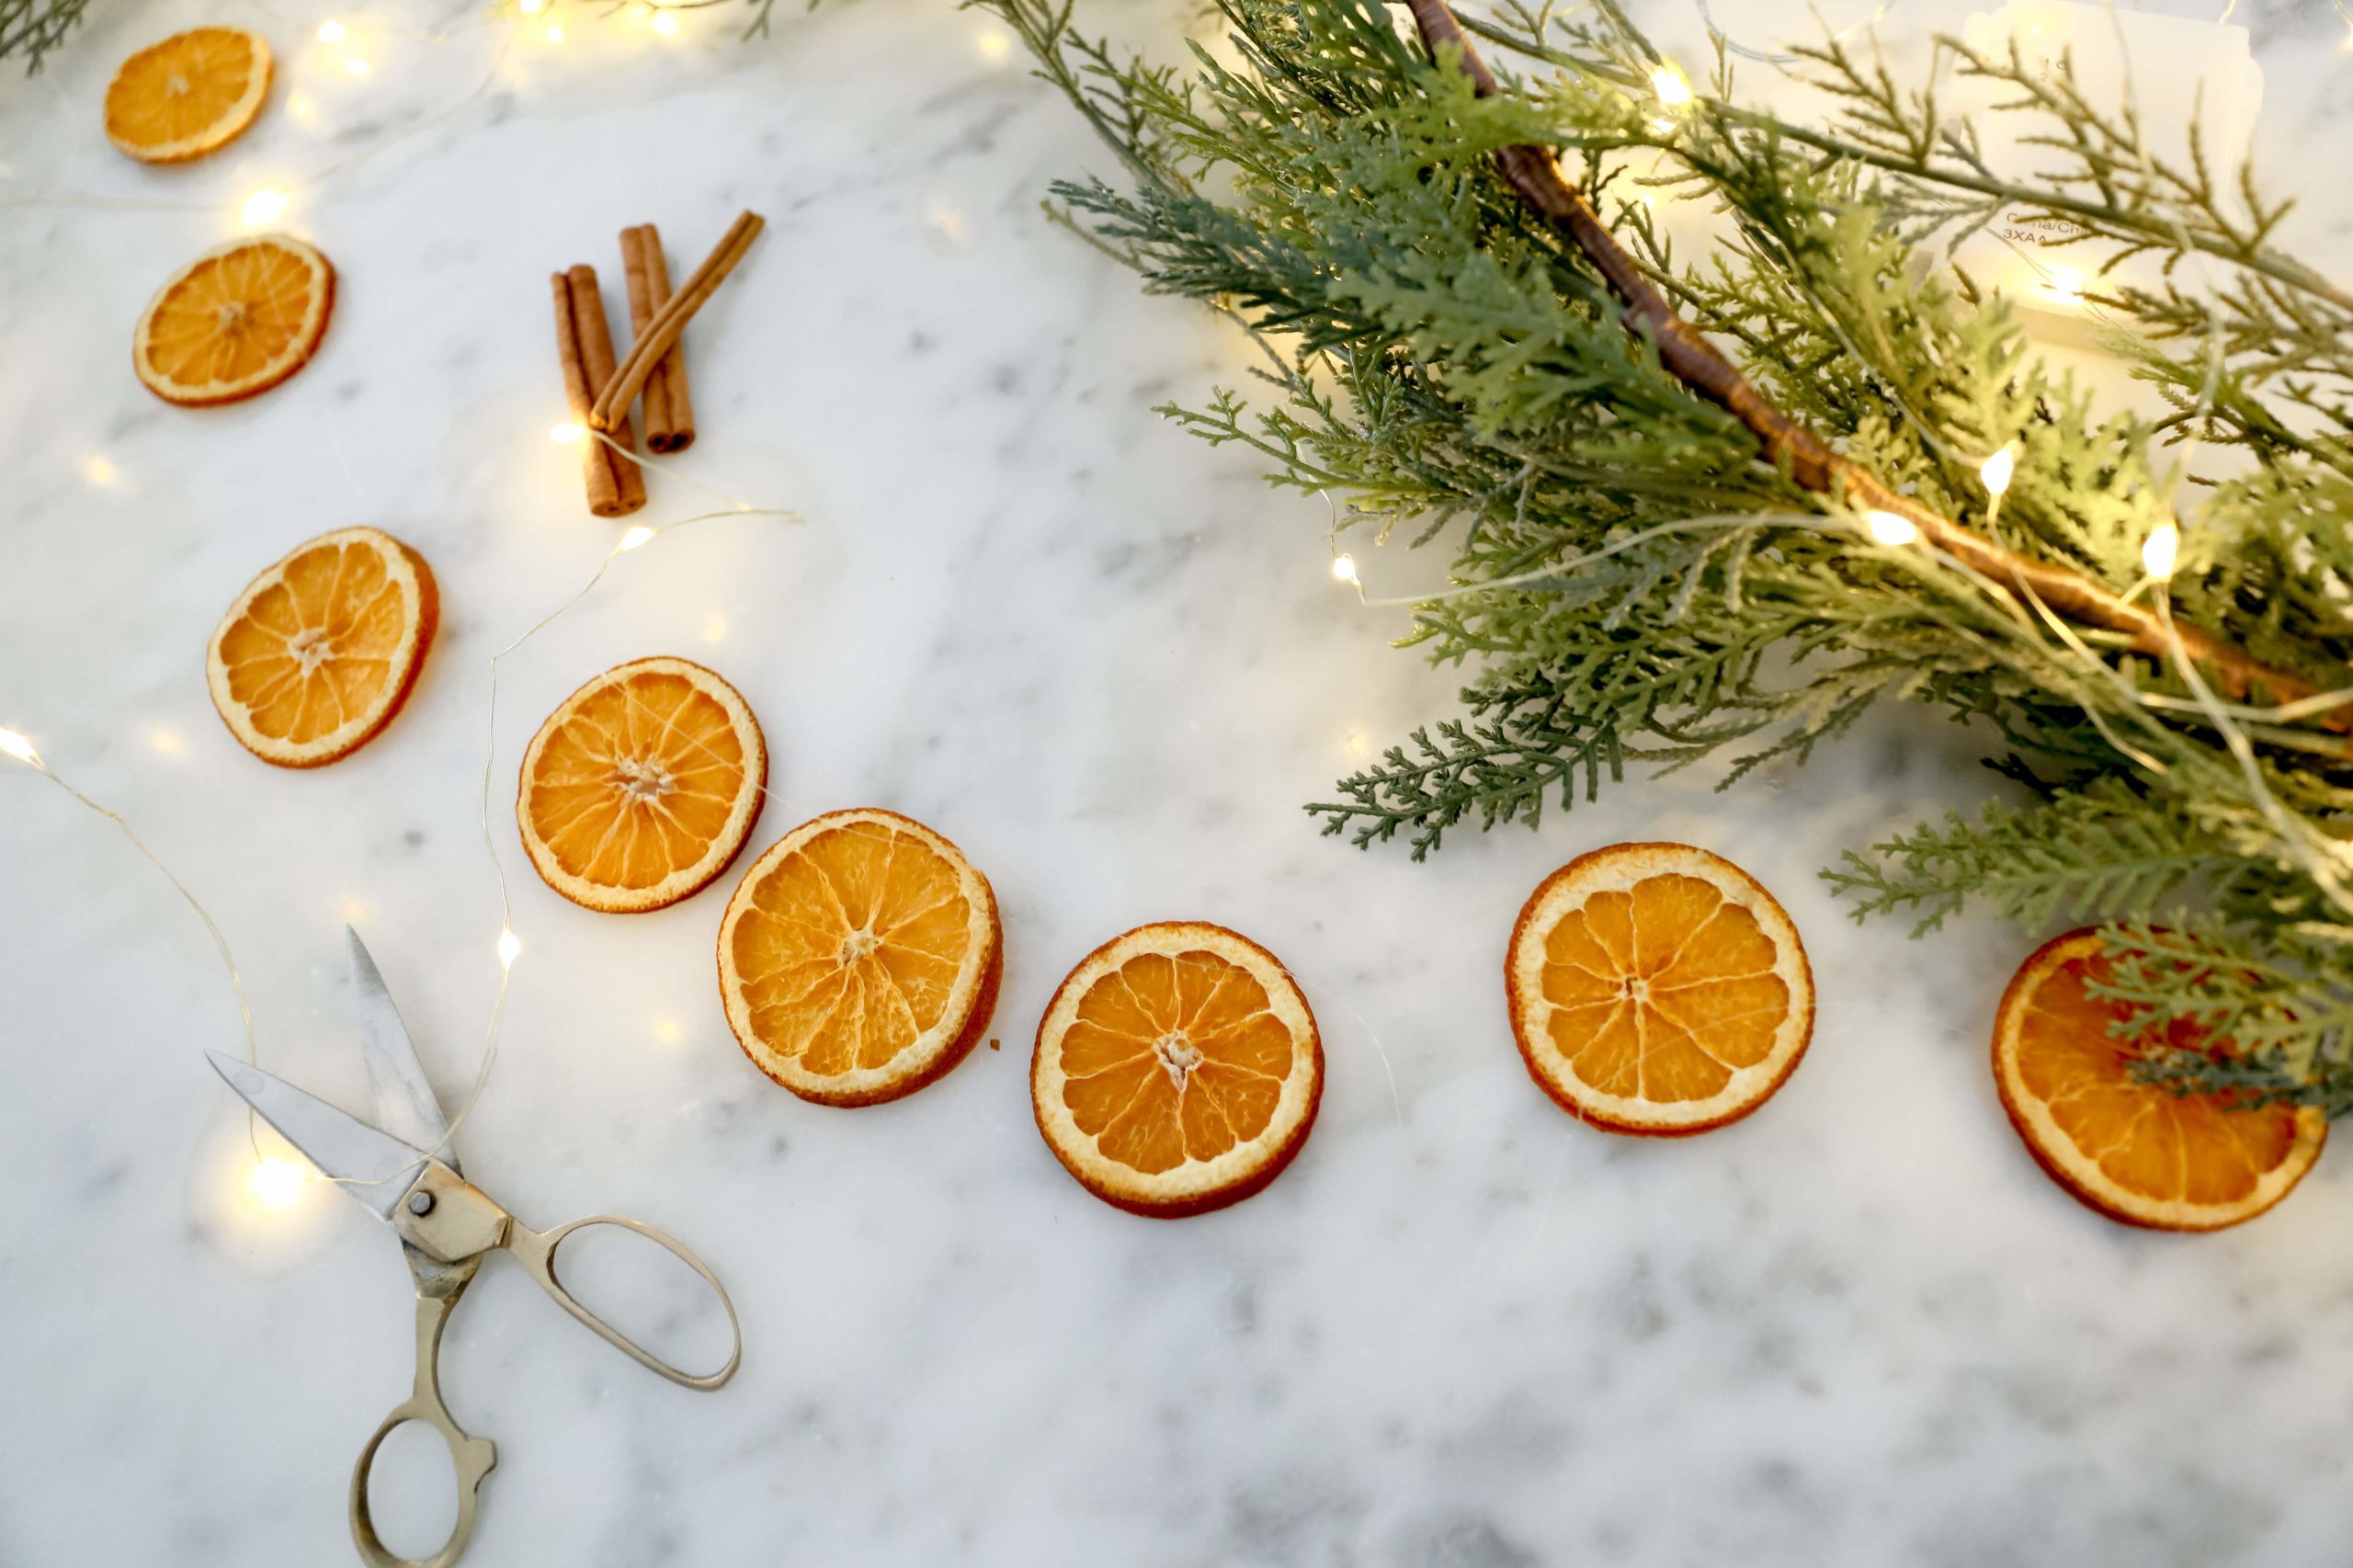
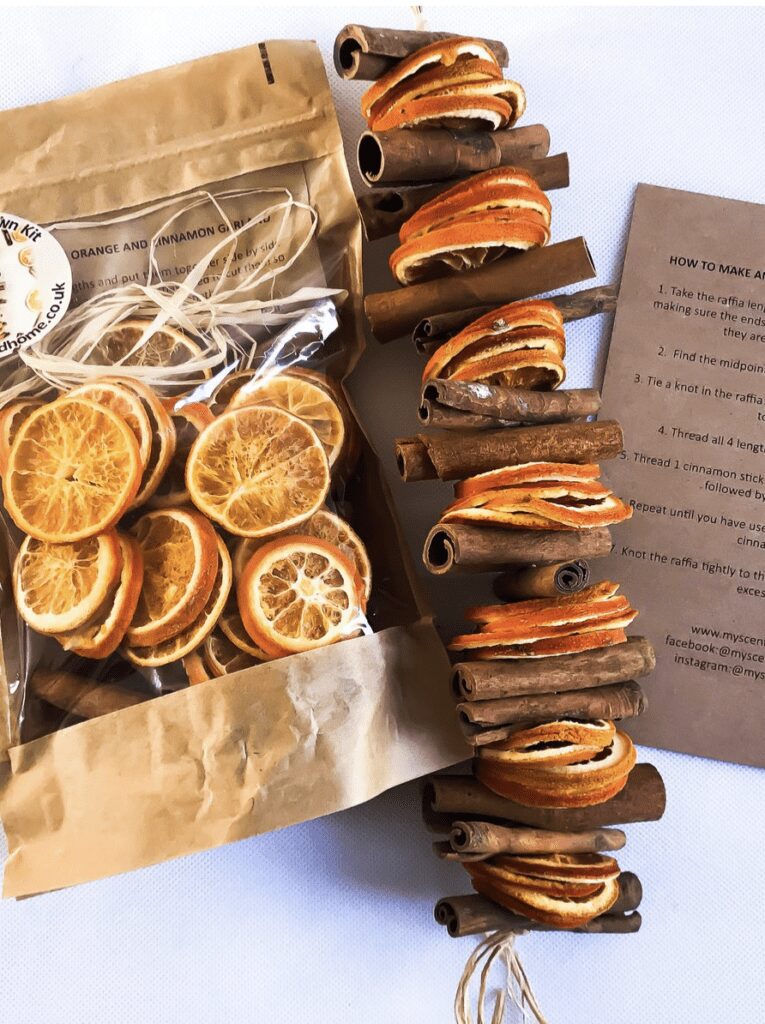
You can definitely add spices to your dried orange garland. In fact, I’m planning to add some cinnamon to mine this year to test it out! I’ve also seen lovely garlands made with cinnamon sticks, bay leaves and other dried fruits like cranberries or grapefruit if you want to spice up your garland even more!
I usually have orange garlands at Christmas time or during the fall and winter as part of my holiday décor so I don’t find that they attract any bugs. If you have fruit flies in the house they might attract them!
What to do with Leftover Dried Orange Slices
There are so many things you can do with your leftover dried orange slices! See all the ways we use our leftover dried orange slices below!
- Use them to make potpourri
- Hang them on your Christmas tree as ornaments
- Add them to your holiday porch décor
- Use them to garnish drinks
- Create your own mulling spice mix
- Add them to a wreath on your front door
- Decorate your holiday mantle
- Add them to a festive charcuterie platter
- Make orange scented vinegar to clean your house
- Grind to make orange zest
Where to Buy Dried Orange Garlands
If you don’t love DIY or you are short on time you can always buy a ready-made dried orange garland or orange slices! Etsy is my favourite place to shop for premade dried orange garlands! Amazon has a few dried orange options as well. I’ve linked a few favourite options below!
For more simple DIY garland ideas check out How to Make a Wood Bead Garland or this simple Brass Bell Garland. Or if you are feeling adventurous you could try this DIY Advent Calendar!
Getting ready for Christmas?
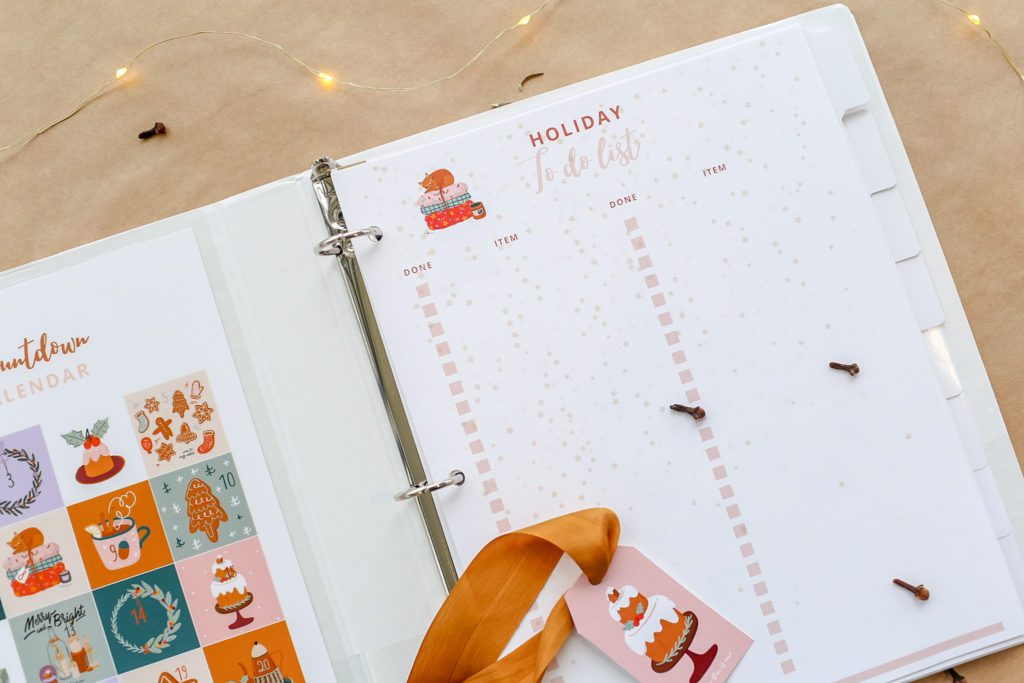
Get organized with this customizable HOLIDAY PLANNING BINDER with 25+ page templates to stay organized and on budget this holiday season! As a bonus, it comes with the cutest “December to Remember” bucket list, countdown advent calendar and colourful Christmas gift tags for free!
More Christmas Inspiration:
Leave a Reply Cancel reply
This site uses Akismet to reduce spam. Learn how your comment data is processed.
learn more...
shop favourites
HOME interior
HOME EXTERIOR
AMANDA's style
fall
WINTER
I'm Amanda and I’m passionate about creating a well loved and well lived in home for my family and I'd love to help you do the same!



Bake at what temperature?
250 degrees F
I love this idea! I can practically smell them.
How long do they last? This would be a great way to “use” citrus fruits that have gone past the point of no edible return throughout the year, but I’m wondering whether they can be preserved for the next Christmas or if they have a limited shelf life?
great question, im thinking the same! how long do they last?
I purchased some on ebay years ago. They lasted at least 7 years and then they actually got misplaced. I’m going to make them myself this year.
Oh good to know they last that long! Yes, so easy to make!
When you take the oranges out, should the middle still be a tad soft?
Mine were almost rubbery yes. They weren’t soggy anymore, but they weren’t completely hard either!
I had a couple that sat on some little trees for months and they were still good! I think if you stored them in an airtight container they could last a few seasons. But I just make them fresh each year since they are so easy and they smell good!
love the idea of dried oranges. How else can they be used? The smell must be heavenly
I made disposable tree ornaments one year, then tossed
the tree out to the birds and other animals. It was beautiful and fun
Did you flip the oranges half way through? I found the tops to be dry but the undersides to still be wet. I also found 5-6 hours at 250F to be way too long. After 3 hours I found some of my oranges to be too brown looking for my liking. I am going to try again at a lower temperature, maybe 200F and flip them after about 1.5 hours. I’d really like to keep that orange look to them 🙂
Hmm I didn’t, but I did have the convection setting on the oven running so the air was circulating more. Yes, everyone’s ovens can be so different! Flipping is a good idea to make them more even!
I did mine in my air fryer. Came out perfectly.
That’s a great idea!
Did you keep the convection oven at 250? Did you put more then one tray in?
I did and I had several trays in at once. You may have to play with the time and temp a little. Everyone’s ovens can be so different!
This is such a cool idea! What a fun project to do with kids to get ready for the holidays and winter!
Thanks for sharing! How long is it good for?
They last all season!
I’ve had mine for at least 4 years now 🙂
Could they be sprinkled with cinnamon to amplify the good smell, or would that change the color too much?
That would be yummy! Personally, I think a bit of darker cinnamon colour would be lovely!
I would recommend decreasing temperature of the oven, mine started browning after one hour. Left for 3 hours at 250 degrees F & all but 10 came out brown. Going back to the old fashioned dehydrater!
Using some cinnamon sticks and star anise adds some good fragrance and are very pretty, too. If you want to preserve after the season is finished, you can spray them with hair spray on both sides and it will seal them some. It will take a bit of the fragrance away, but if you store them in a sealed container, they will still smell quite good!
Lovely tips, thank you!
What a fun idea to do with the kids for the holidays.
When you string them on the fishing line do you have to knot each one? Do they slide together on the line?
If you leave these out so they get soft and a bit tacky after awhile?