")


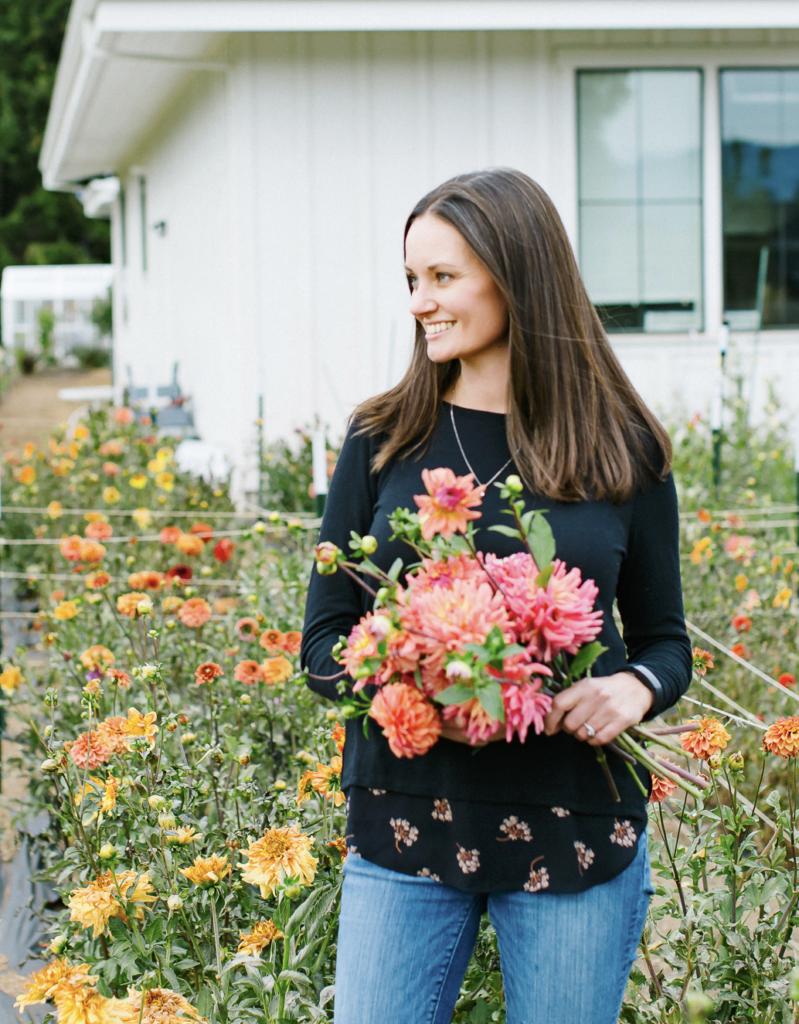
Having a cut flower garden has always been a dream of mine! But I’ve always been a little intimidated and I didn’t know where to start! So I asked my friend Jen at The Flowering Farmhouse for her advice on cut flower gardening for beginners!
Estimated reading time: 14 minutes
Note: This post may contain affiliate links that won’t change your price but may share some commission.
Table of Contents
Why Start a Cut Flower Garden
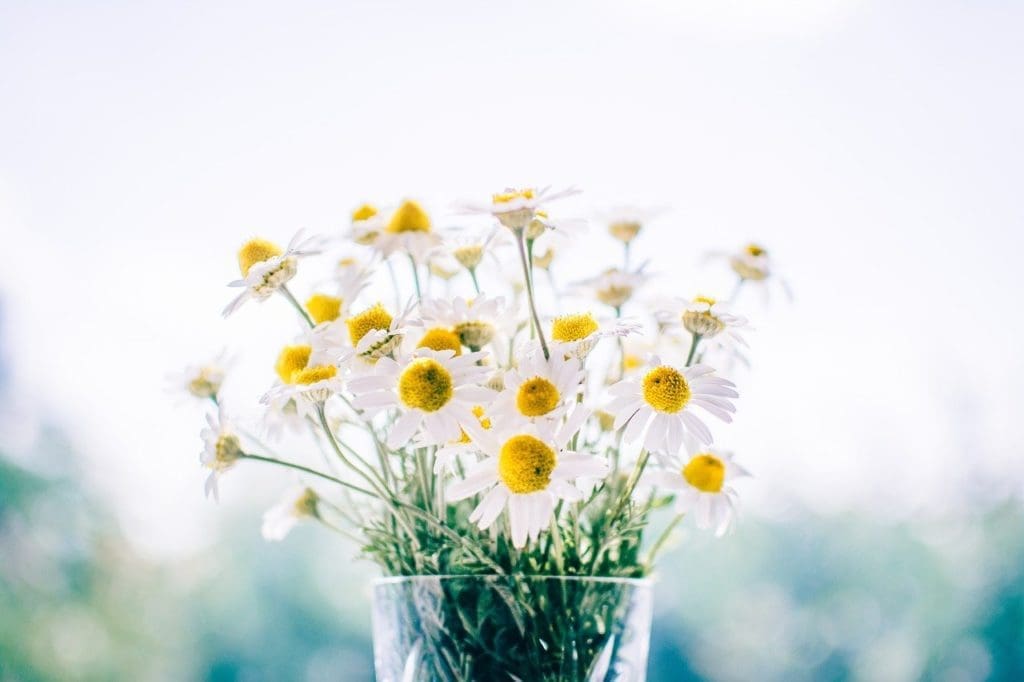
There’s something magical about walking into the garden with a pair of scissors and a bucket of water knowing that you’re about to fill your home with beautiful blooms that you’ve personally grown. Over the last decade, cut flower gardens have grown in popularity and so many are discovering the joys of having their own fresh flowers. A bouquet of flowers can transform a space or brighten someone’s day. Flowers bring joy for those who receive them, but also to those who grow them.
“To plant a garden is to believe in tomorrow.” – Audrey Hepburn
If you don’t mind getting your hands dirty then you can grow your own cut flower garden! Cut flower gardens can be as small as a few containers on your patio or as large as a field. You don’t have to be a master gardener to get started! This guide to cut flower gardening for beginners will equip you with the basic knowledge and the confidence to start your own flower garden!
Best Flowers To Grow For A Home Cutting Garden
Here are some of my favorite easy-to-grow flowers. These flowers require little effort to grow and will reward you with gorgeous blooms all summer long
#1 COSMOS
Cosmos are one of my favorite cut flowers to grow. After all danger of frost has passed, you can direct seed cosmos in your garden. Cosmos will grow quickly and produce an abundance of flowers. To encourage branching out, pinch the center stem when the plant is about 12’’ tall. Be sure to cut Cosmos regularly to encourage new growth. Cosmos come in a variety of shapes and colors. My favorite varieties of cosmos include Double Click and Cupcake Blush. To extend the vase life of your cosmos, be sure to cut them as the blooms are just starting to open.
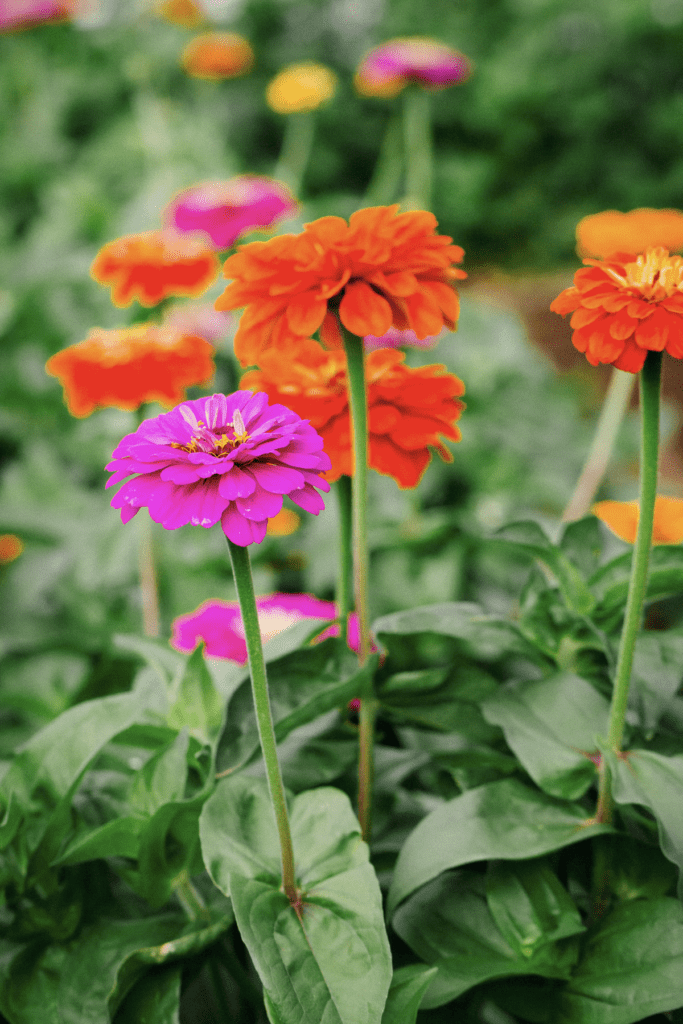
#2 ZINNIAS
Zinnias are one of the easiest flowers to grow. When starting from seed, be sure to avoid the dwarf varieties as they will not produce stems long enough for cutting. Zinnias can be planted after all danger of frost has passed. Once the plant reaches 10-12’’ tall, pinch off the top of the center stem to encourage the plant to branch out (produce more stems). Zinnias can be picked once the stem is no longer soft and floppy.
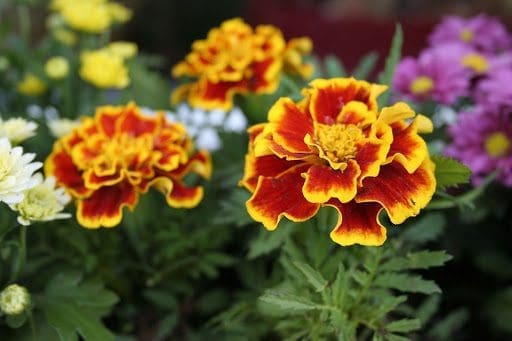
#3 MARIGOLDS
Marigolds are another easy to grow cut flower. These flowers are also great for deterring unwanted bugs and pests from your garden. Marigolds are another flower that you want to pinch to encourage branching and more stems. The foliage on Marigolds also makes for great filler in bouquets.
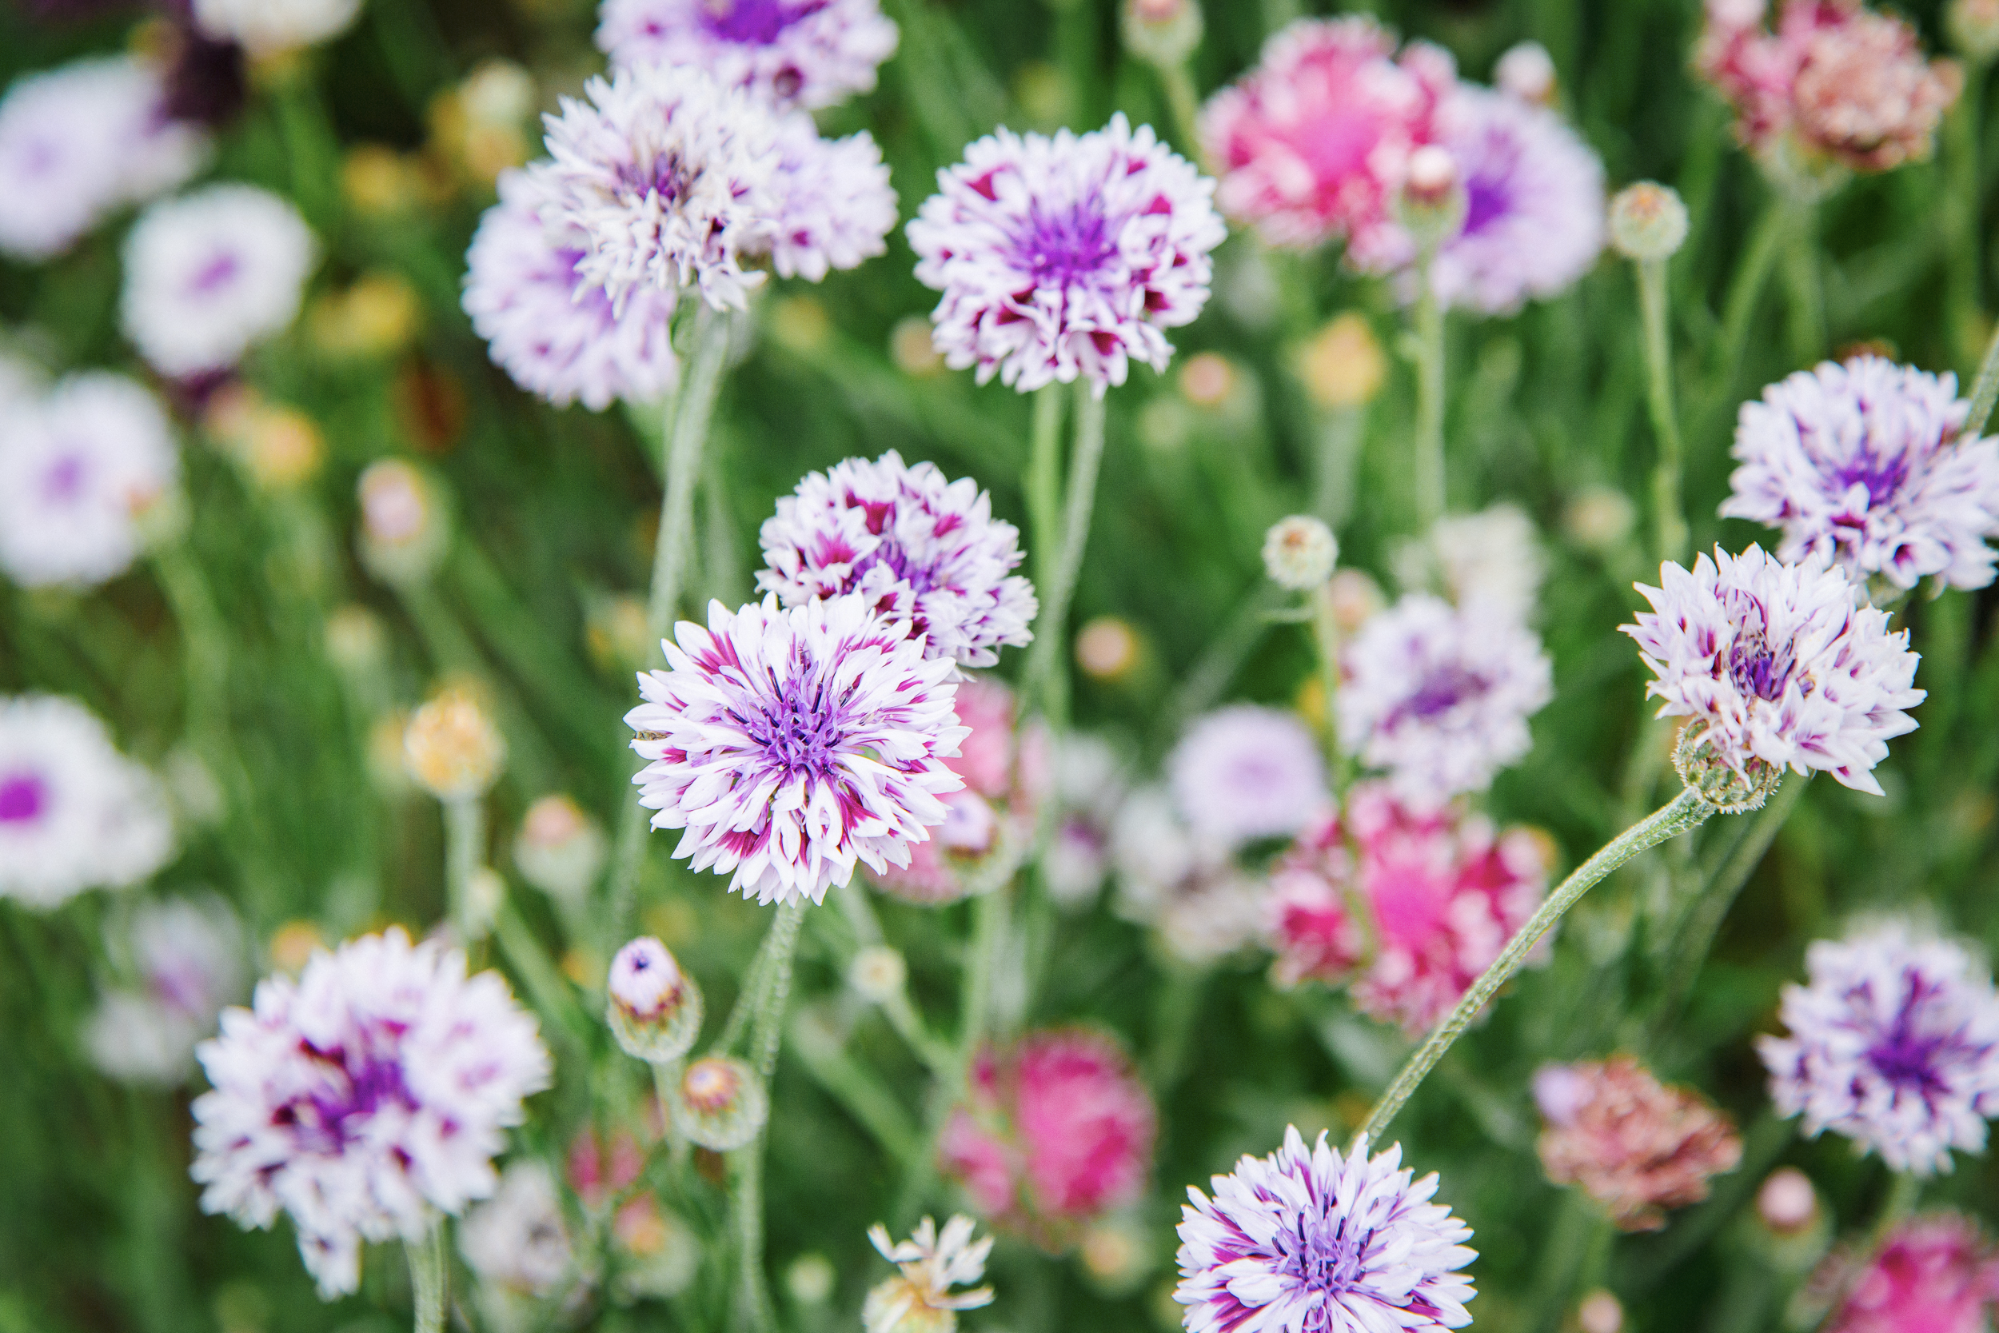
#4 BACHELOR BUTTONS
Bachelor Buttons produce an abundance of little flowers and make great bouquet filler. Bachelor buttons do need to be direct seeded after all danger of frost has passed and do not like to be transplanted. Be sure to cut your bachelor buttons frequently to encourage new growth.

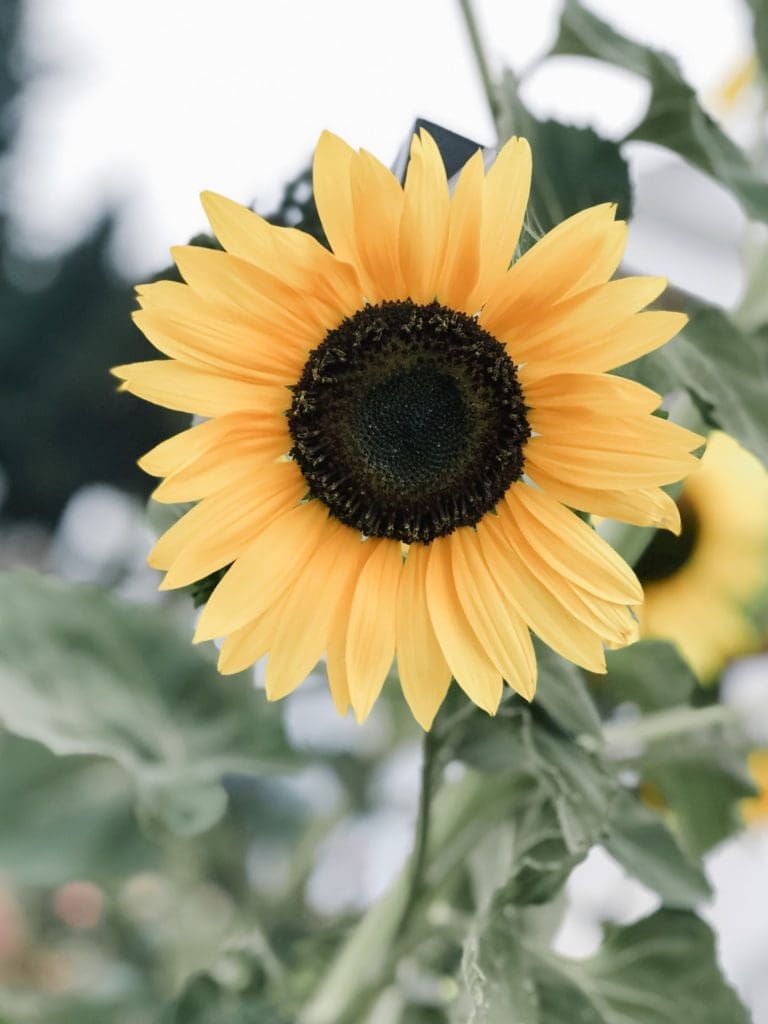
#5 SUNFLOWERS
There are two types of sunflowers: single stem and branching sunflowers. Single stem sunflowers produce one flower and then they are done. Branching sunflowers produce an abundance of smaller flowers. You do not pinch single stem sunflowers, but you do want to pinch branching sunflowers. Sunflowers can grow quite large and may require staking if you live in an area with windy conditions. You can also encourage smaller stems by planting your sunflowers closer together. I plant my single stem sunflowers about 6’’ apart. Sunflowers can be sown throughout the summer so that you have blooms all summer long. Harvest sunflowers as the blooms are just starting to open up.
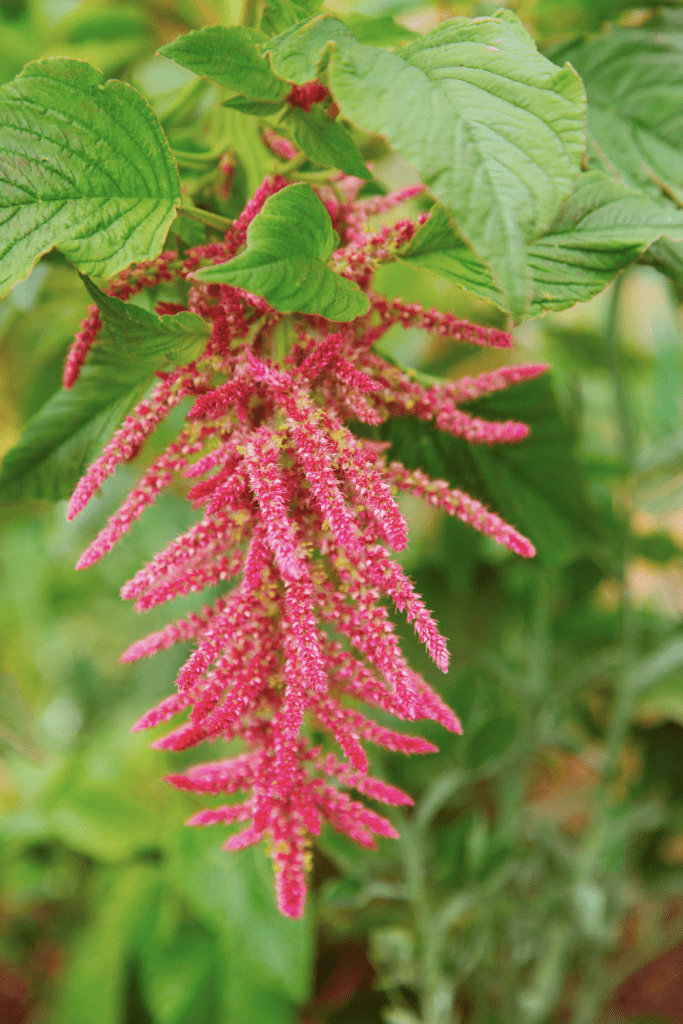
#6 AMARANTH
Amaranth is a productive and easy to grow cut-flower. These plants can get quite large just like sunflowers. I personally love the texture that amaranth adds to a home bouquet. Amaranth is usually either a deep burgundy or green plant. I prefer to grow the deep burgundy, Amaranth Opopeo. I like to add this variety to my late summer bouquets along with dahlias. Amaranth can either be started indoors or directed seeded after all danger of frost has passed.
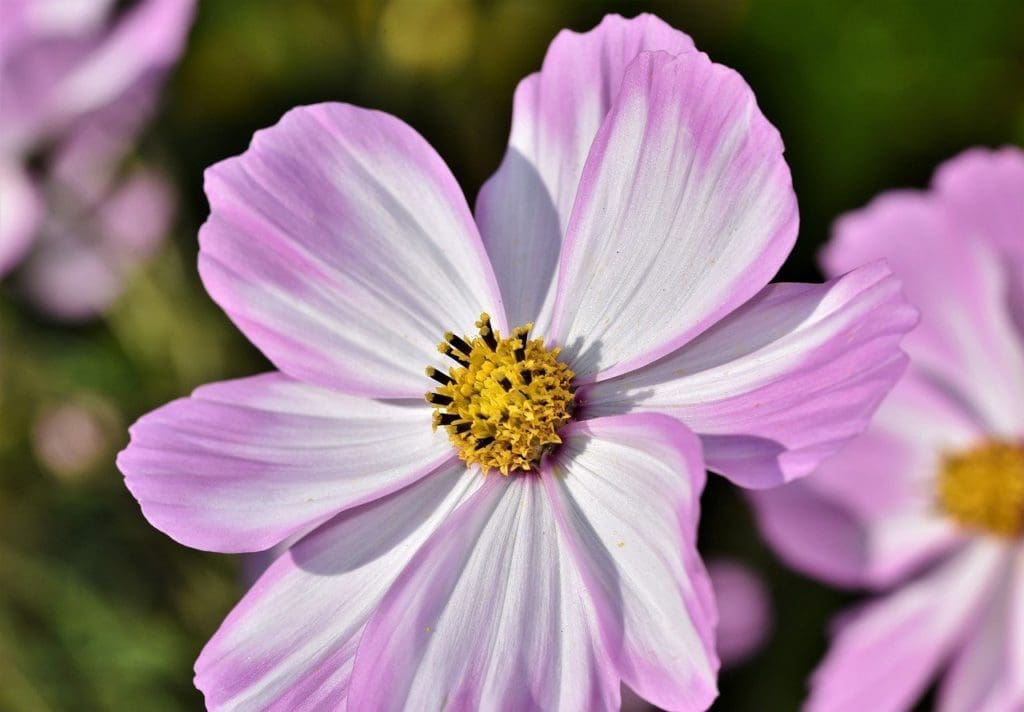
As you begin to explore flower gardening you will discover that there are hundreds of varieties of beautiful blooms to try! Some of my favorite cut flowers include dahlias and sweet peas. Both of these flowers produce an abundance of blooms but are more difficult to grow than the flowers listed above. Start simple, but don’t be afraid to try something new as you get the hang of it!
Where to Get Seeds & Starts
You probably see flower seeds for sale everywhere from grocery stores to home improvement stores to local nurseries. Starting with quality seeds and plant starts is important for the health of your garden. Quality seeds and starts are grown by reputable growers, are free of pesticides and diseases and have proven success for cut flower gardens.
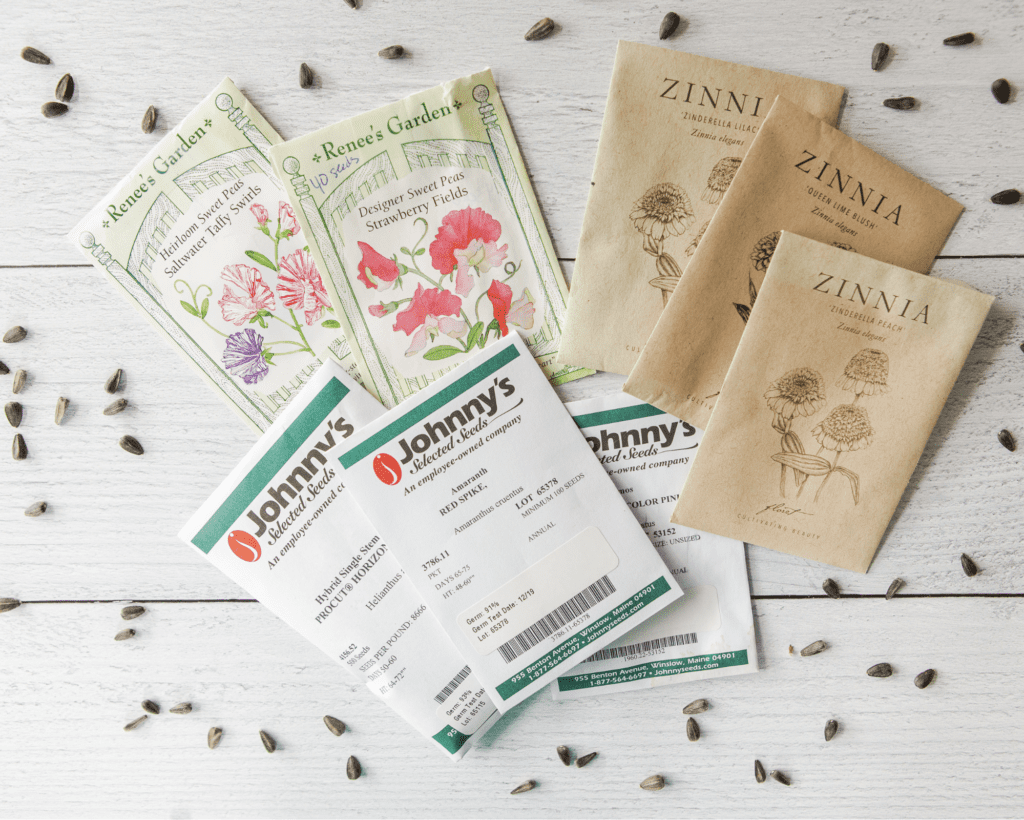
Here are a few of my favorite sources:
Flower Seed Suppliers
West Coast Seeds (CANADA)
Ontario Seed Company (CANADA)
Flower Bulbs, Perennials, and Roses
Van Noort (CANADA)
Where to Plant Flowers
Planting flowers is fairly simple however, there are a couple of key things to keep in mind:
SOIL HEALTH
One of the most important parts of growing beautiful blooms is soil health. Before deciding where to plant your flowers, you need to know your soil. Do you have rock soil? Do you have poor drainage? Most flower seed packets will tell you the type of growing conditions required. In general, when planting seeds you want an area that has good drainage and healthy soil. It’s a good idea to perform a soil test before planting to see what amendments are needed. You can buy inexpensive soil test kits. Some areas even have a local garden resource center that will test your soil conditions for you. Most first-year growers will skip this step and realize later how important soil health is.
SUN
You need to make sure your flowers receive the right amount of sunlight each day. Some flowers require full sun whereas others need shade. The back of your seed packet should outline these growing requirements.
Hardiness and Zone
On the first warm, sunny day of spring, it can be tempting to put a few seeds in the ground. However, it’s important to know your area’s hardiness zone for growing. Hardiness zones are determined by your area’s 30-year average last frost and are used as guidance for when it’s safe to plant. In the U.S. you can check your Hardiness Zone by using the USDA Plant Hardiness Zone Map. In Canada check out the Natural Resources Canada issued Hardiness Zones.
Some annuals like Bells of Ireland and Larkspur are considered “hardy annuals” and they can often be direct-seeded before your average last frost date. Most seed packets will have directions for when you should plant. They will often say direct seed after all dangers of frost have passed OR direct seed 4 to 6 weeks prior to your last average frost date. If you are fortunate enough to have a heated greenhouse or grow lights, you can start your seeds as early as 8-10 weeks prior to your last frost date. Starting your seeds indoors allows you to get a jump start on the growing season and have blooms earlier and longer.
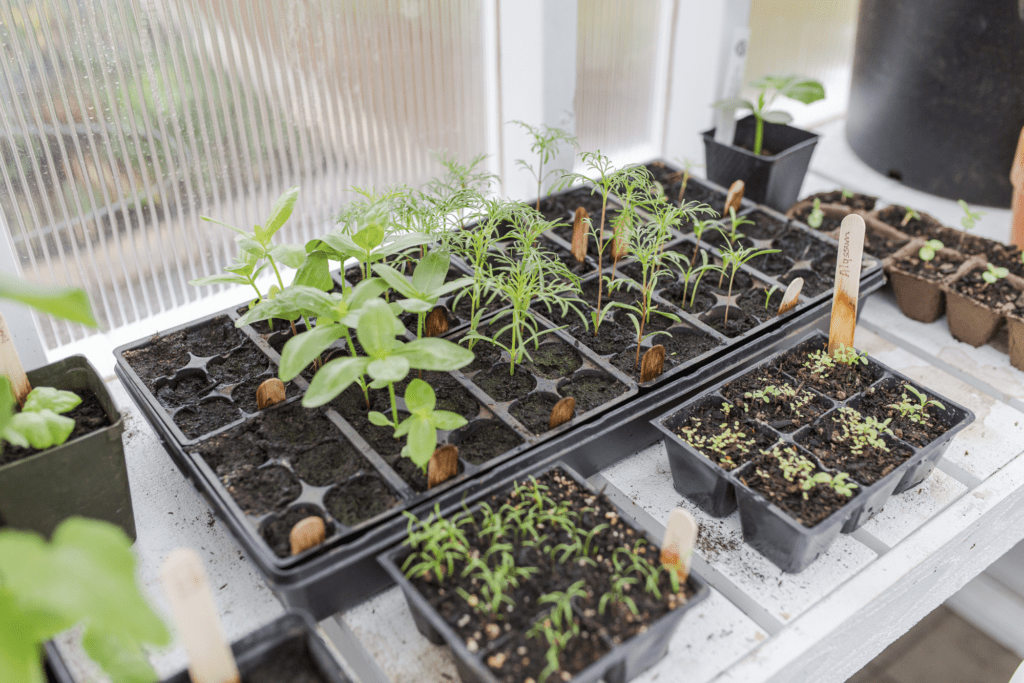
Caring For Your Cutting Garden
To have a successful and abundant cutting garden, you will need to tend to your plants on a regular basis. There are many environmental factors that will impact your plants’ ability to grow. Plants need regular water and it’s important to make sure you don’t over or under water. Ideally, your flower garden should be watered in the morning hours so that they have time for the roots to soak up the water before the heat of the day. Most plants benefit from irrigation systems versus overhead watering. Zinnias for example are very susceptible to powdery mildew, which can often form as a result of evening watering or overhead watering.
Your plants also need food while they are growing. There are many types of fertilizers available for plants. I prefer to feed my plants a compost tea (a mixture of earthworm casings) that I spray on once per week during the growing season. I spray the plants in the early morning so that the compost tea does not burn the leaves in the heat of the day.
Keeping Pests Out of Your Cut Flower Garden
You may be surprised at how many pests show up to feast on your cut flower garden. Keeping pests out of your garden will be one of the biggest tasks you will face. I personally avoid any harsh chemicals and follow an organic approach to keeping my garden pest-free. My favorite organic spray for controlling pests and also disease is Neem Oil. When using Neem Oil, it’s important that you do not spray on any bees that are active in your garden as it’s extremely toxic to them. Neem Oil is great at controlling aphids, spider mites, whiteflies, blackspot, and powdery mildew.
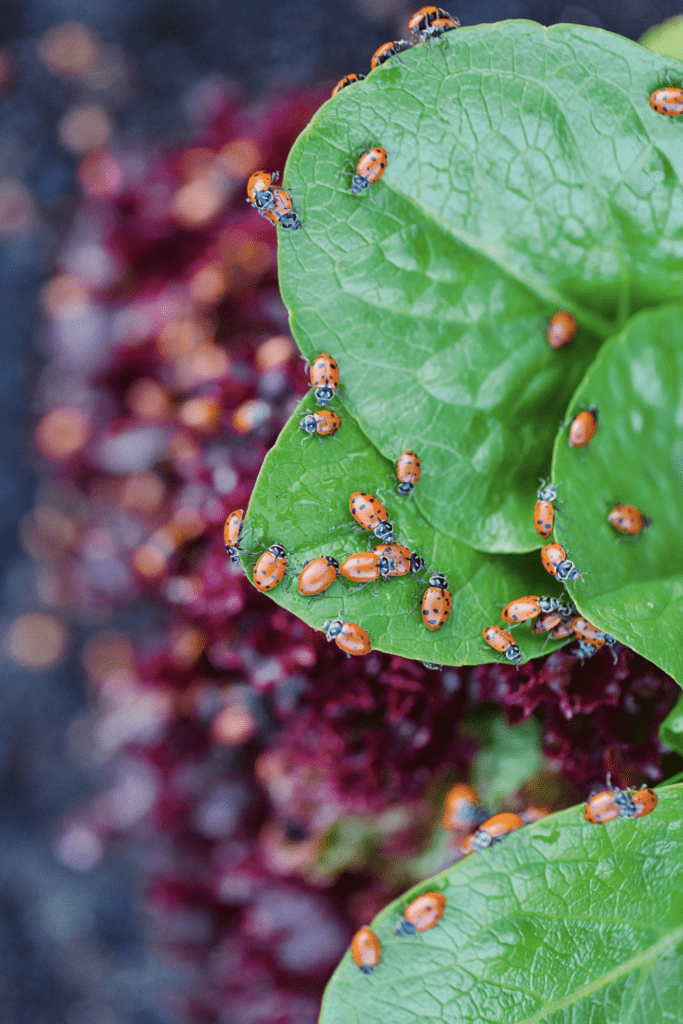
Ladybugs are also a great organic way to keep pests out of your cut flower garden. Each ladybug will devour thousands of aphids! Each year we release ladybugs into our garden (Watch us release them here!). Ladybugs also lay their eggs in your garden and after several weeks you’ll find a new emergence of hungry ladybugs waiting to eat the pests in your garden. For more information check out Keeping Your Garden Pest Free Using Ladybugs.
If you are curious about the different bugs lurking in your garden, I recommend the book “Good Bug, Bad Bug”. It identifies common pests and beneficial insects in your garden. It also provides great recommendations for organically controlling the pests listed in the book.
Cutting And Arranging Your Flowers
Once your garden is producing blooms, it’s time to start cutting and arranging your flowers! At first, it may seem hard to cut your beautiful blooming plants, but remember this is a cutting garden. The more you cut, the more blooms you will have! For flower arranging tips check out How to Create A Perfectly Undone Floral Arrangement!
Best Time of Day To Cut Flowers
Make sure you cut your flowers either in the early morning or late evening to prevent wilting. Be sure to use a clean, sharp pair of garden shears. Take a clean bucket of water into the garden with you as well so you can immediately put your stems in water. Be sure to cut deep to encourage longer stems and strip the leaves so that only the stem is touching the water.
Fill your bucket with as many cut flowers as you want and then bring them inside to a cool, dark place to rehydrate before arranging.
TIP: Do not store your cut flowers in a fridge that also has fruits and vegetables as they release toxins that will cause your flowers to wilt.
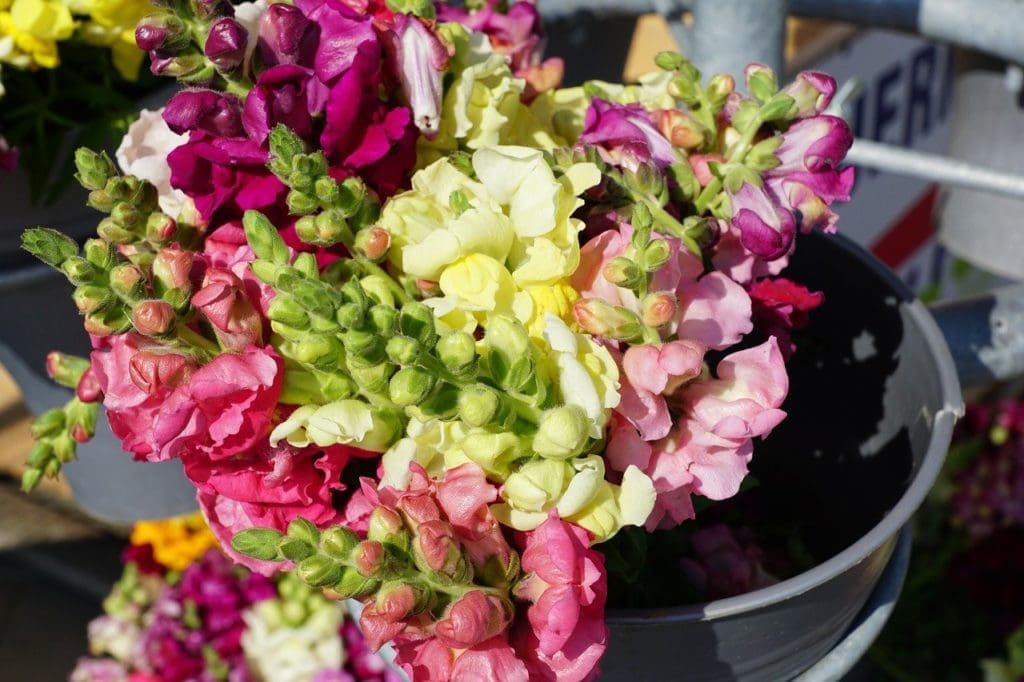
Arranging Your Cut Flowers
After your flowers have had several hours to rehydrate, you can begin arranging them. Have fun arranging your flowers! Try different vases or non-traditional vessels like milk jugs or mugs for different looks. Sometimes a single flower can make a great statement by itself!
For more tips on flower arranging watch Jen put together this beautiful arrangement with flowers from her garden :
TIP: To prolong the life of your cut flowers, you should change the water every few days. Some people also prefer to add floral preservatives such as FloraLife or Chrysal Flower Food. You can also make your own homemade flower preservative.
About The Flowering Farmhouse
Now you are ready to start your own cut flower garden! The very best way to learn how to grow flowers is by diving in and getting your hands dirty. Learn by doing! It’s so rewarding to watch your own flower garden grow from seed and to enjoy beautiful, fresh-cut flowers all summer long!
About The Author
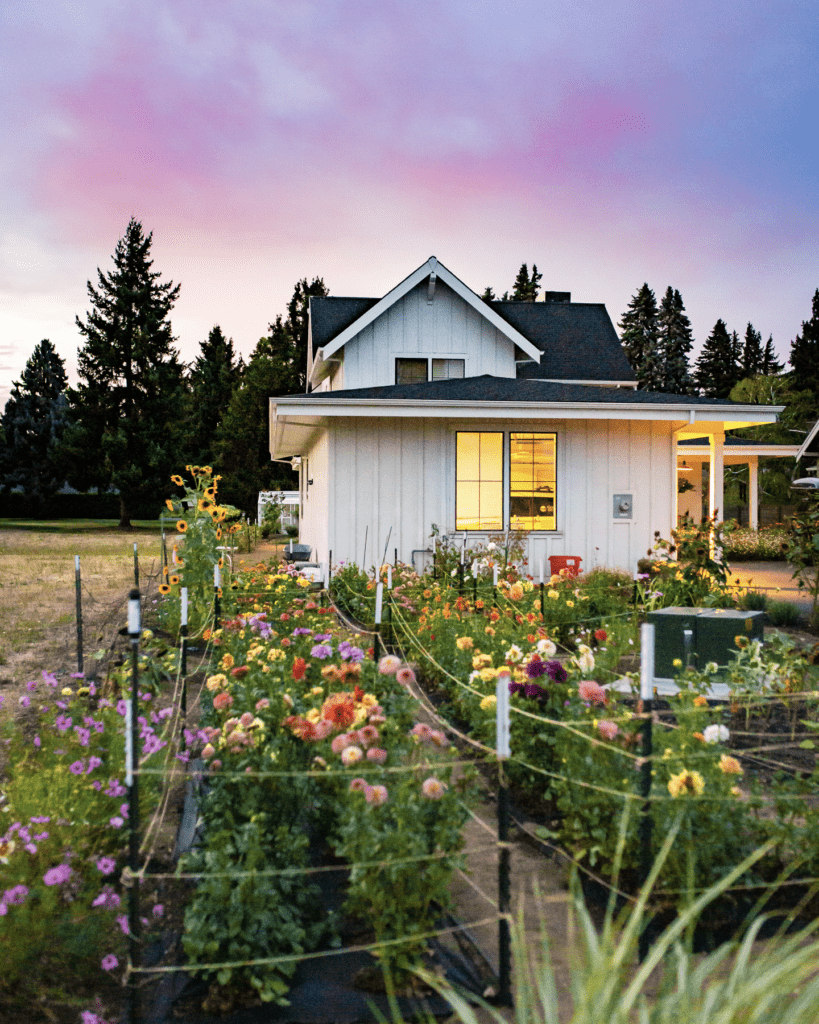
Jennifer Gulizia is a small-scale flower farmer who lives in Hood River, Oregon. Since she was a young child, Jennifer has been drawn to growing flowers. In 2014 she planted a garden with 16 dahlias and turned those 16 tubers into 200+ tubers over several years. Her fascination with growing flowers led to her to start her own flower farm in 2019. Now she grows 30+ varieties of perennials and annuals on her ¼ acre flower farm. To learn more about Jennifer and The Flowering Farmhouse, be sure to visit The Flowering Farmhouse.
Make sure to check more gardening tips and DIYs from these amazing bloggers:
How to Start a Hydrangea Plant – Happy Happy Nester
Cut Flower Gardening – The Ginger Home
Most Common Garden Tools And Their Uses – Shabbyfufu
Unique Container Ideas For Garden Planting – Sanctuary Home Decor
How to Grow Fresh Tomatoes – My 100 Year Old Home
Simple Tips from a Green Thumber – Craftberry Bush
Make the Most of Your Small Garden – Most Lovely Things
How to Use Ornamental Grasses in Your Landscaping – The Happy Housie
Anthropologie-Inspired Succulent Planter – Modern Glam
3 Tips For Creating Window Boxes and Planters – Lemon Grove Lane
DIY Succulent Garden Cake – My Sweet Savannah
Small Space Gardening – Dreaming of Homemaking
Garden Design and Trellis DIY – Finding Lovely
Lake House Garden with Peonies – Styled With Lace
How to Fill A Raised Garden Bed and Save Soil – Twelve on Main
I hope you’ve enjoyed this simple guide to cut flower gardening for beginners!
MORE GOOD READS:

Thank you so much for allowing me the opportunity to do a guest post on your blog! I hope these tips are helpful as people are getting started!
Thanks for such a helpful post Jen! Your garden is so beautiful!!
Thanks so much for these great tips!! I am starting a cut flower garden this year and your advice helped so much!!
Oh I can’t wait to see! I’m sure it will be amazing!!
Such a great idea and your garden is so pretty!
Thankyou! Jen’s garden is so inspiring!!
Jennifer’s flower garden is so fantastic! Now I have a resource for when we create a cut garden next year! Thanks for the great blog post!
Yes, I’m hoping to start a small one next year too!!
So many wonderful tips on getting started with a cutting garden. it has always been a dream of mine! I love the idea of walkiing into the garden with clippers and a bucket of water to fill and then make small arrangements for all over the house and to give to friends
Me too! So magical to harvest from your own garden!
Wow! Her garden is truly gorgeous! I love the idea of growing a cutting garden. Thanks for the ideas and tips!
How do you keep rabbits from eating your flowers?
Hi! Jen says that bunnies are tough! There are some pellets you can buy, but the best bet is to grow varieties that they don’t like or to raise and fence your beds!