I'm Amanda and I’m passionate about creating a well loved and well lived in home for my family and I I'd love to help you do the same!
learn more...
hey there!
Shop
Shop
Shop
HOME
style
spring
let's connect
get on the list
never miss out.
get exclusive tips, news & free resources!
Enroll Now!
shop ART
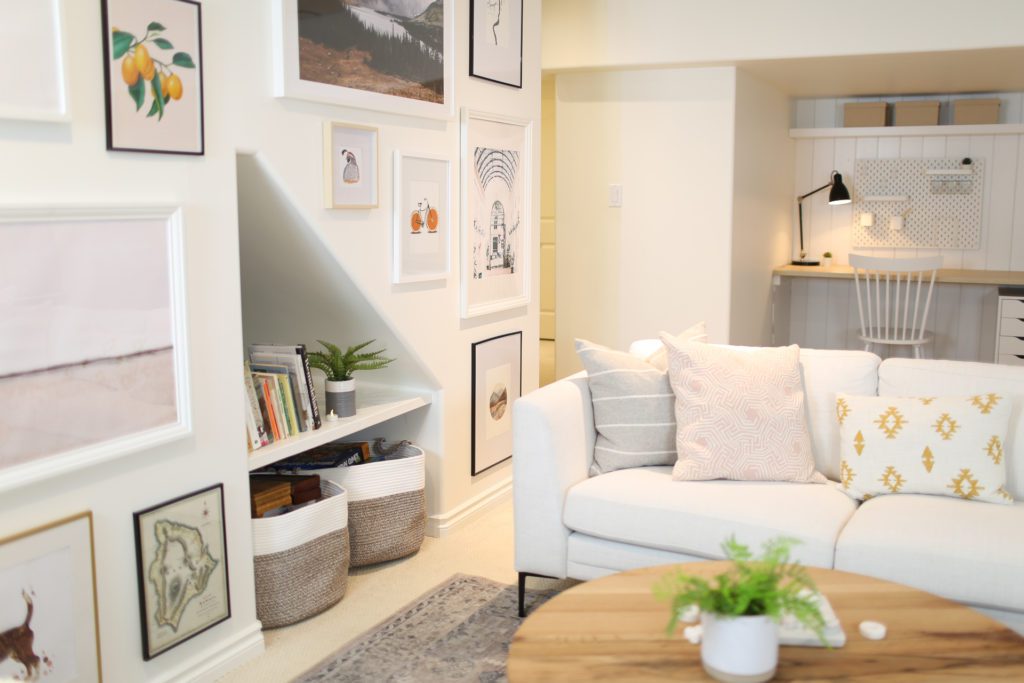
We’ve been spending so much time at home lately (yep it’s 2020) that we decided we needed to finally tackle our basement family room space. We wanted to make it functional and enjoyable so that the kids would actually to want to spend time down there. We are so happy with how it turned out and we spend hours now as a family watching movies, playing board games or finishing homework!
Estimated reading time: 14 minutes
Note: This post may contain affiliate links that won’t change your price but may share some commission.
Table of Contents
Basement Family Room Before
Our basement almost doubles our living space in our small bungalow, so it was necessary to use it even though it was badly designed! We had low hanging ducts, teleposts in awkward places and zero finishing to deal with when we moved in. This is the only picture I could find, but you get the point!
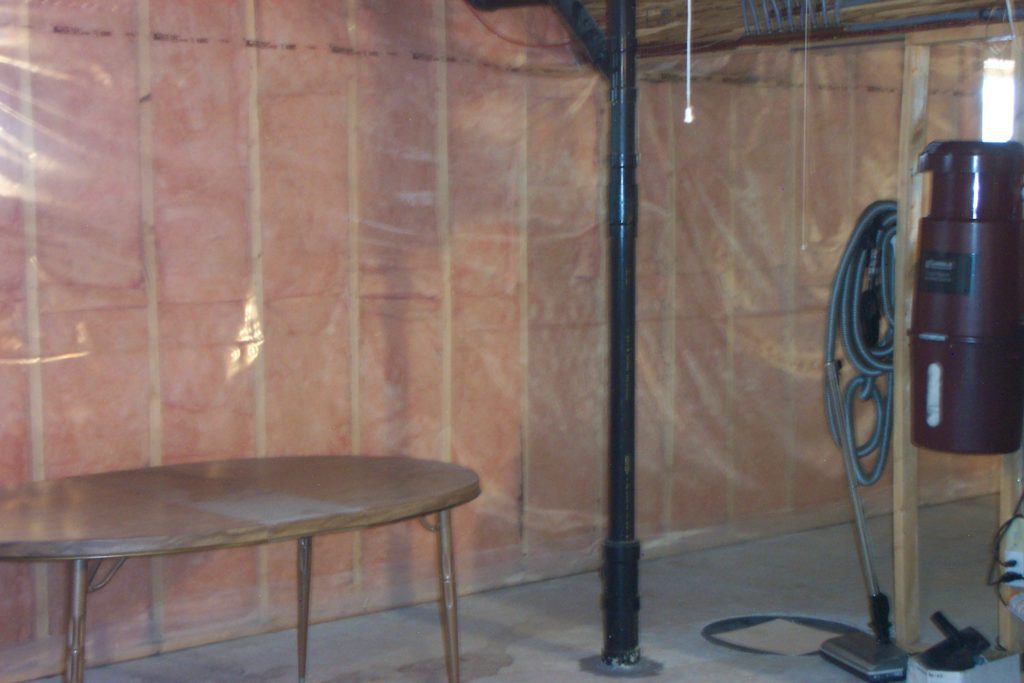
We did renovate the basement in 2009 (one of the first projects we tackled when we moved in). But the family room was last on the priority list and was never fully finished. Once the walls, flooring etc… were in we never got around to actually decorating and furnishing the space.
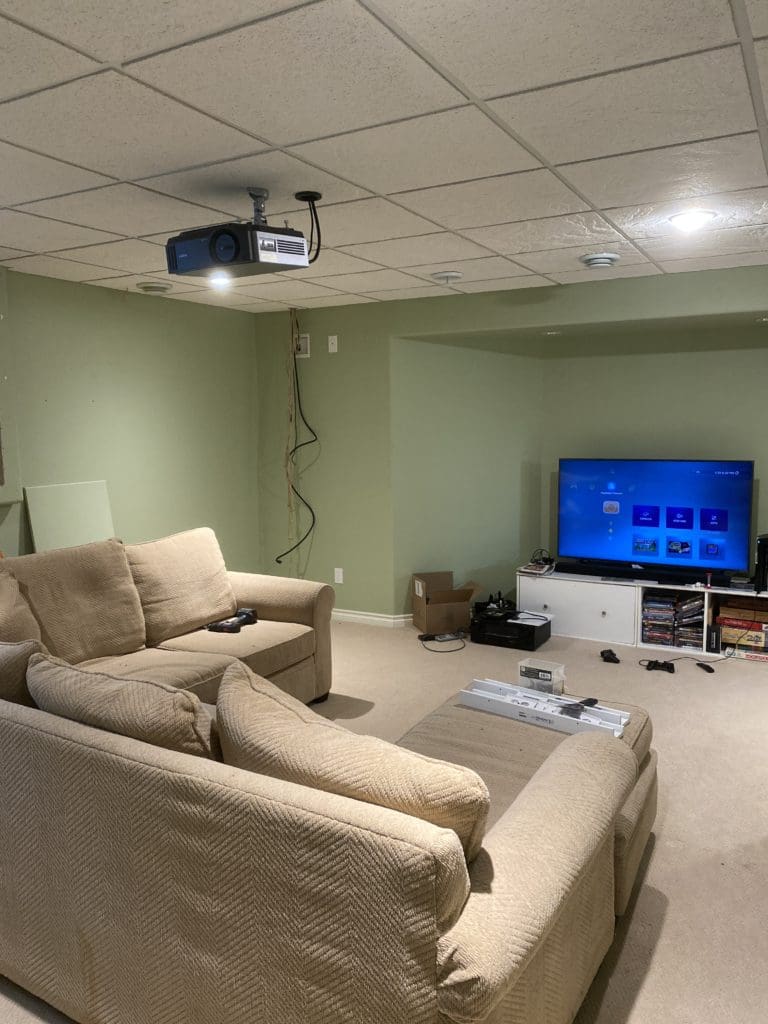
The Before: The basement family room ended up being a dumping zone for toys when our girls were younger. It also had an oversize old sectional that came with us from our previous home and dark green walls (which for some reason seemed like a good idea at the time). Yikes, it needed help!
Check out the 7 elements we included to complete the transformation below!
#1 Comfy Seating
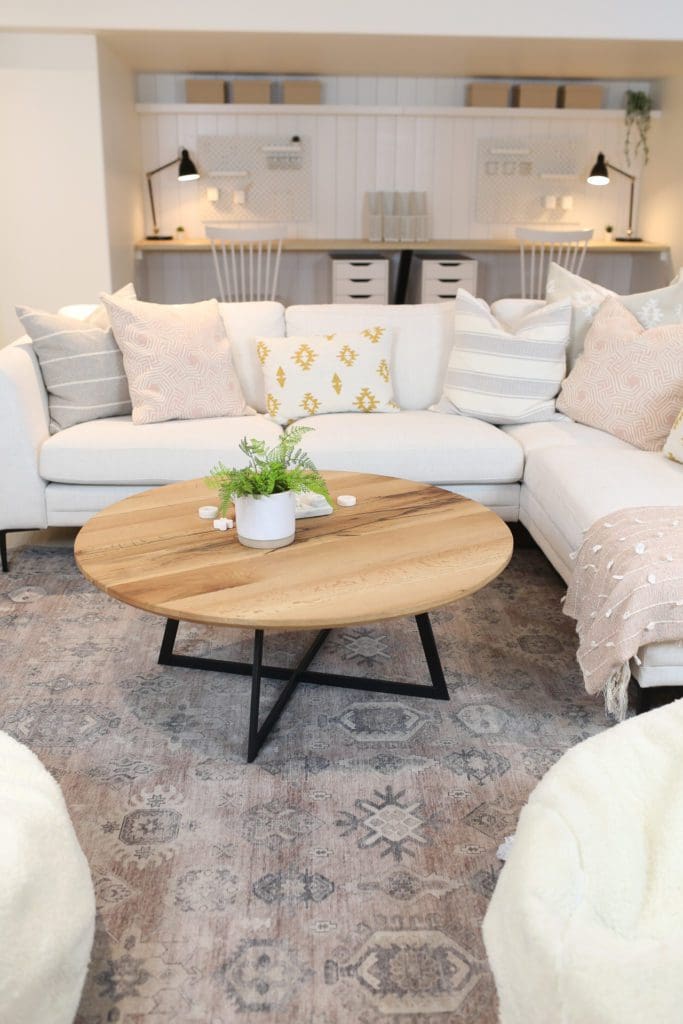
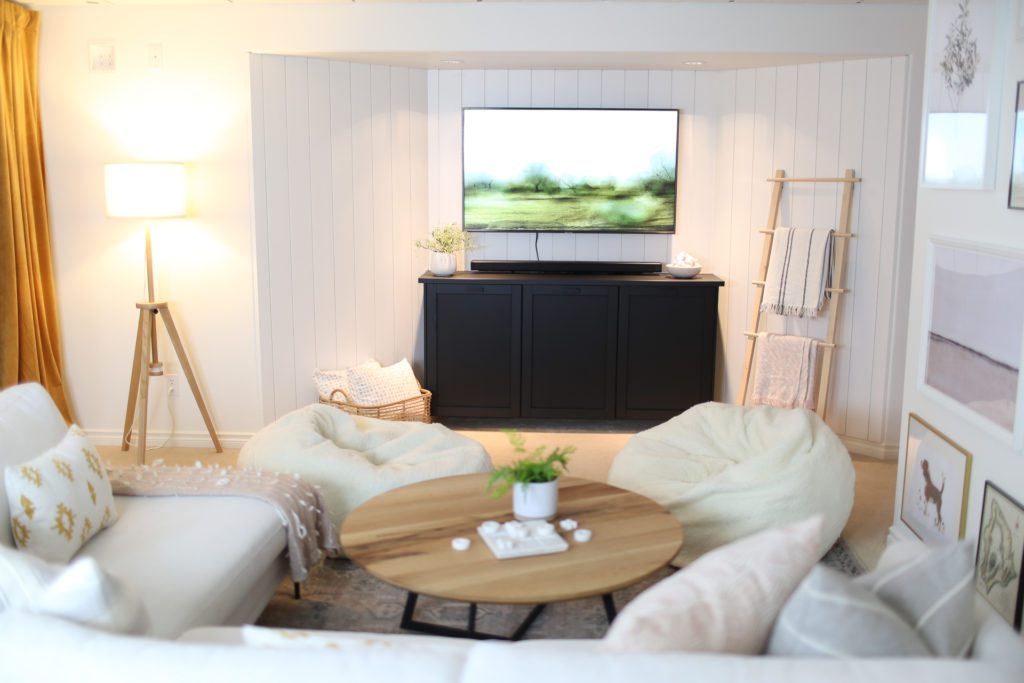
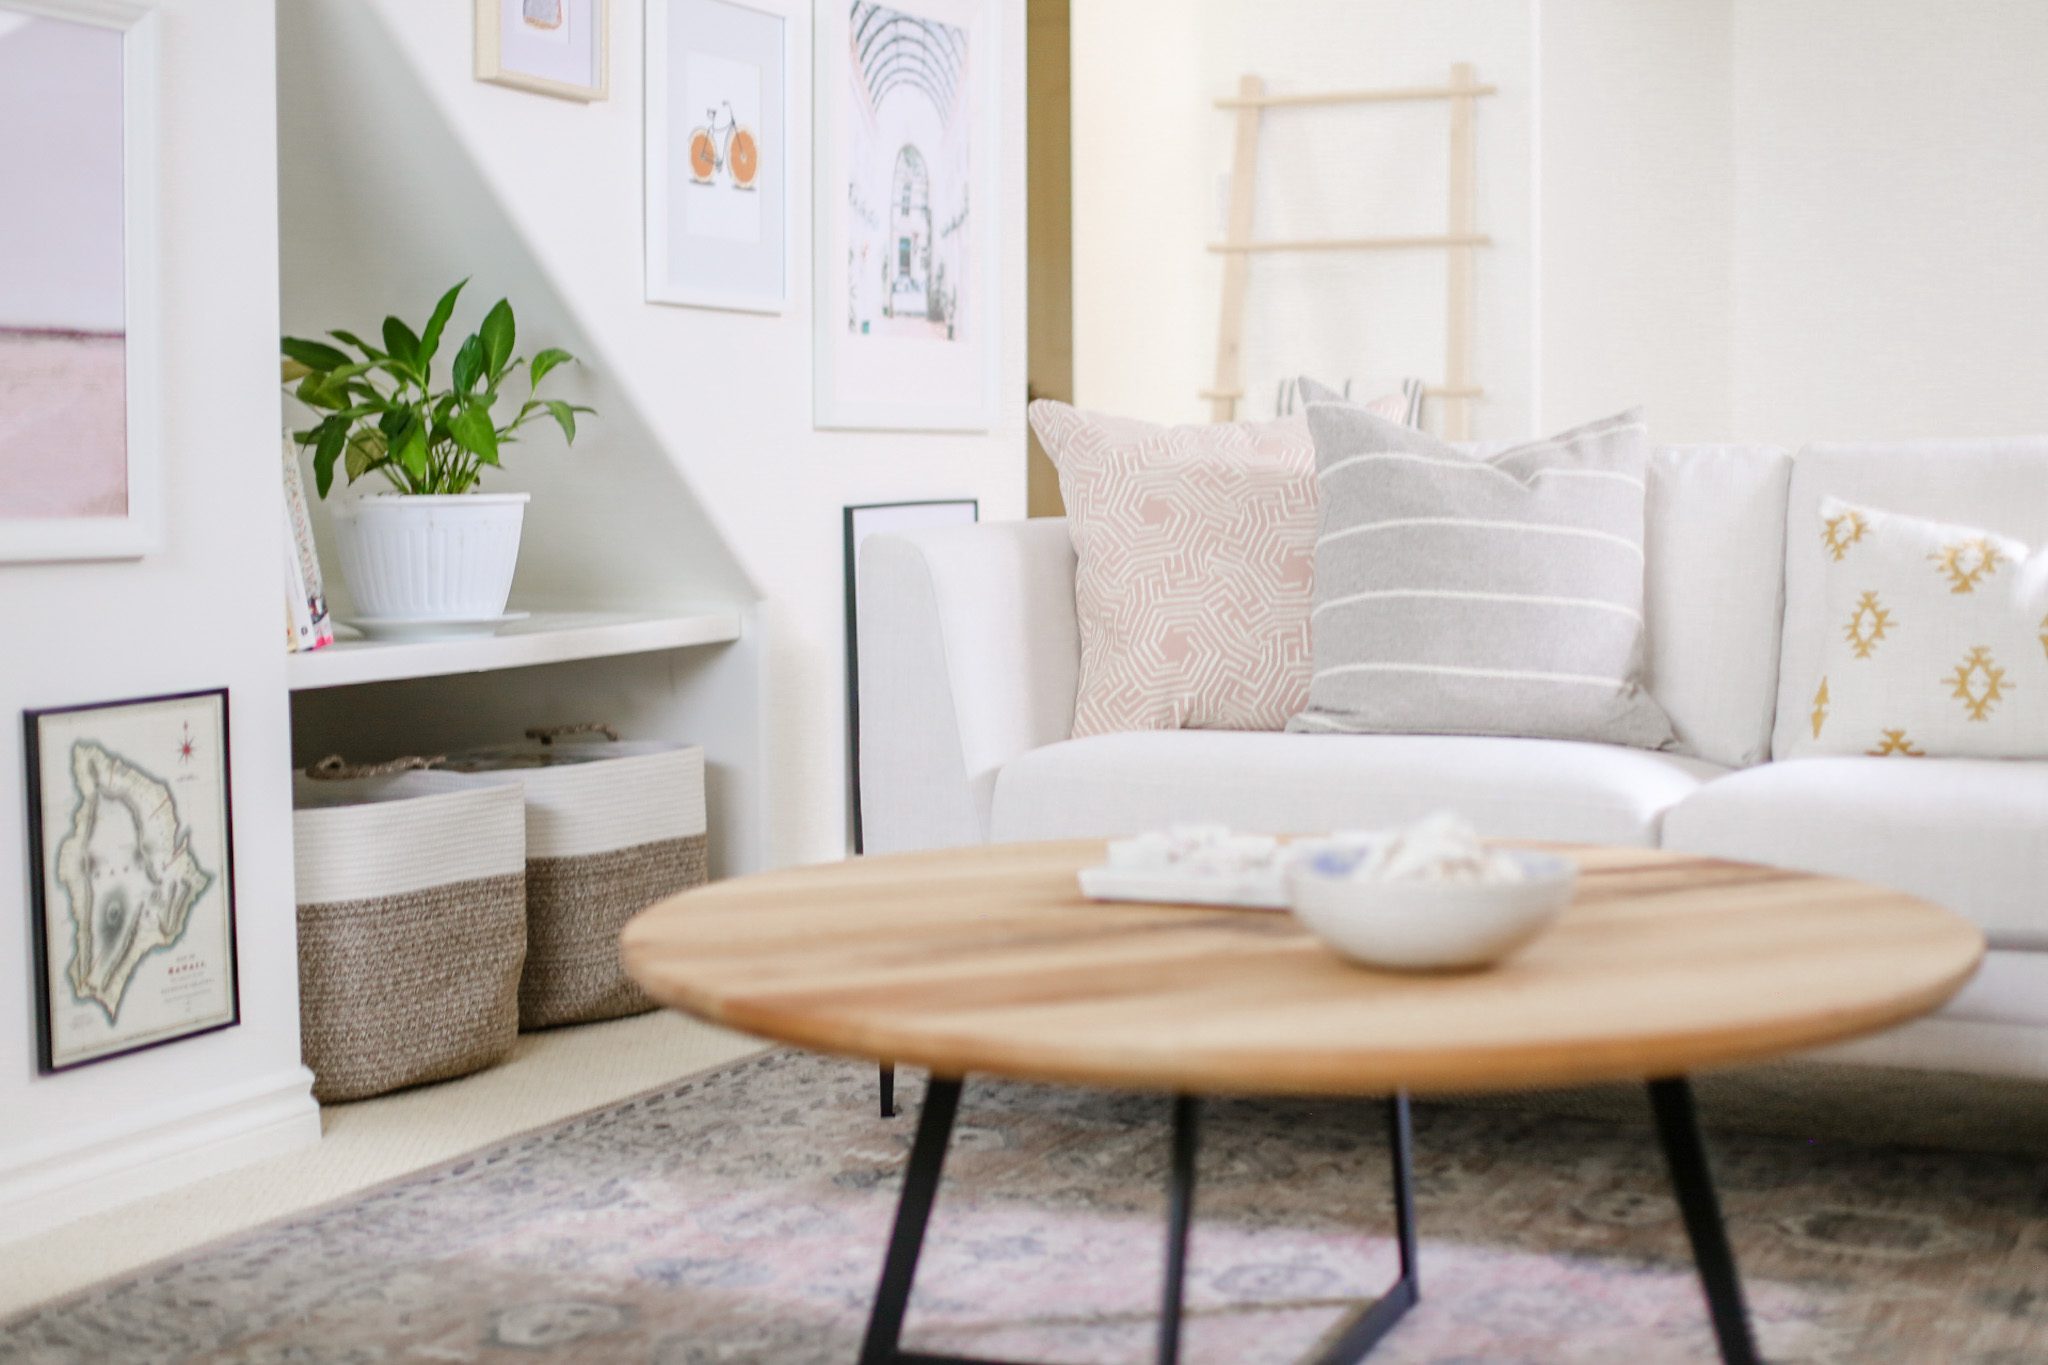
We designed the space around beautiful pieces from Sunday’s Furniture. This is the Sunday Sectional (Right) in Vanilla and the Entertain Coffee Table in Toast. Sundays is a new Canadian company based in Vancouver and they have the most beautiful and well-made furniture! They ship to Canada and the US. (You can use Code Amanda15 for 15% off your purchase).
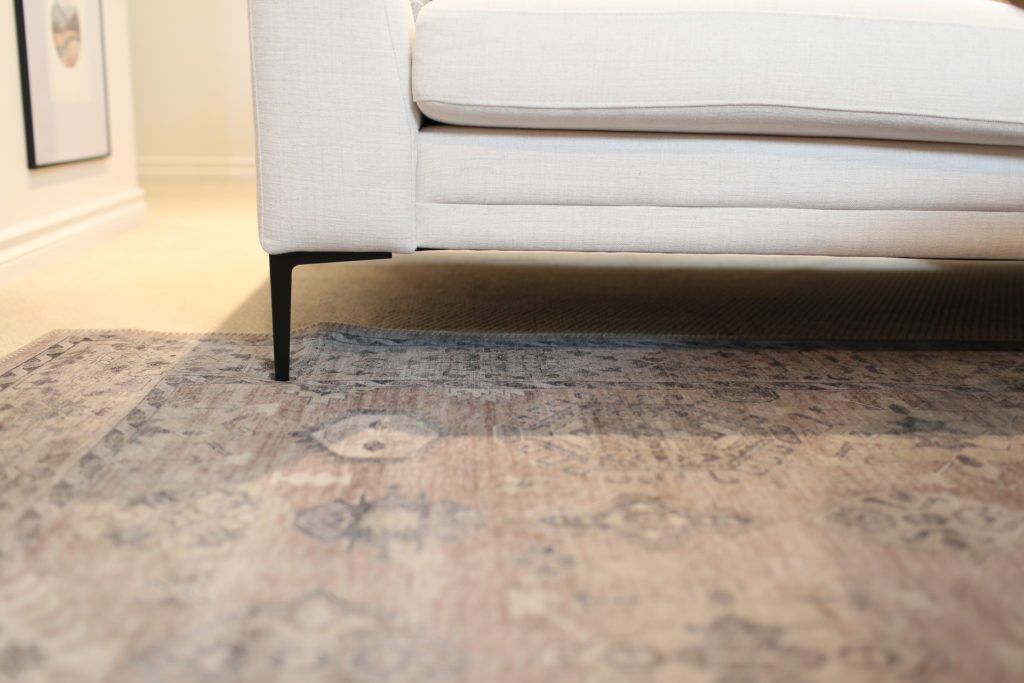
I love that even though it’s super comfy and plush, the sectional looks refined and airy thanks to the black metal legs and beautiful cream fabric. And the table is solid and surprisingly heavy, but also looks airy thanks to the metal legs.
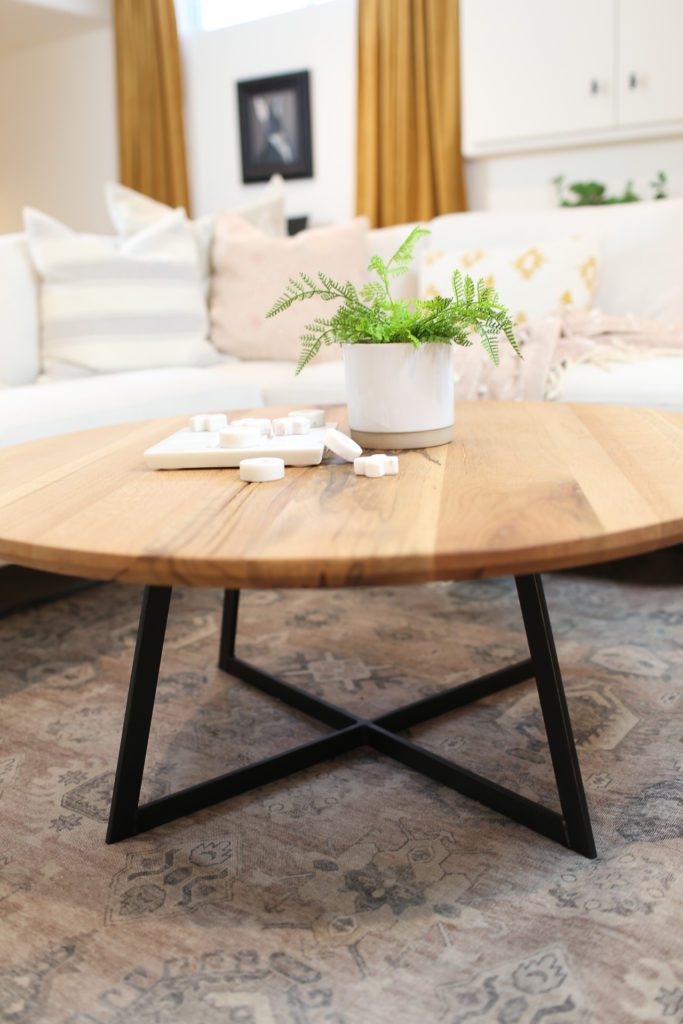
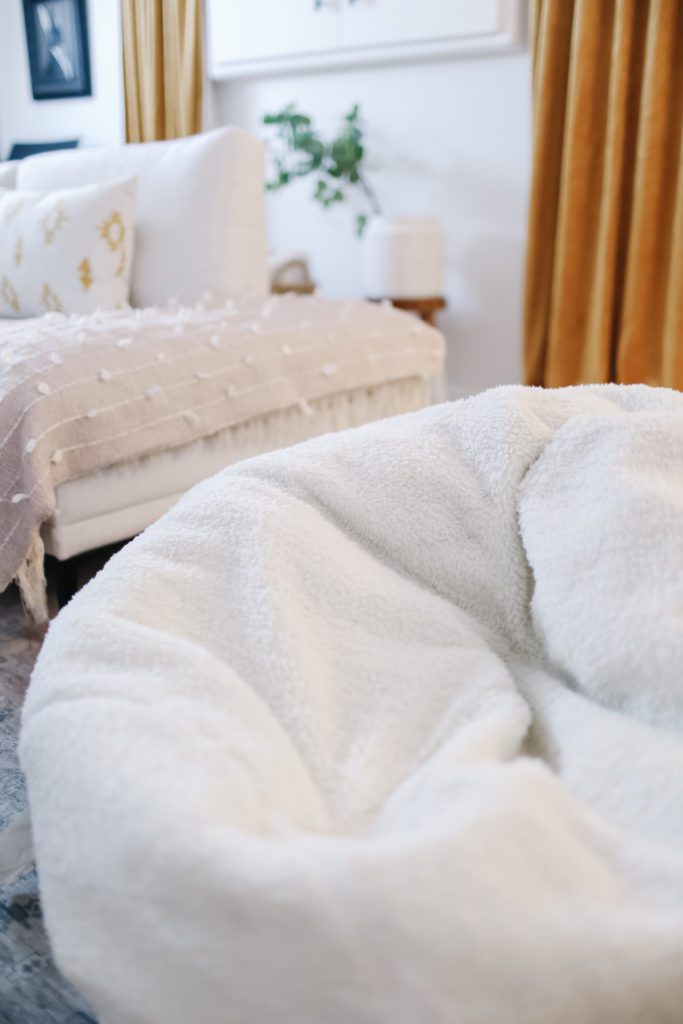
We also added some bean bag chairs because the girls begged me for months lol!! I was a bit hesitant because they cost almost as much as a real chair would have, but they use them every day and love them! They are actually really versatile. The girls play video games or watch movies while lounging on them. If they are eating popcorn they sit on those instead of the sectional. The covers zip off and can be washed so it’s a win-win!
#2 Entertainment Zone
We wanted this space to be our main movie-watching area so we created an entertainment zone with a big TV and storage for video games etc… (My girls are Minecraft experts!) In hindsight, I think we could have gone with a 65″ screen (this is a 55″). At some point, we will upgrade to the 65″ Samsung frame TV.
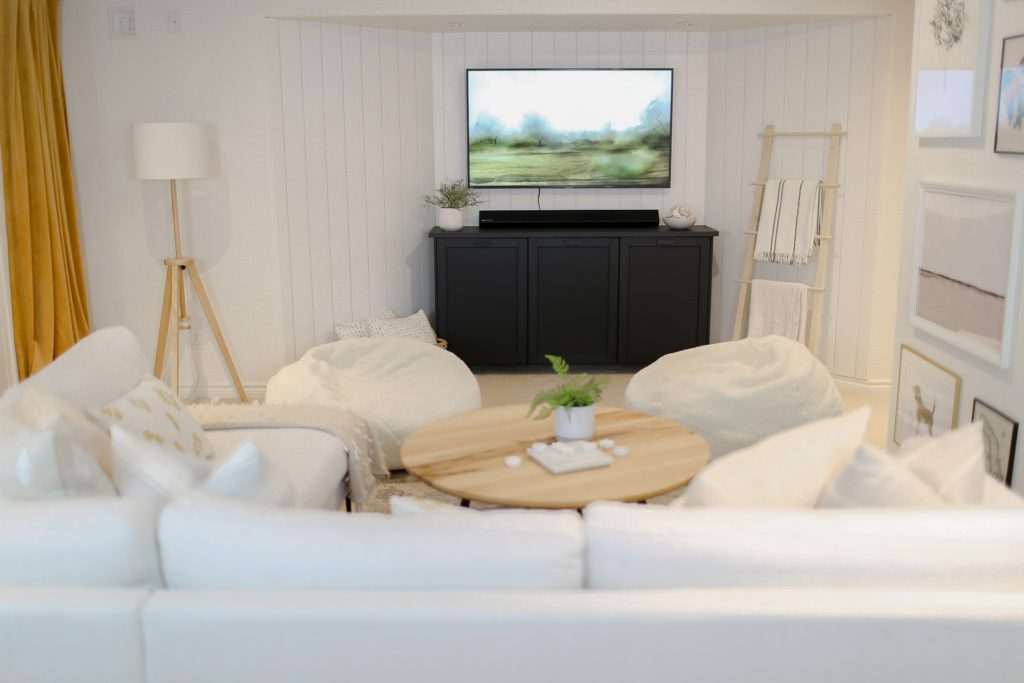
I love adding art to our TVs to make them look like paintings! For tips on how to add art to any TV in your house check out How to Add Art To Your TV + 3 free Digital Art Prints!
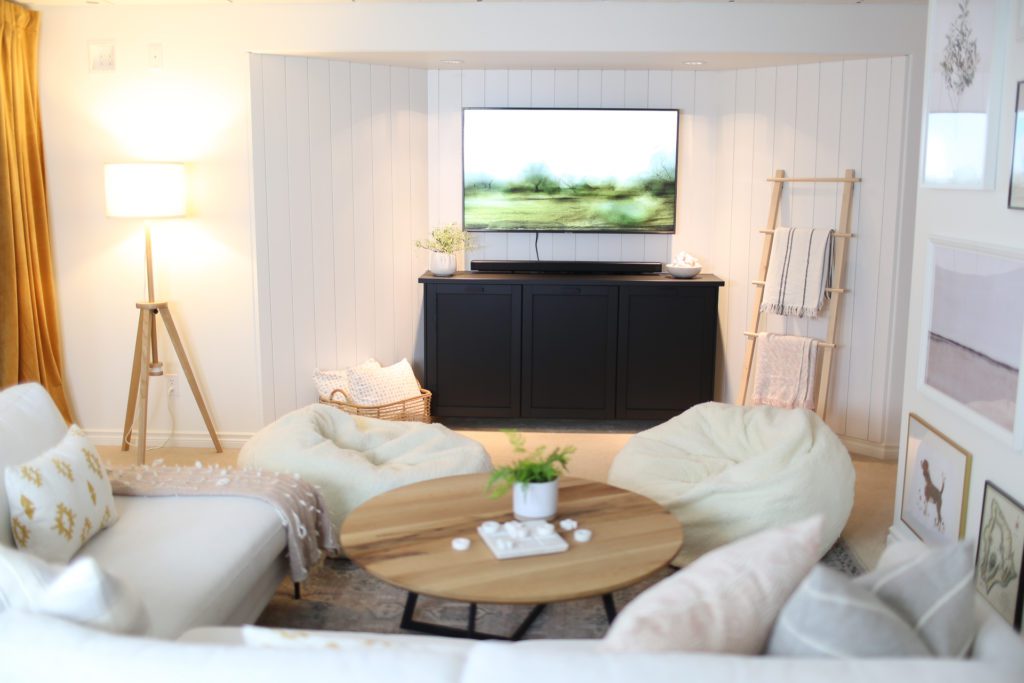
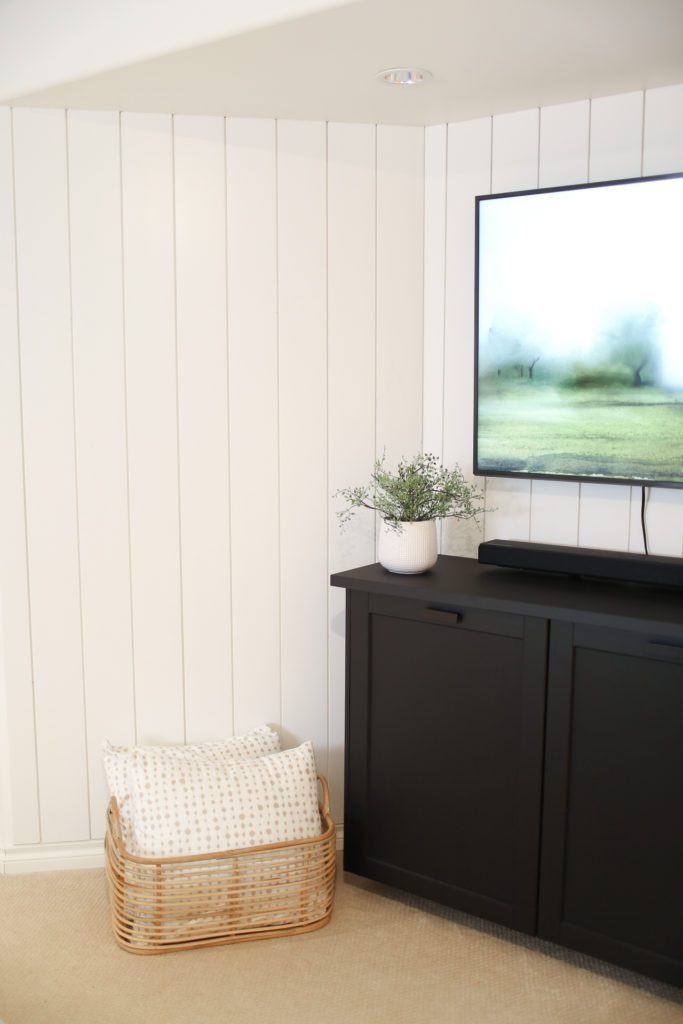
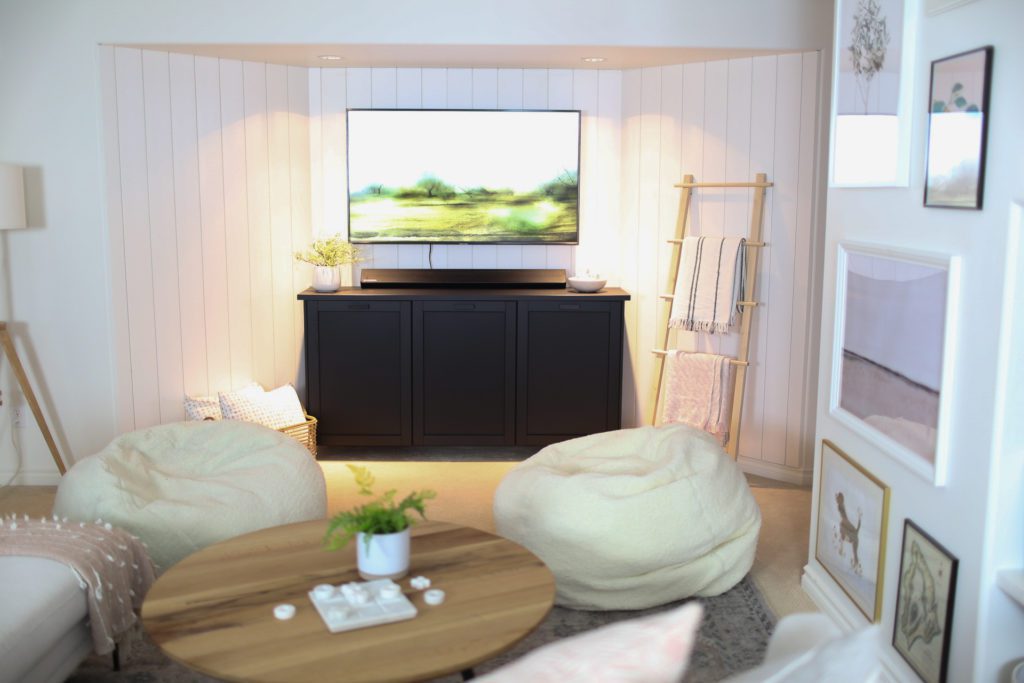
We added vertical shiplap to the alcove at the far end of the space to add some interest. Then we mounted 30″ tall Ikea cabinets with LERHYTTAN black stained doors and EKBACKEN matte anthracite countertop on the wall to create a DIY media console. I love how modern the black cabinetry looks and it provides a ton of storage for movies, games and electronics.
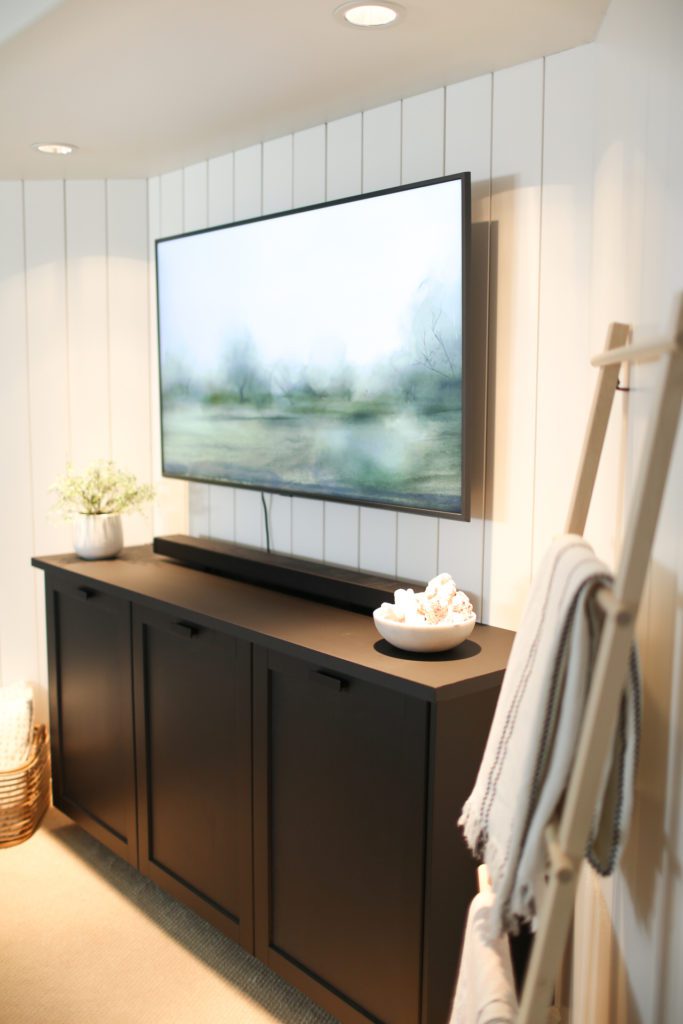
I used simple black hardware to make the unit monochromatic and a little more sleek, but the traditional door style still keeps it consistent with the feel of the rest of the house. At some point I’ll get around to hiding the TV cord as well, but for now it’s fine! (Pick your battles right?!)
It really has been so fun cozying up down here for movie nights with popcorn and blankets! Especially since where we live, winter lasts from November until April so our indoor spaces are heavily used!
#3 Music Zone
Our house is smaller (about 1400 sq ft.) so we don’t have many options for places to put a piano or any other musical instruments our kids decide to pick up! So when we were thinking about this space, having somewhere to put a piano was key.
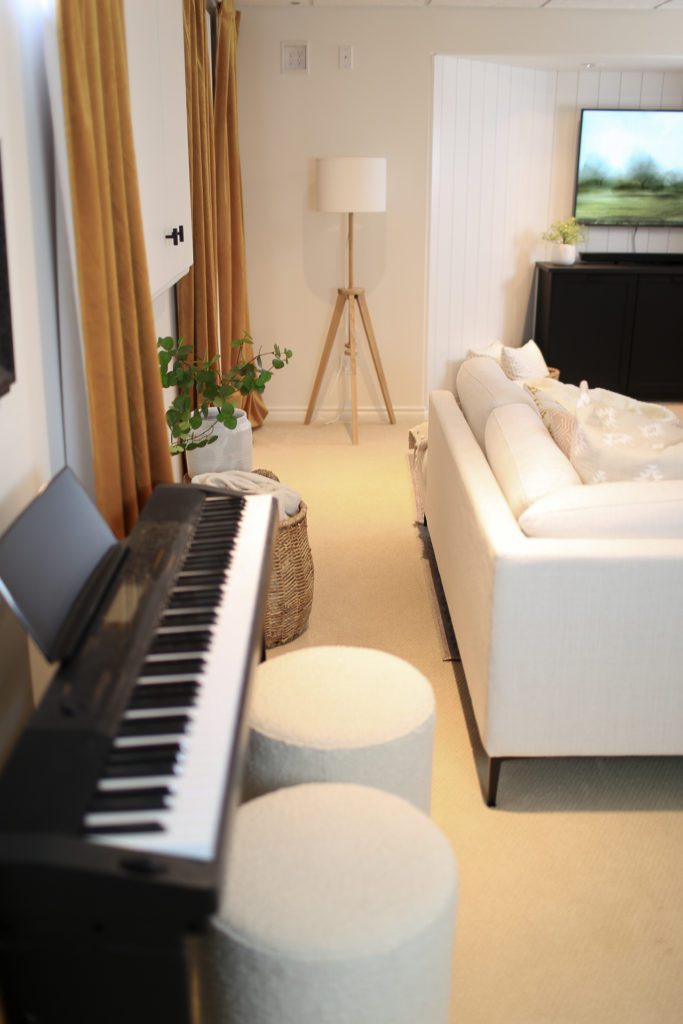
We managed to tuck a small piano under the window and Sir Fluffykins watches over practices! I’m thinking a small wall sconce for task lighting above the piano might be a good addition as well.
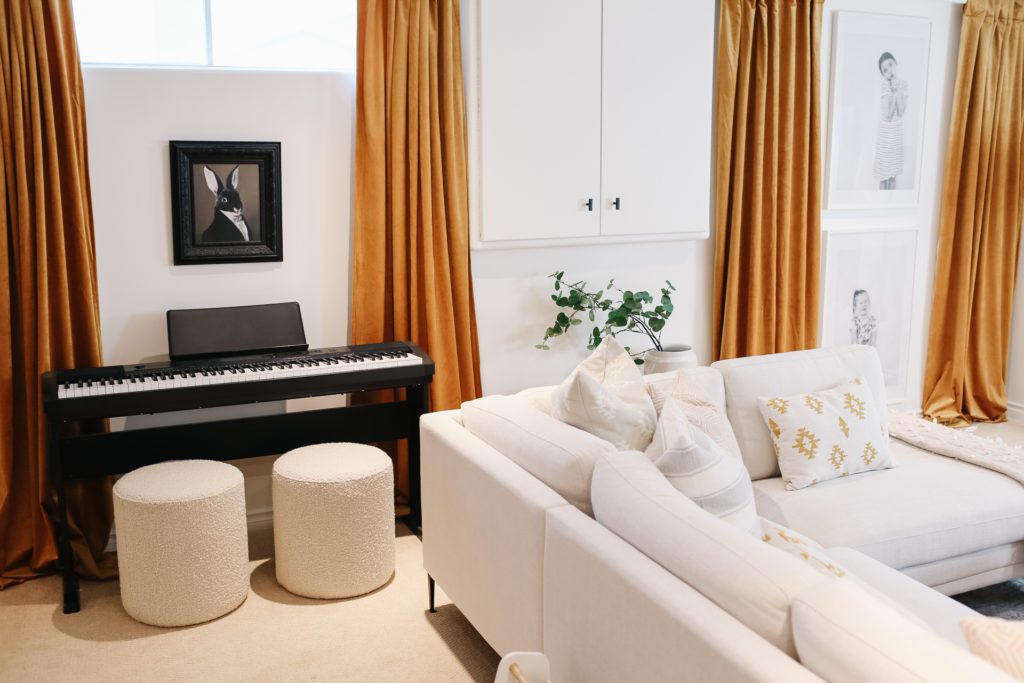
I added 2 ottomans instead of a traditional bench or chair. They can be used as footstools for movie nights or extra seating around the coffee table if we are playing board games.
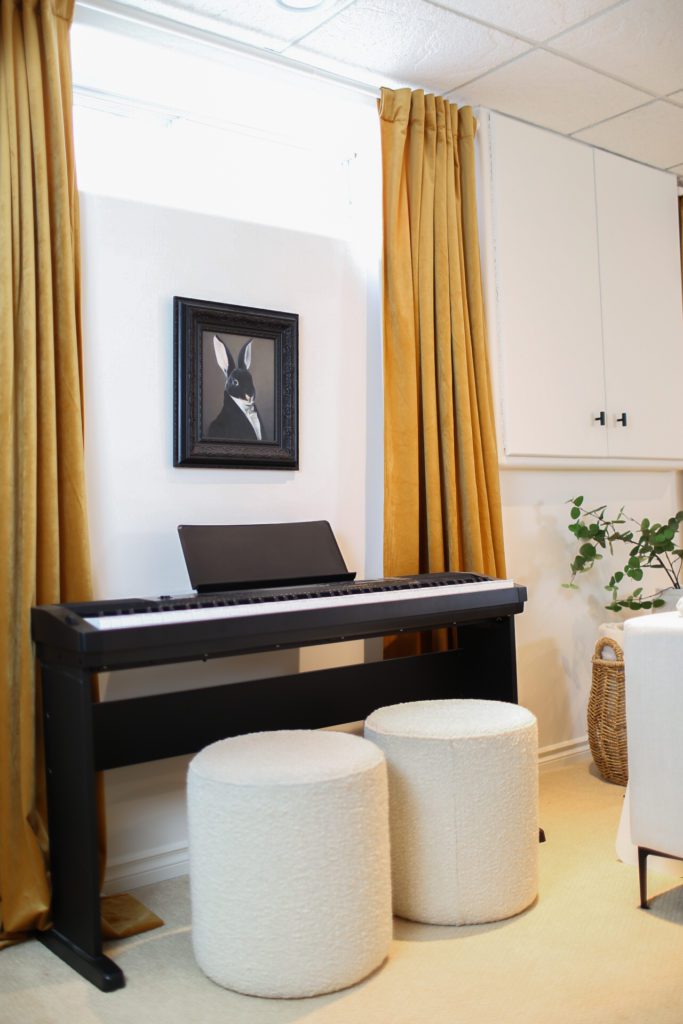
The cupboard beside the piano hides the electrical panel. We added touches of black around the room like the handles on the cupboard, the legs on the furniture and the TV console so that the piano wouldn’t seem out of place.
#4 Family Photos & Art
We wanted to make sure the space felt fun and like us so we added a mix of eclectic art pieces as well as family photos. Sir Fluffykins used to live in the mudroom upstairs, but he looks just right supervising piano practice.
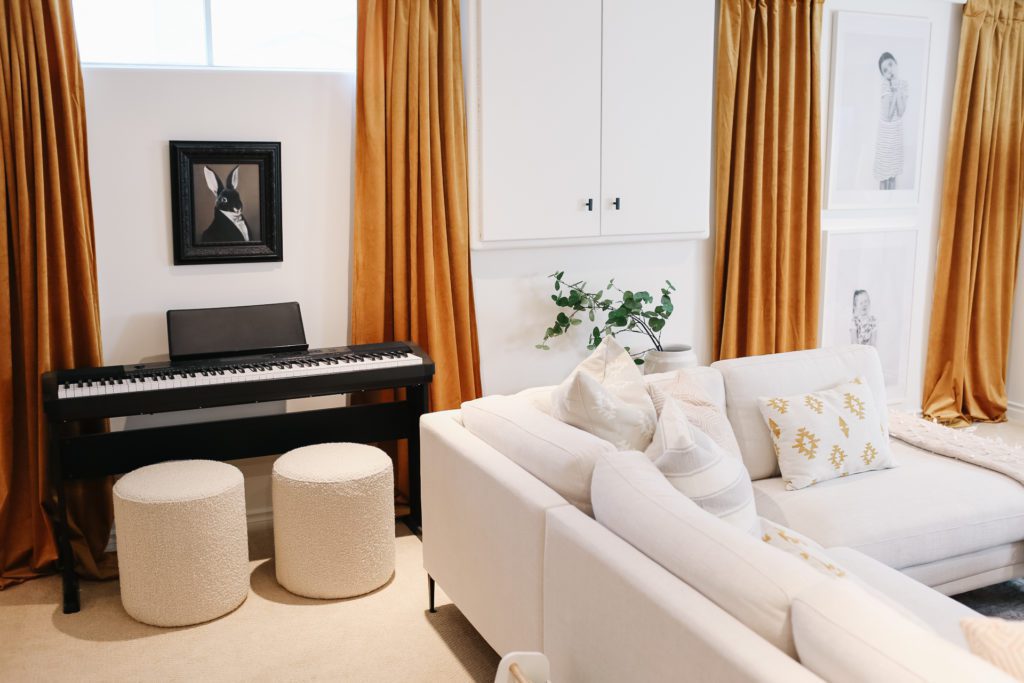
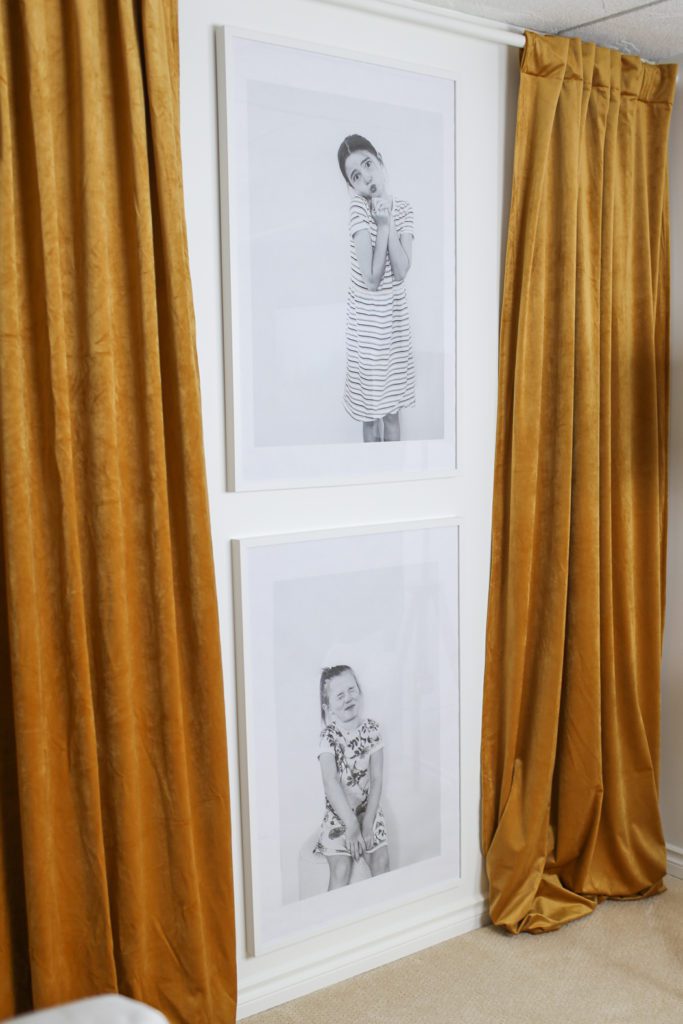
Because there is only one small window in the space, we hung floor-length curtains to give the illusion of a larger window. Then we added a second set of panels around these fun, oversize prints of the girls. (They were really inexpensive and a favourite DIY). I love the warmth that the mustard yellow fabric adds and the mirrored curtains make the room feel larger.
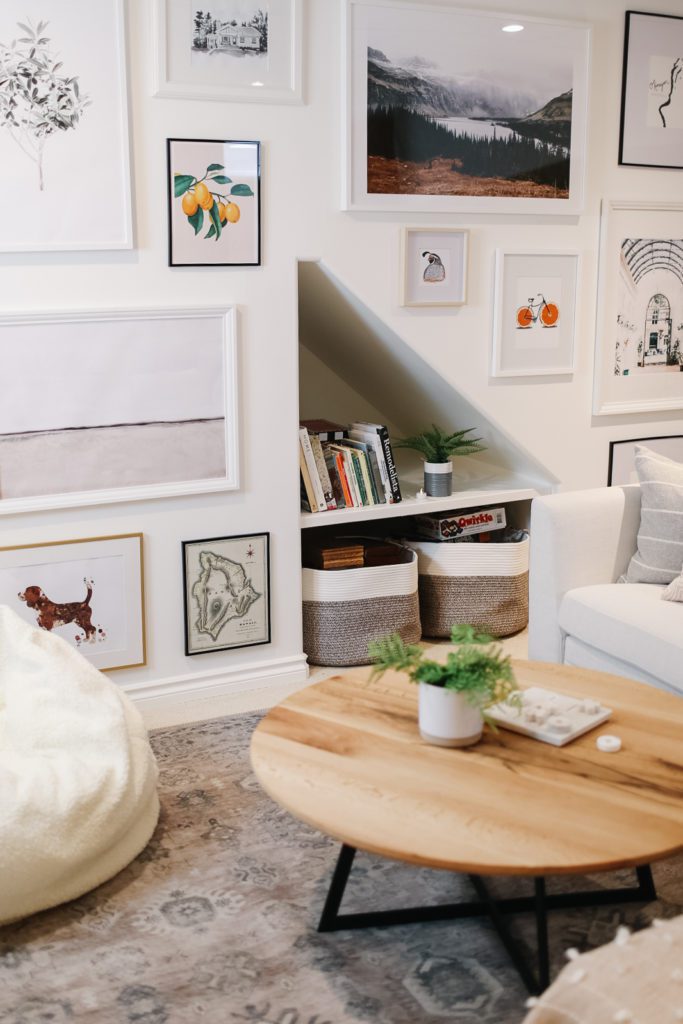
On the opposite wall, we added a fun gallery of art prints. They all have special meaning to our family. For example, we have a custom-drawn image of our house and an autumn view of the mountains (our favourite place in the world). I used leftover frames from other projects and most of the art pieces were digital downloads that I had printed out.
SHOP ART

#5 Family Room Storage Solutions
Our girls are out of the full-on toys everywhere stage (cue the Mom tears). We really only needed a couple of bins for toys. They keep the rest in their rooms. But we did need storage for books and games etc… There was a nook under the stairs that originally we thought would make a cute playhouse for the girls. But they never used it so we repurposed it with a shelf and some big storage bins.
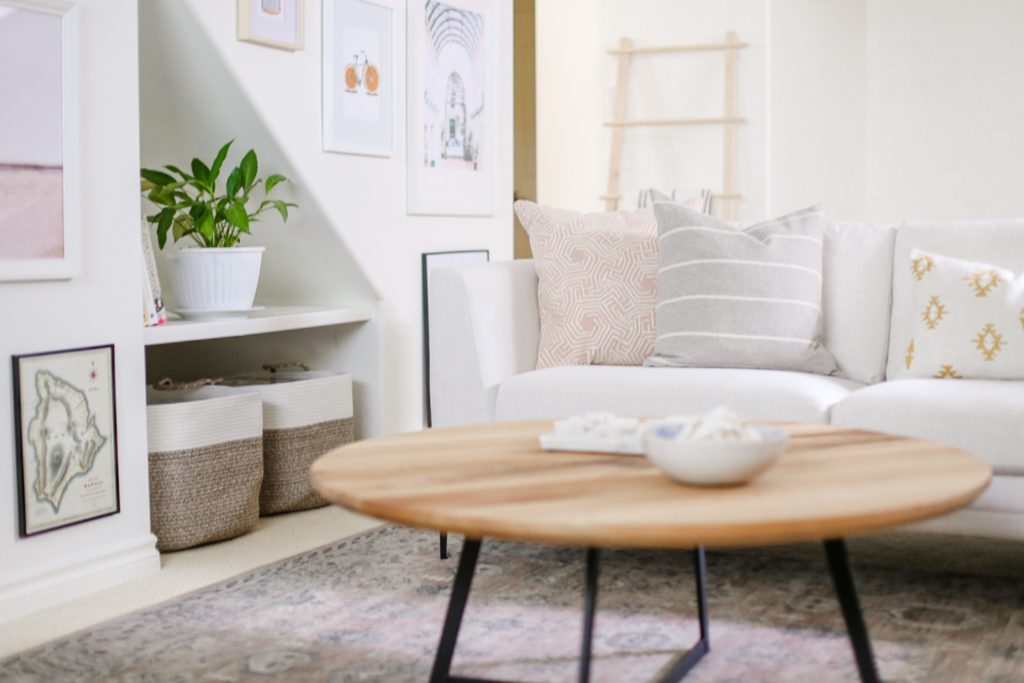
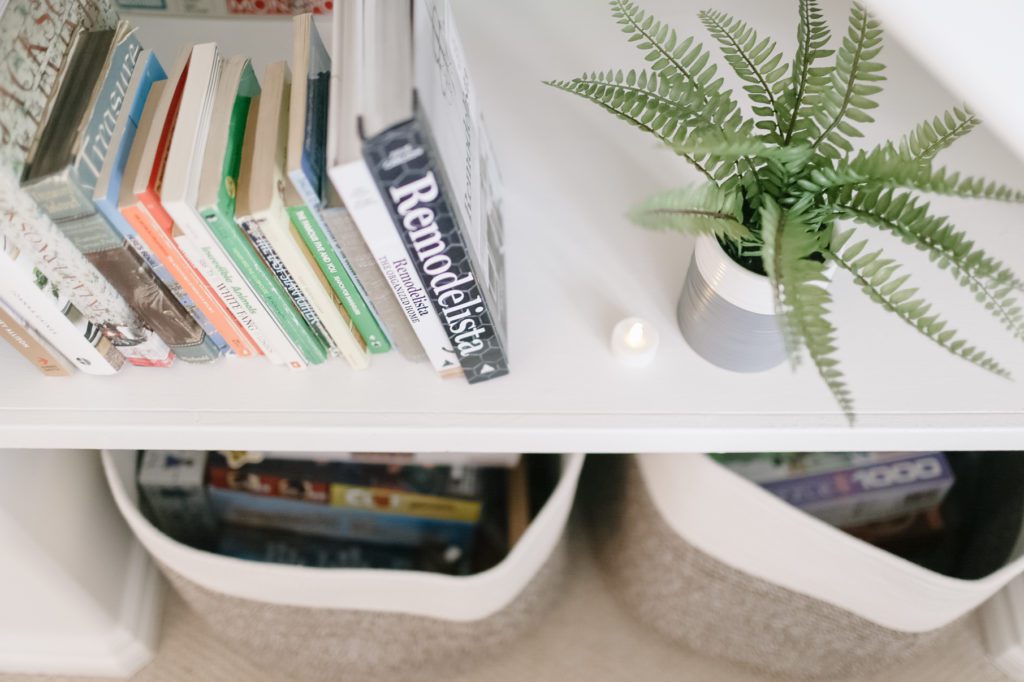
We stack books on the shelf (along with a cute plant of course) and the bins are filled with board games!
We repurposed this cute (and inexpensive) VILTO towel stand from Ikea to hold extra blankets. You can never have too many cozy throws!
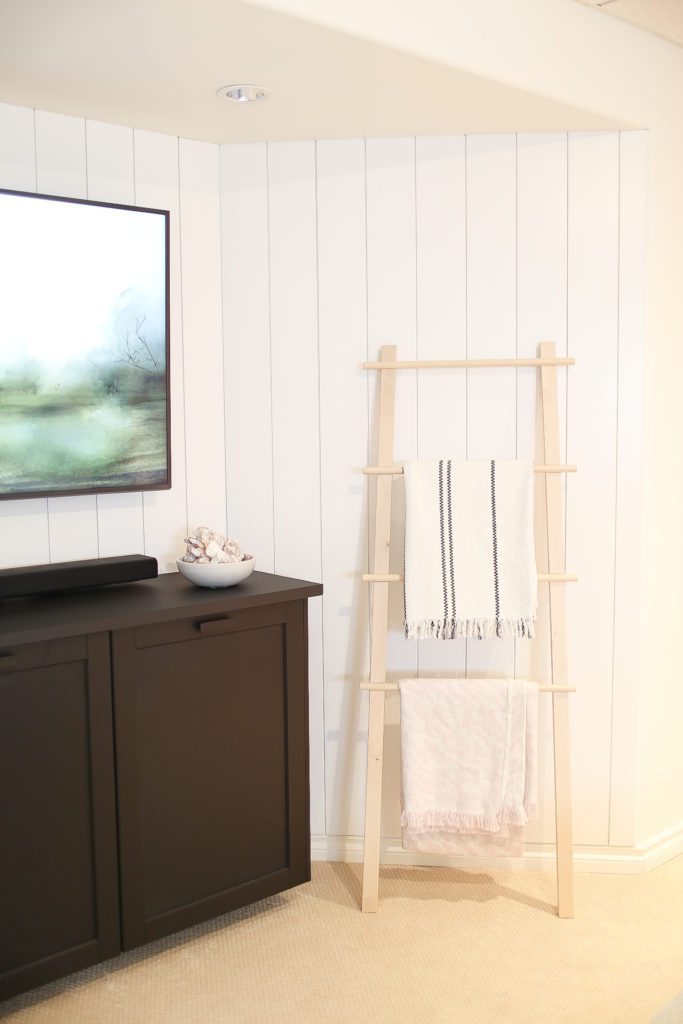
And around the corner, we added sturdy shelves under the stairs to hide a whole bunch of clutter. We added a tension rod and pink curtains to hide the mess. I was having a hard time deciding between pink or mustard yellow curtains for the space, so this way I got to use both!
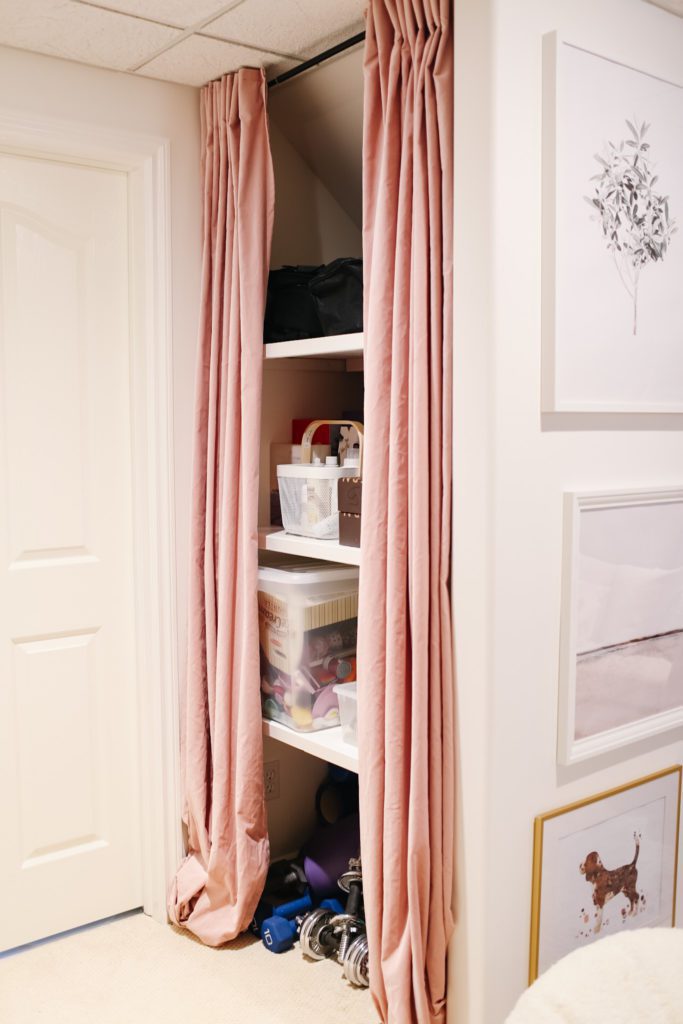
I store extra photography and packing supplies for my business as well as a couple of bins of toys the girls haven’t quite grown out of. On the bottom, we have workout equipment since the room doubles as a workout space! The door beside the storage area leads into the laundry room, which is also the office space so it’s handy to grab work supplies quickly!
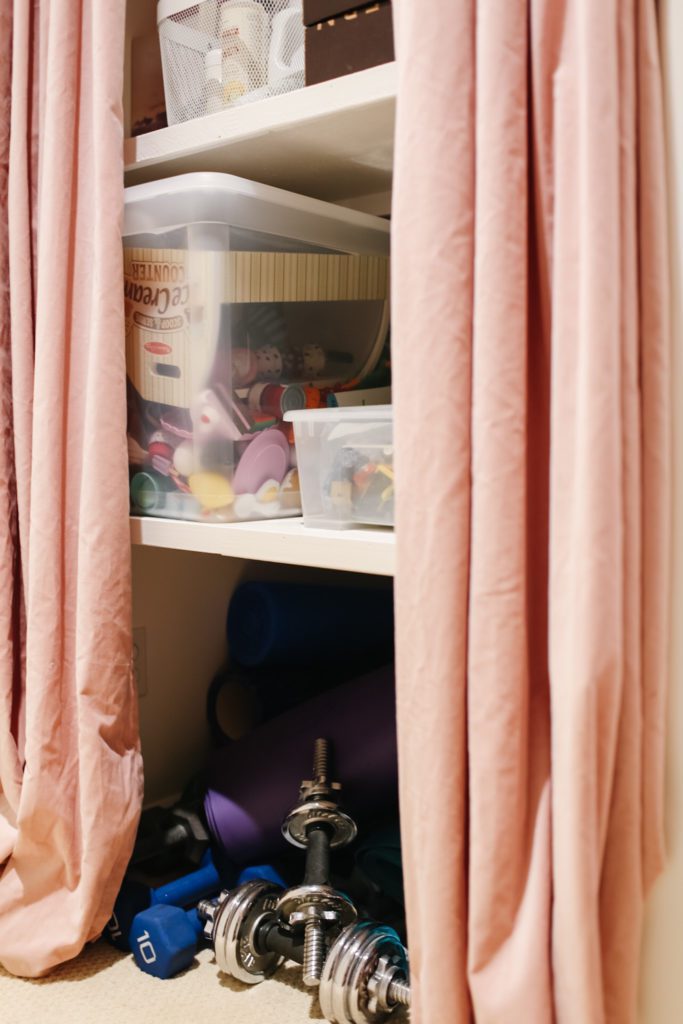
Not the prettiest photos lol, but it’s good to know where all the stuff actually goes right?!
And we’ve already talked about the DIY TV console that we made from Ikea kitchen cabinets, which houses movies, games and electronics!
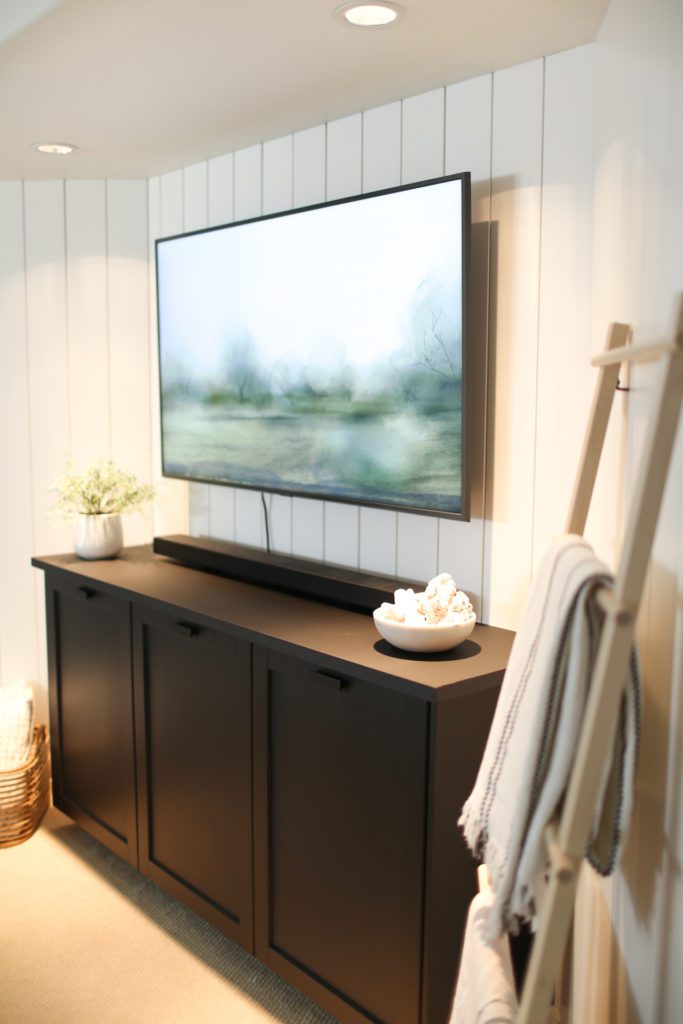
So that brings us to the fun stuff…accessories!!
#6 Cozy Accessories
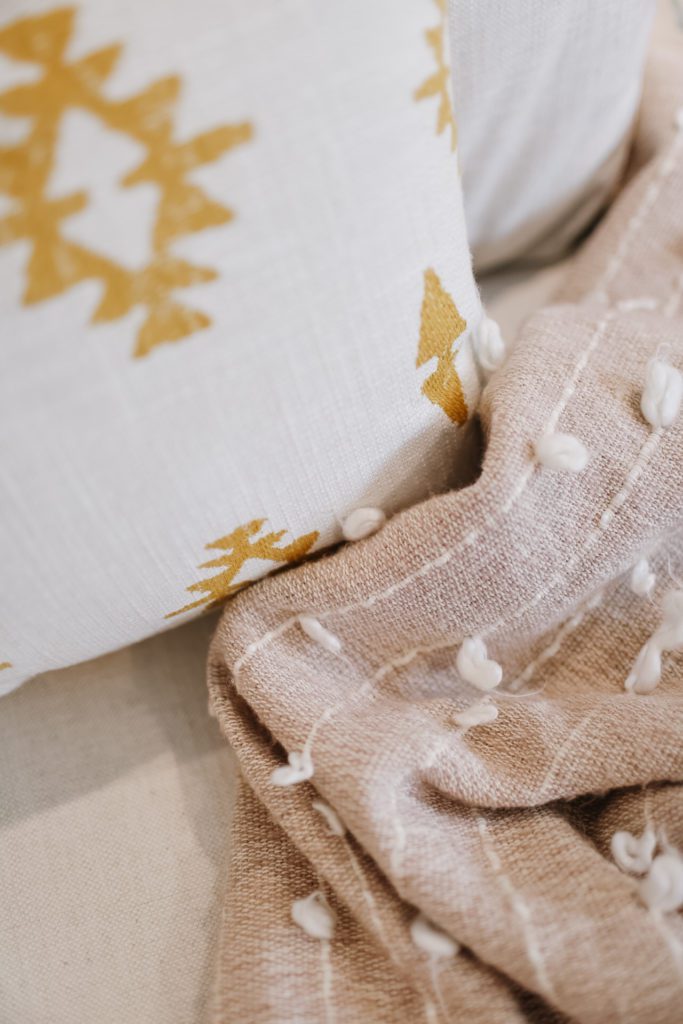
It’s the little touches that make a room feel put together and cozy! My favourite go-to for pillows is Tonic Living. These pretty pink patterned and gold Aztec patterned pillows are from Tonic. The knobbly blush blanket I picked up from The Cross Decor & Design a few years ago.
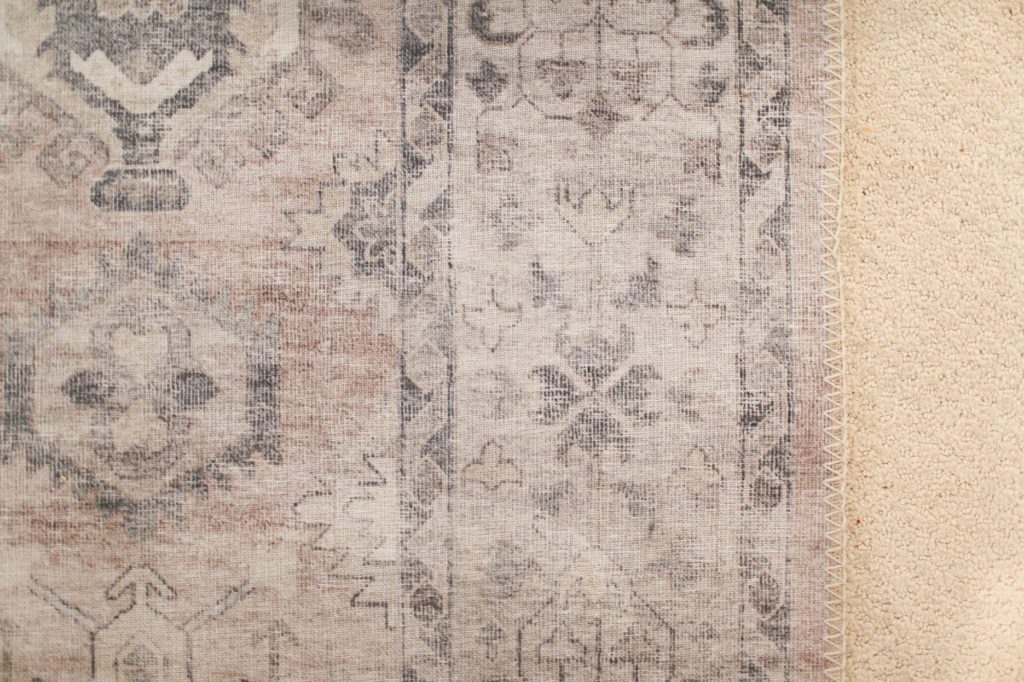
Even though the floor is carpeted I layered an area rug over top to add extra coziness as well as texture and colour. This is the Hathaway Java/Multi patterned rug from Loloi Rugs. The pattern makes spills hard to see and the tight, flat weave makes spills easy to clean! I just love the beautiful, vintage look!
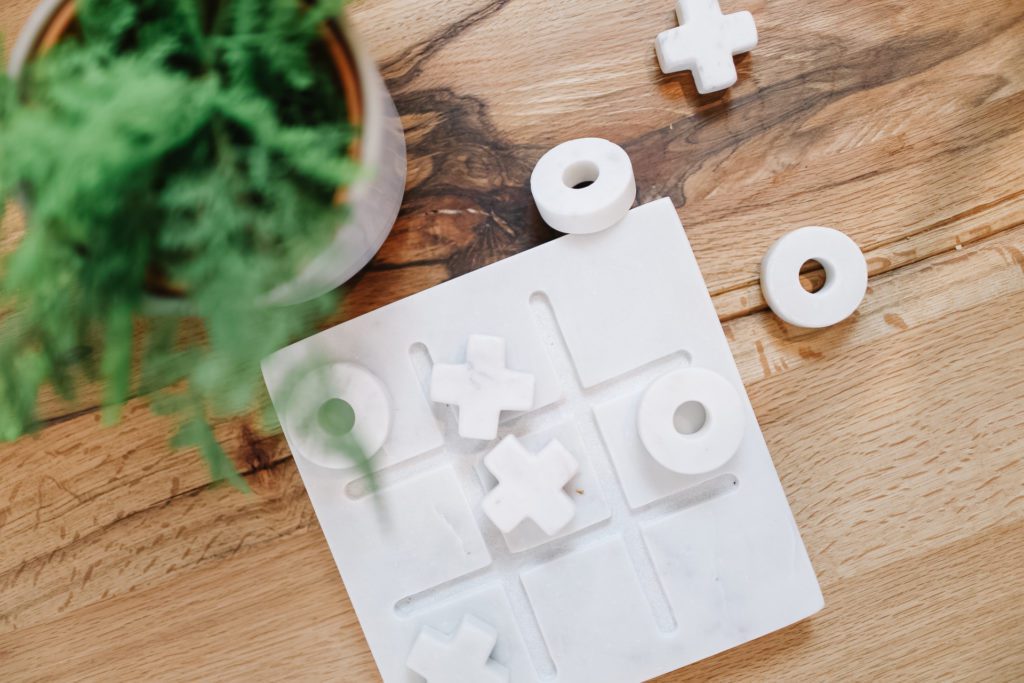
We always have this cute marble Xs & 0s game out on the coffee table. It just looks pretty and we stop for lightning-fast games every time we sit down. I’m sad/happy to say that my nine-year-old almost always wins.
There are lights in the ceiling, but we added a lamp as well. It’s nice to turn on the softer light for ambiance when the overhead lights aren’t needed. The LAUTERS floor lamp from Ikea was inexpensive and adds a pretty warm glow.
#7 Family Room Functional Zones
The last part of the basement family room that we finished was the homework nook. It’s so nice to have a dedicated workspace for the kids, especially because as I write this the threat of another lockdown and a return to online learning is looming (#2020).
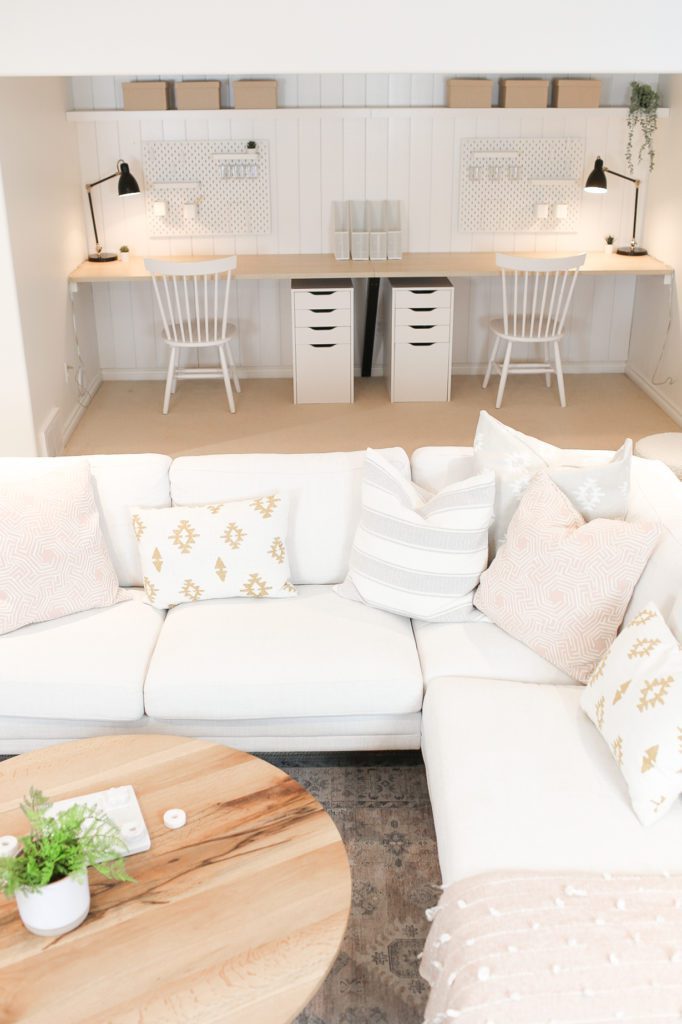
When you are designing a multifunctional space like this one, having functional zones is key. Having dedicated spaces for watching movies, playing board games, practicing music, working out or doing homework has made this room so useful!
I hope our basement family room renovation has given you some ideas and inspiration for your own under-utilized spaces! You may also enjoy:
Leave a Reply Cancel reply
This site uses Akismet to reduce spam. Learn how your comment data is processed.
learn more...
shop favourites
HOME interior
HOME EXTERIOR
AMANDA's style
fall
WINTER
I'm Amanda and I’m passionate about creating a well loved and well lived in home for my family and I'd love to help you do the same!
Thank you for sharing this beautiful transformation! Could you please share what kind of piano this is?
It’s a very old electric piano ( I think it might have come from Costco?)
This is a gorgeous makeover! Would you care to share your floor plan with dimensions? Is there a mechanical room with furnace, water heater, etc. in the space as well?
So beautiful! Can you tell me what paint color you chose for the wall? Thank you!
Benjamin Moore Simply White 🙂