I'm Amanda and I’m passionate about creating a well loved and well lived in home for my family and I I'd love to help you do the same!
learn more...
hey there!
Shop
Shop
Shop
HOME
style
spring
let's connect
get on the list
never miss out.
get exclusive tips, news & free resources!
Enroll Now!
shop ART
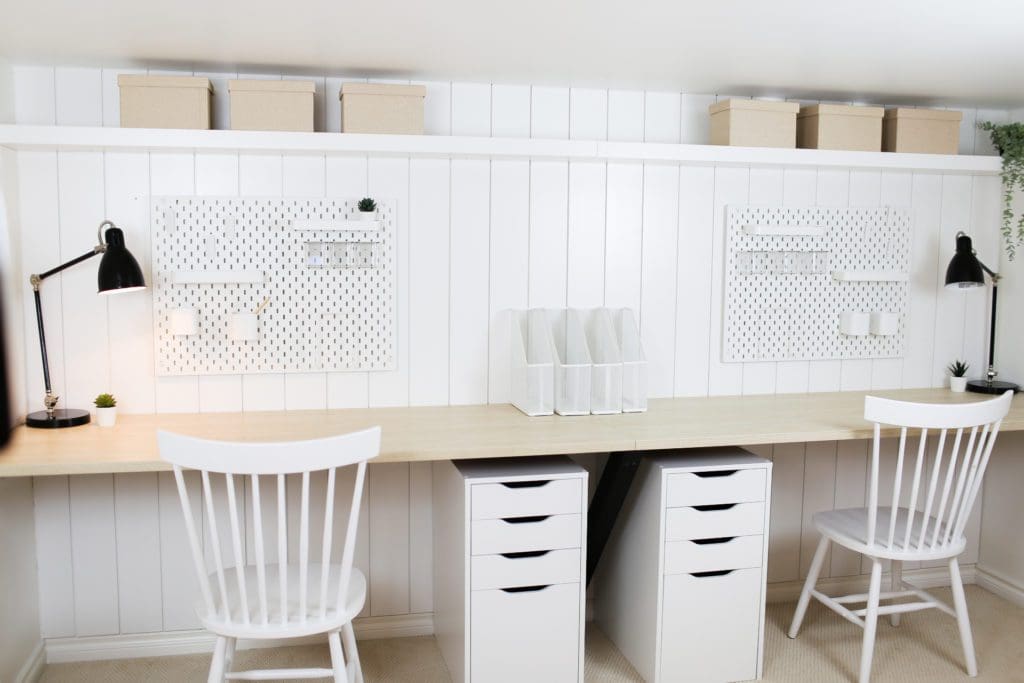
It’s been a weird year. In March 2020, everything shut down. We transitioned to “online learning” and spent A LOT of time at home. We realized that with two grade-schoolers at home, we needed a dedicated homework space. Our two girls and both have small rooms (in our small house), so fitting a desk in their bedrooms wasn’t ideal. We decided to renovate our family room space in the basement and add a DIY homework station into an unused nook in the back of the room!
Estimated reading time: 6 minutes
Note: This post may contain affiliate links that won’t change your price but may share some commission.
Table of Contents
A Built-In Homework Nook
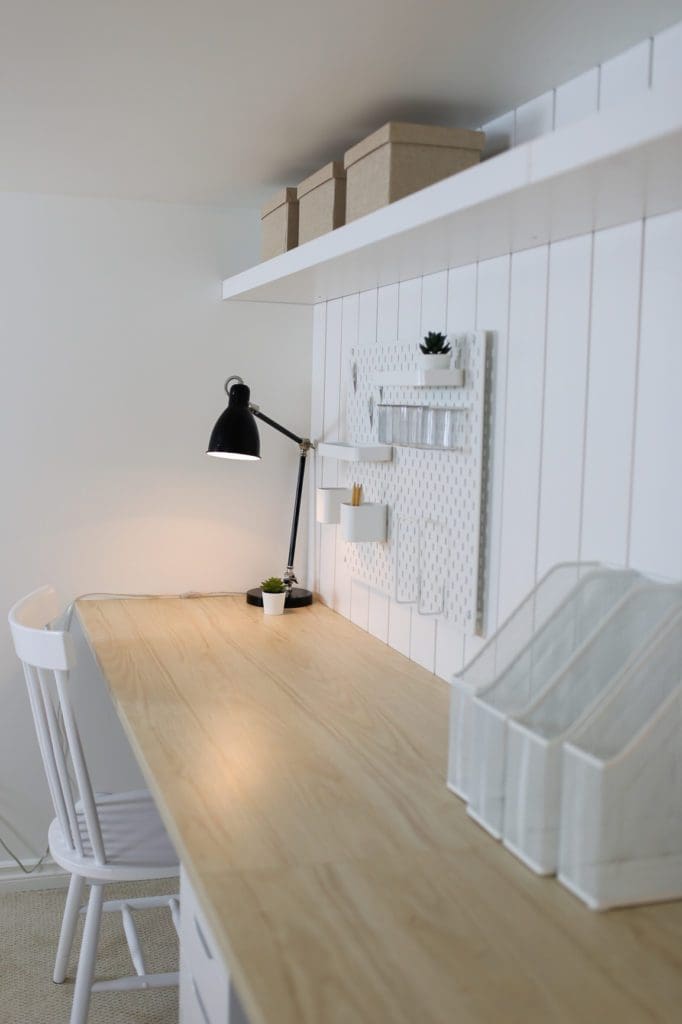
We didn’t want to spend a fortune, so we hacked some Ikea pieces to make a built-in homework station with plenty of space for both kids. They adore having their own workstations complete with file folder systems, drawers and pegboards! It made me so happy to see them just a little more excited about staying home.
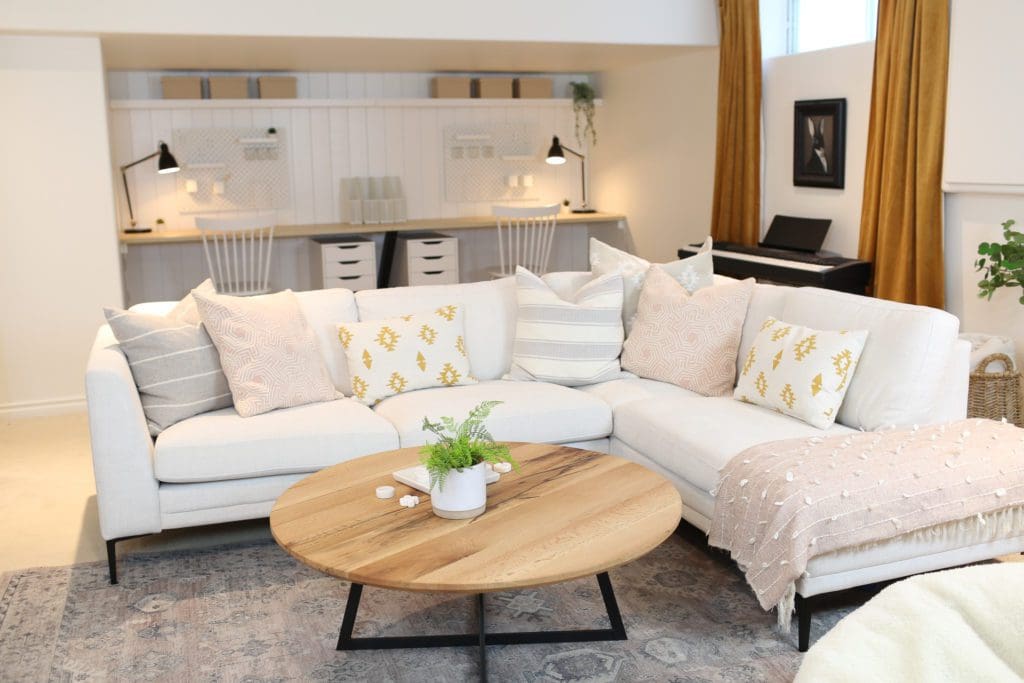
The layout of our basement space was actually quite awkward (you can see the full renovation and details HERE). We put the homework station in a weird little nook at the back of the room. The space has a low ceiling (ductwork runs above it) and no lighting, so we didn’t really use it at all before! It was just wasted space.
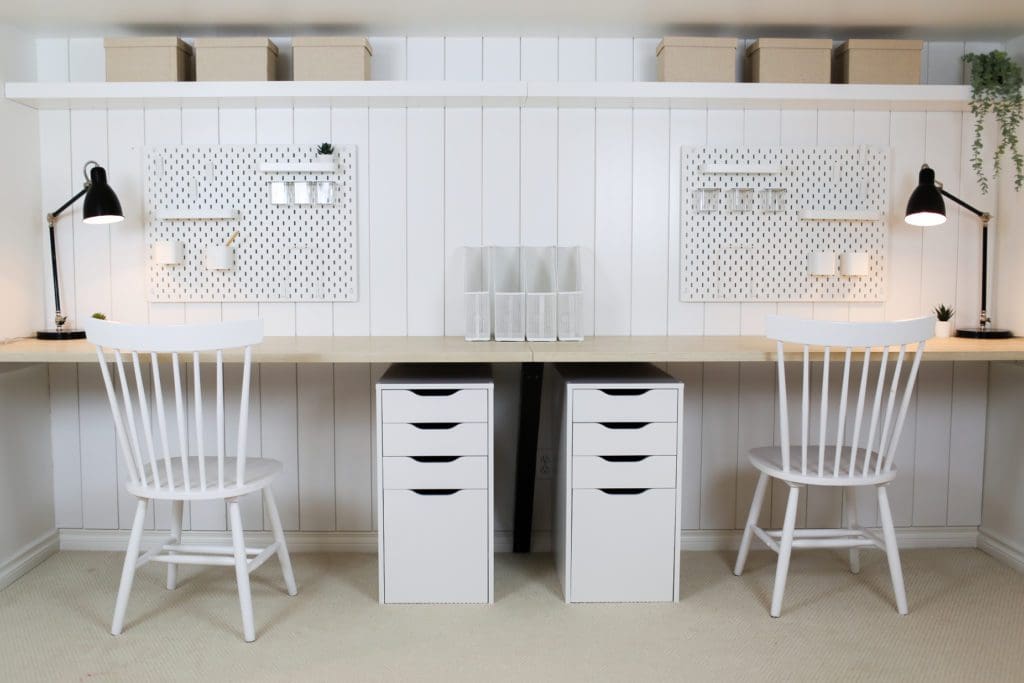
I love how finished it makes the room feel now and how much function it adds! The girls can come down here and do their homework and then lounge and relax when they are finished.
Desks
We used EKBACKEN Ash effect laminate counters from Ikea as desktops. They are inexpensive but surprisingly heavy and nicely made.
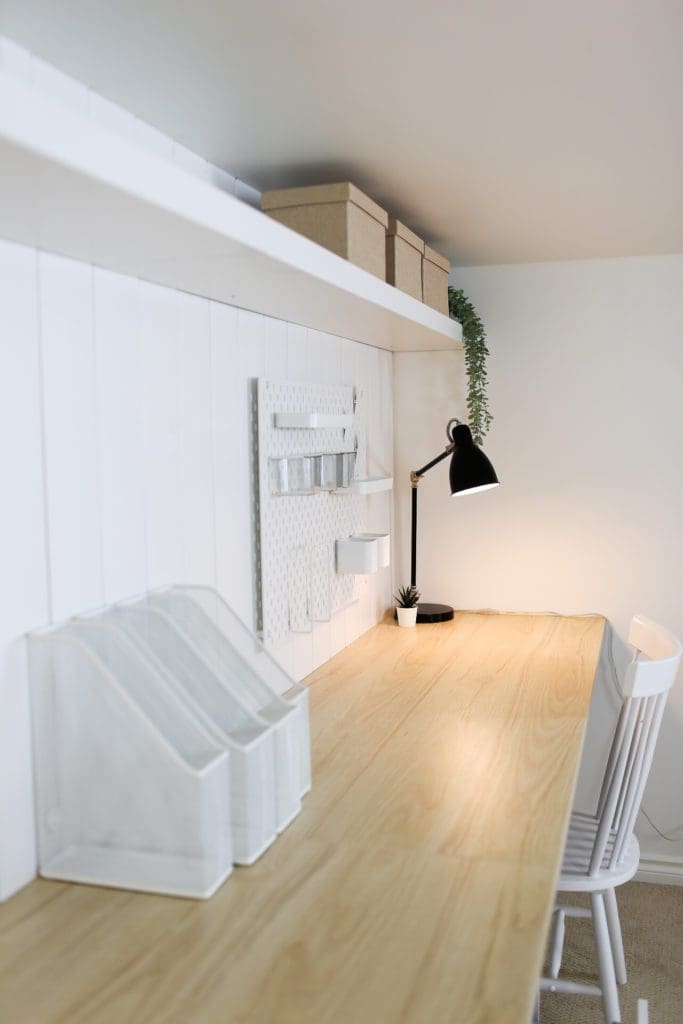
TIP: I’ve seen quite a few DIY homework spaces that use shelves as desktops. I personally don’t find this ergonomic. The space is too narrow to work comfortably. The 24″ deep countertop gives enough space to really spread out and work without feeling cramped.
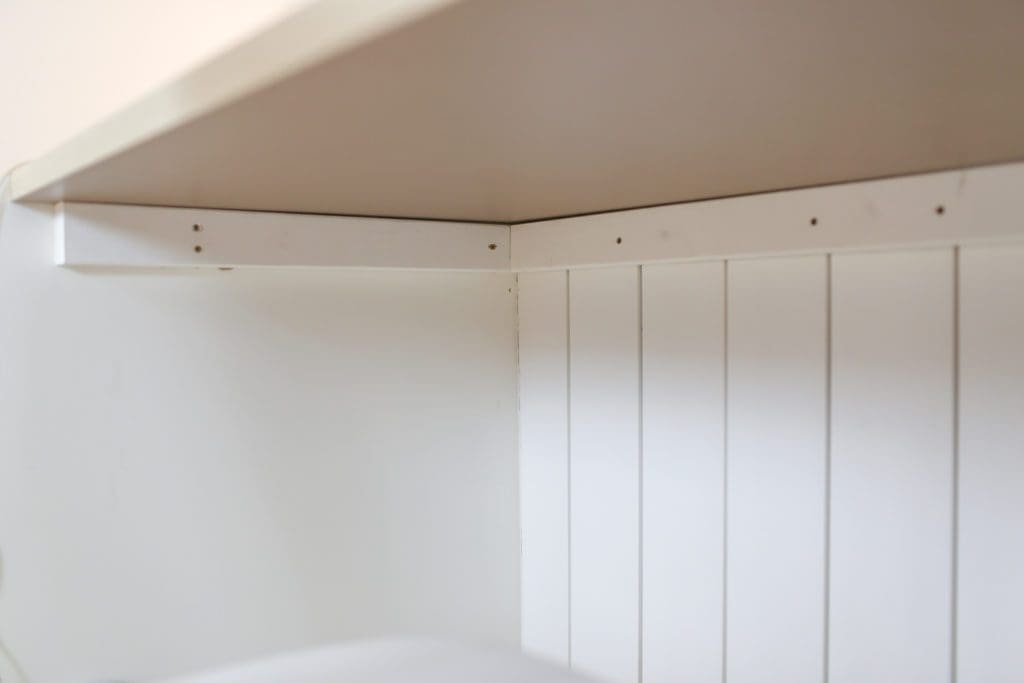
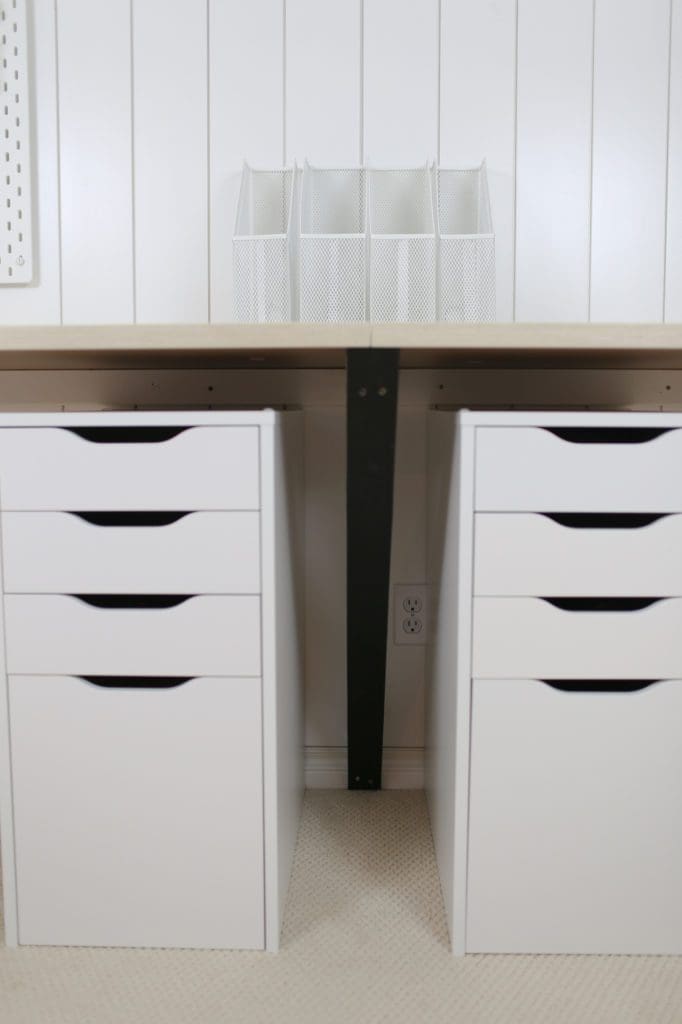
The space is about 11 ft wide so we had to use two countertop pieces and cut them down to size. We put the cut ends against the wall so that the finished, uncut edges would make a clean line/join in the centre. We added a support bracket in the middle to help hold the weight, and rested the pieces on 1 x 2 supports fastened to the walls underneath.
Peg Boards
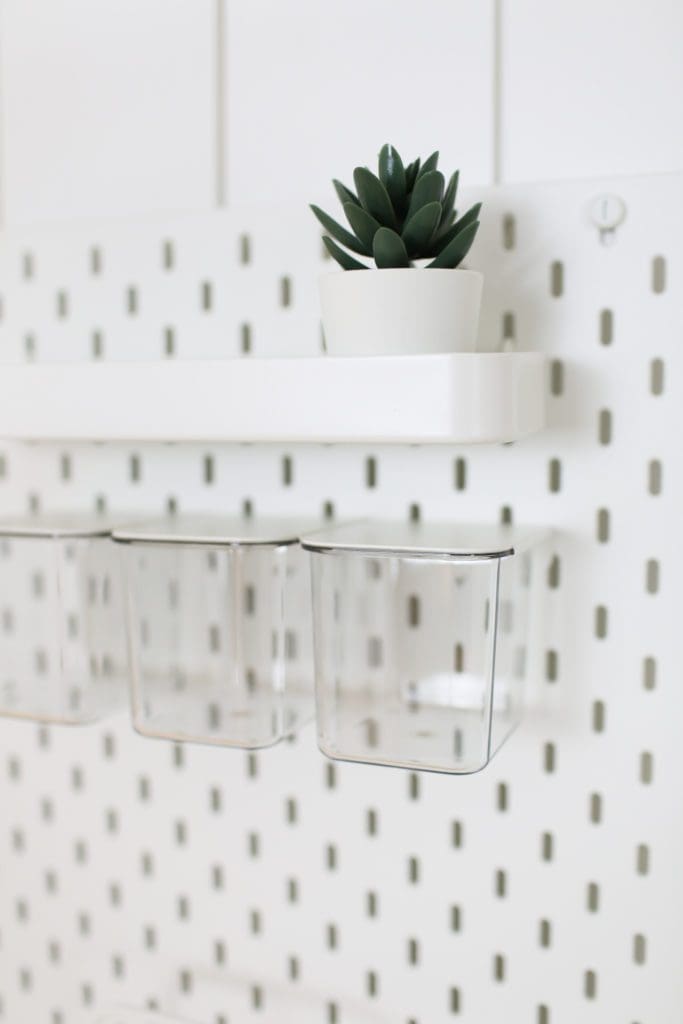
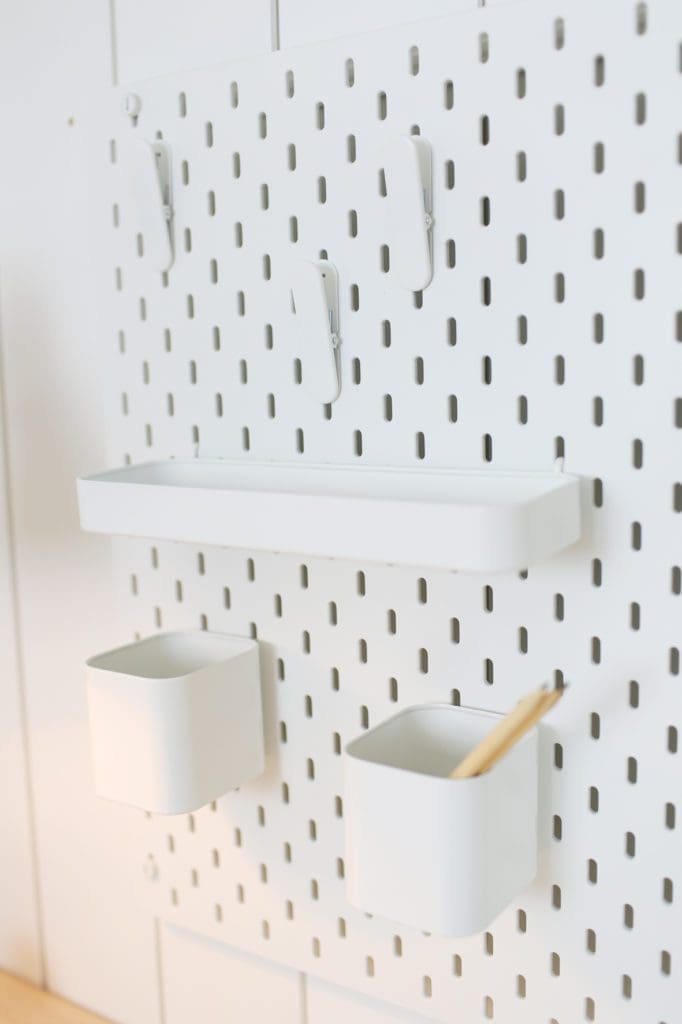
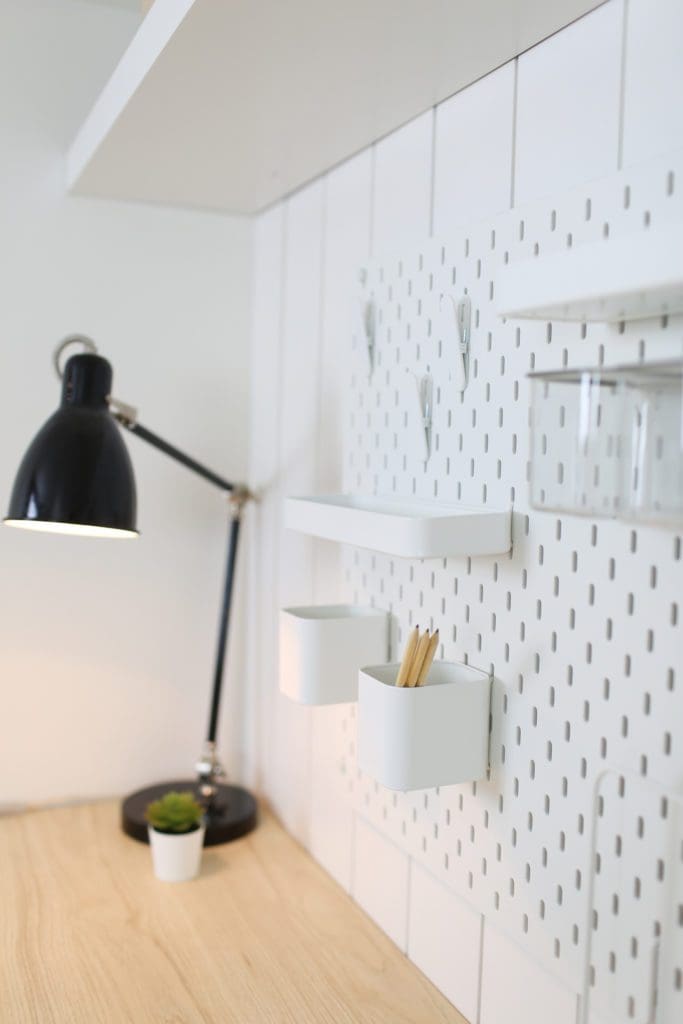
Each station is exactly the same (because… siblings) with a SKADIS peg board. I love the SKADIS system. It has so many fun options to add to the pegboards to store pens, papers etc…You can move the accessories easily as well, which is nice since my girls love to organize things! There are even little clips to hang their artwork or current math or spelling words.
Office Drawer Units/ Filing Cabinets
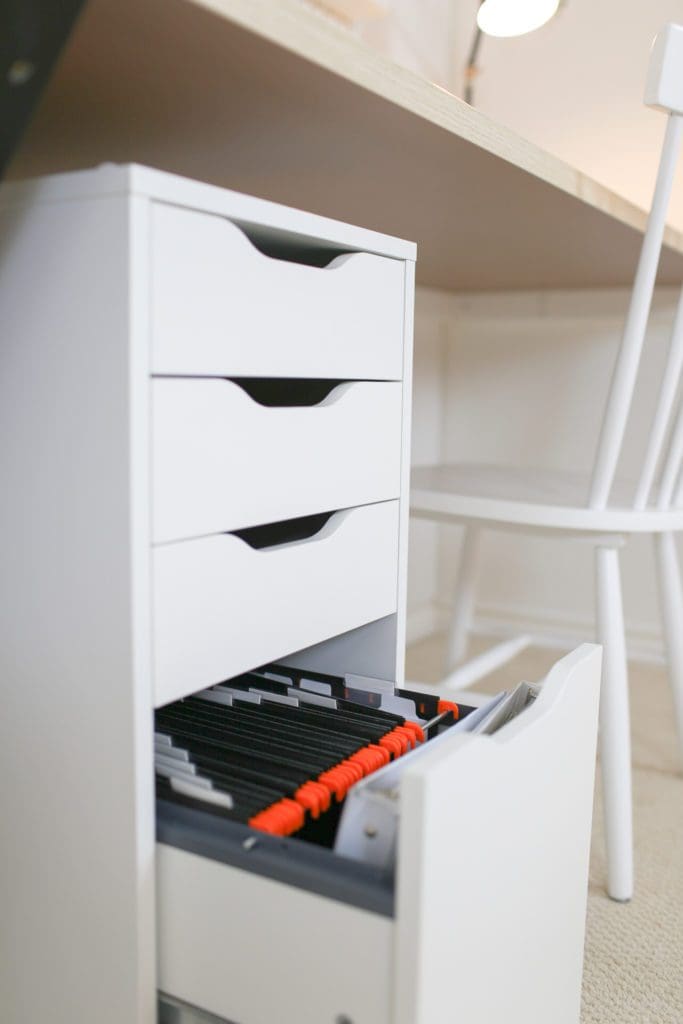
The ALEX drawer units have their own built in filing drawer, which is perfect for storing art projects, report cards or anything else we want to save over the school year.
Floating Shelves
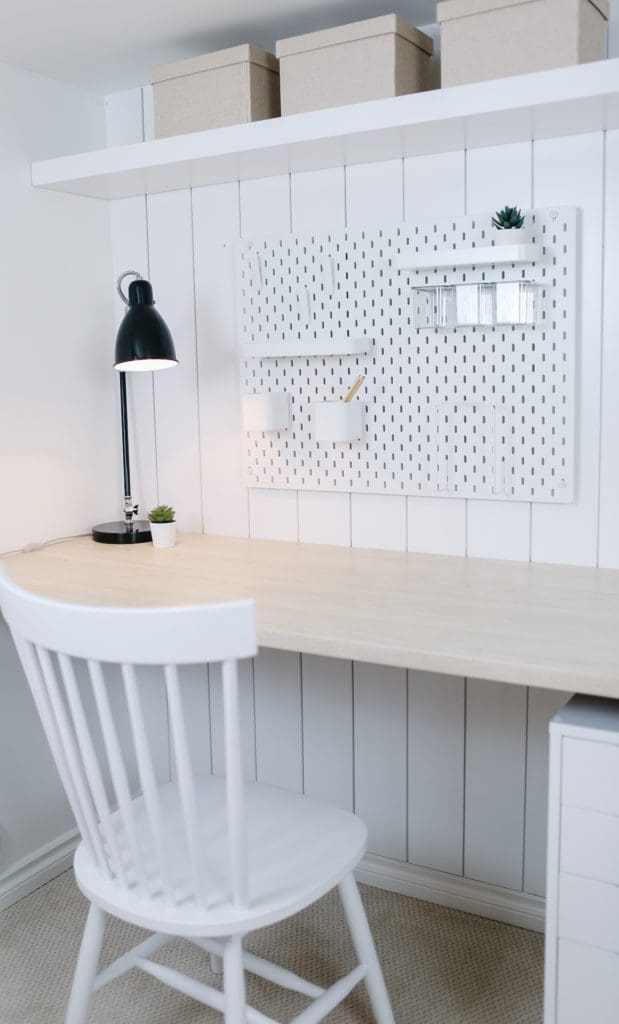
We added some white LACK floating shelves from Ikea for extra storage above each desk. We did the same thing that we did with the counter and used 2 shelves cut down to fit the length. They come with hardware that attaches to the wall to mount them without brackets.
Lighting
We were going to add built-in wall sconces and decided that we would just keep it simple and use traditional desk lamps! These were actually in our bedroom before, but they work much better in this space! I love when you can shop your home and save money!!
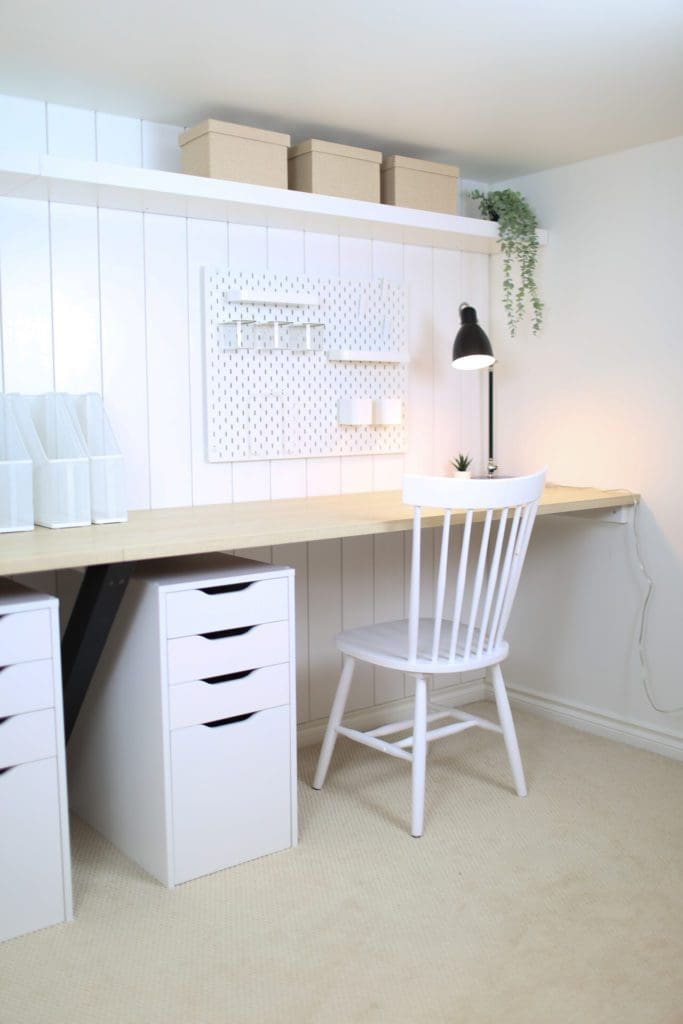
This DIY homework station was quick, easy and didn’t break the bank. But it’s made a huge difference in how we use this space…aka we actually use it now!!
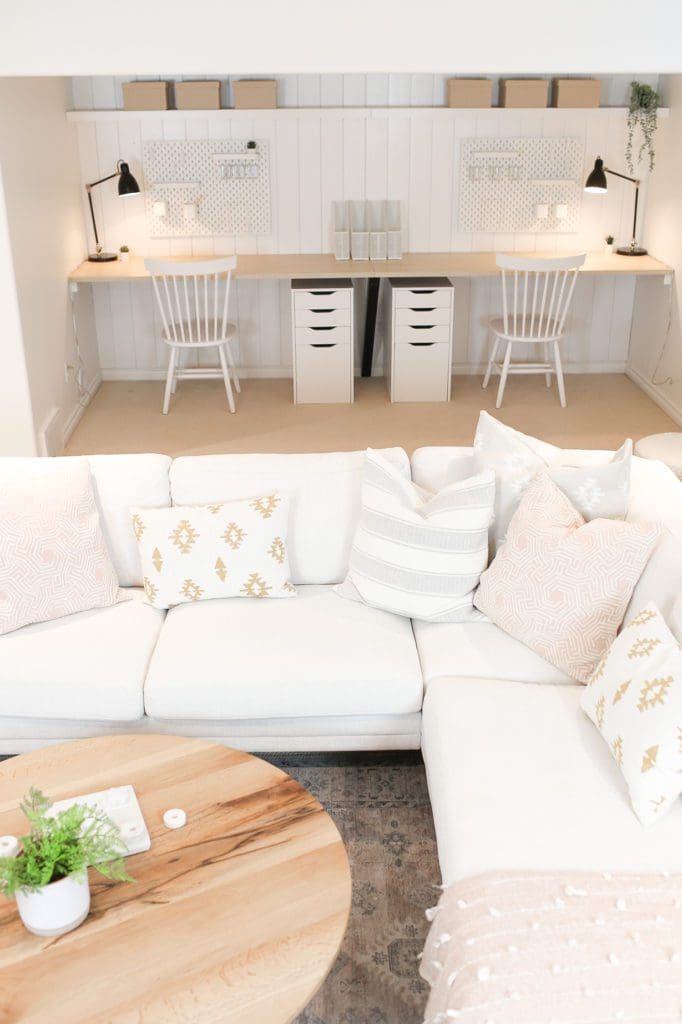
I hope this DIY homework station gives you some inspiration for using an overlooked space in your own home! You can add function to pretty much every inch of space, no matter how awkward with a little creative thinking!
MORE GOOD READS:
Leave a Reply Cancel reply
This site uses Akismet to reduce spam. Learn how your comment data is processed.
learn more...
shop favourites
HOME interior
HOME EXTERIOR
AMANDA's style
fall
WINTER
I'm Amanda and I’m passionate about creating a well loved and well lived in home for my family and I'd love to help you do the same!
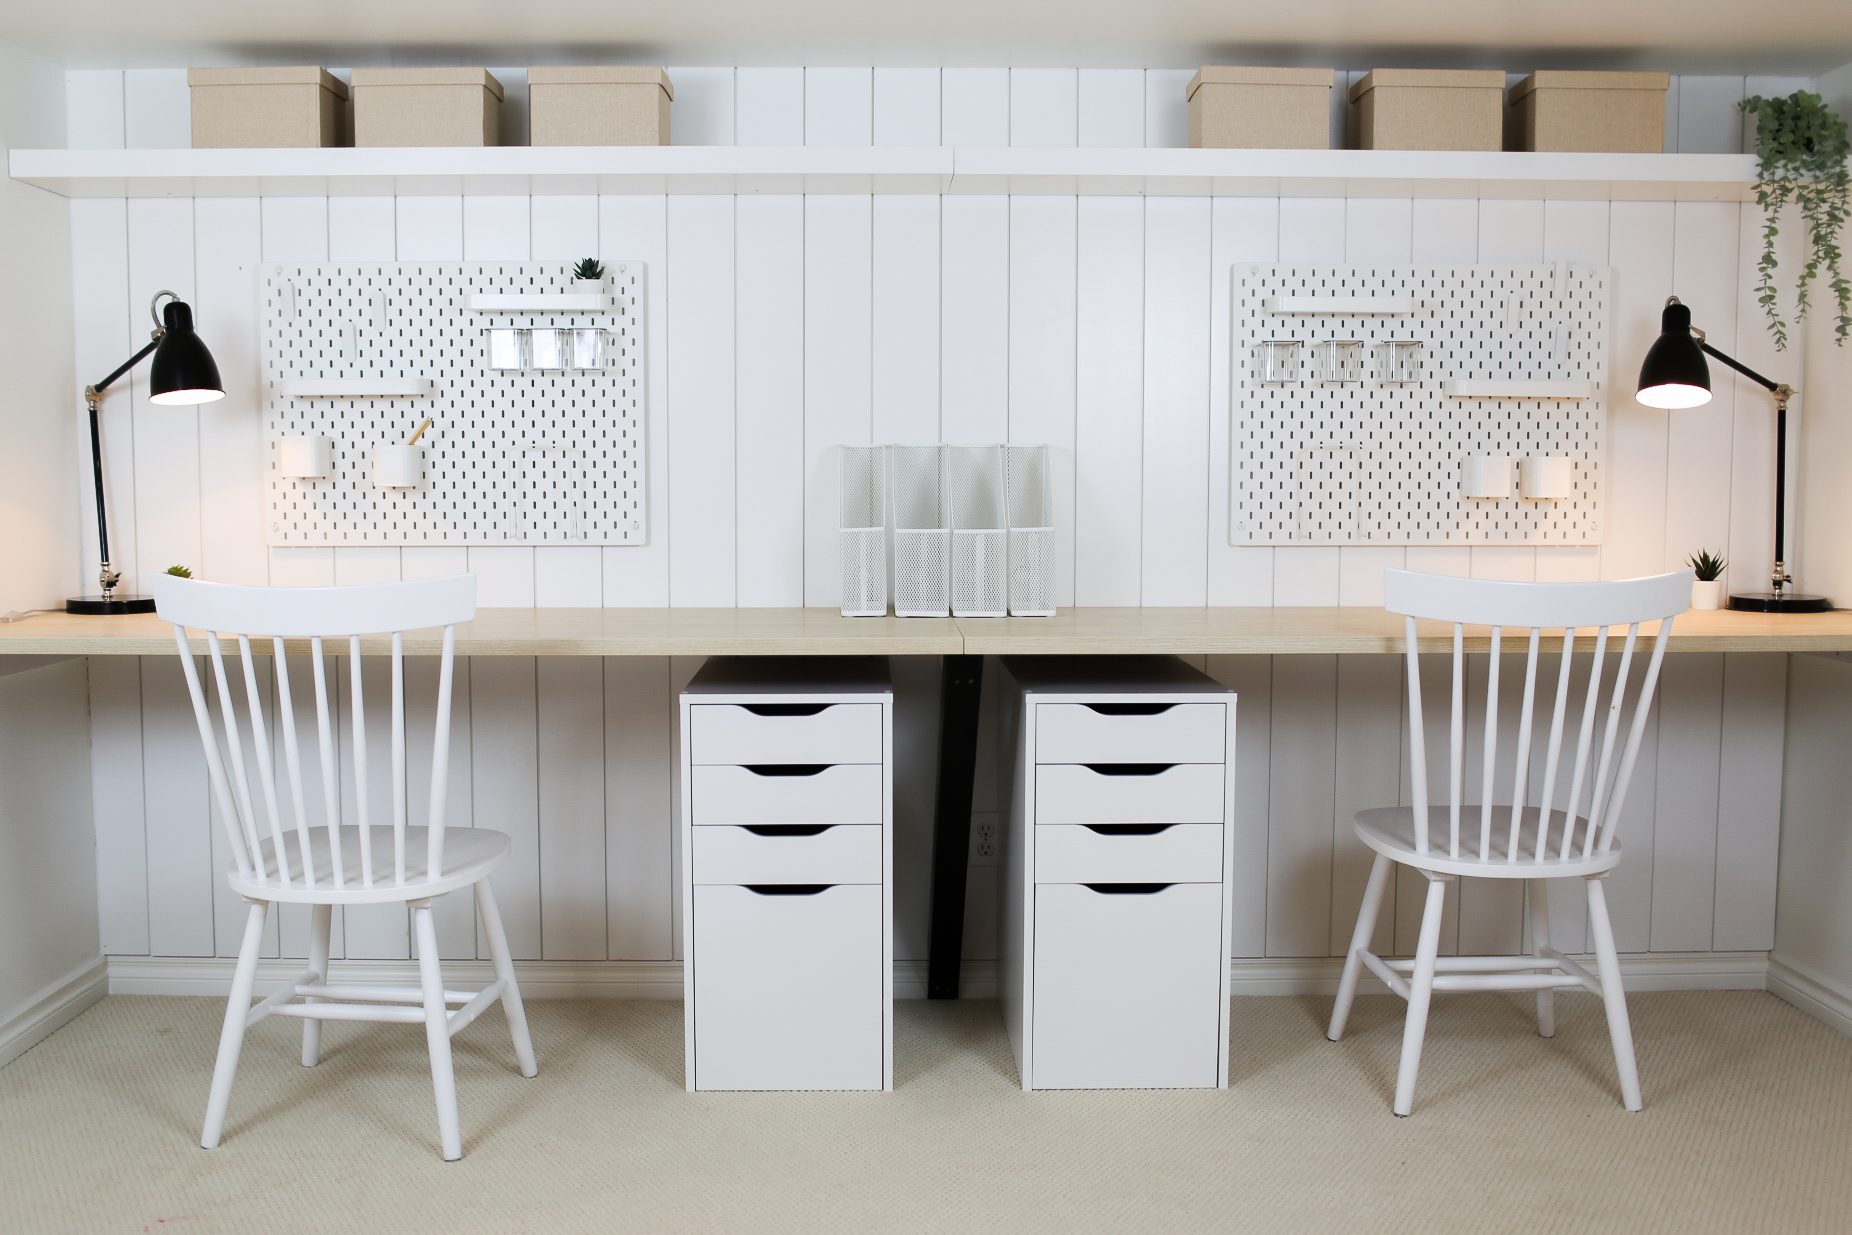
Hey there! Love this — we’re doing something similar in our basement thanks to your inspiration! Just wondering, what type of bracket did you use for the middle? We only have a wall on one side so we’ll need a bracket for the middle and one for the other end too. Love the triangle look of yours cuz it seems sturdy and adds to the style.