I'm Amanda and I’m passionate about creating a well loved and well lived in home for my family and I I'd love to help you do the same!
learn more...
hey there!
Shop
Shop
Shop
HOME
style
spring
let's connect
get on the list
never miss out.
get exclusive tips, news & free resources!
Enroll Now!
shop ART
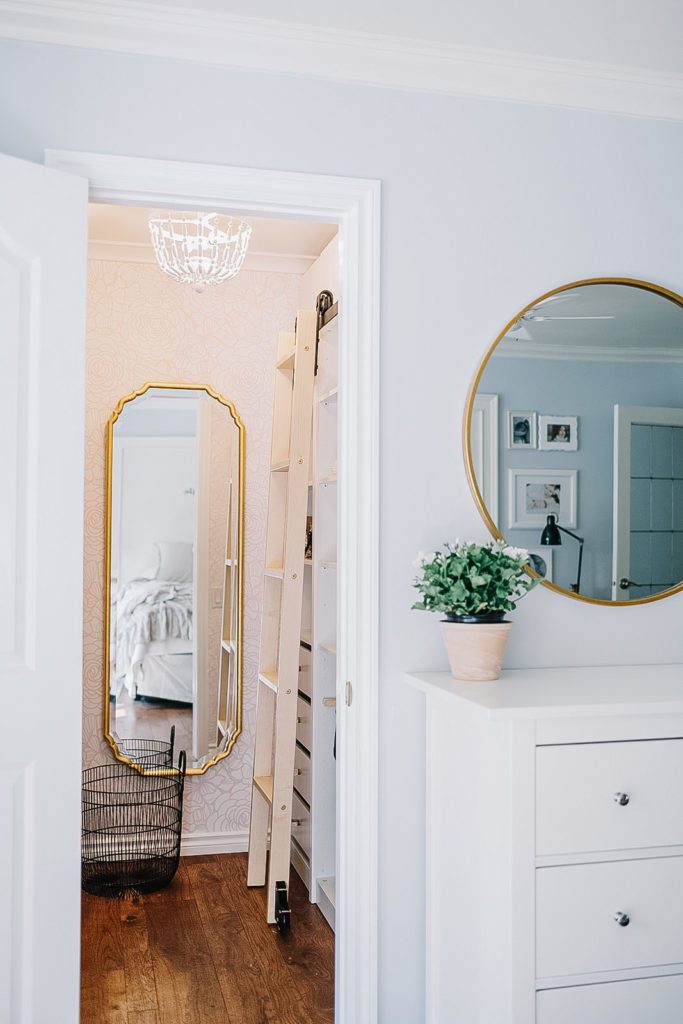
I love rolling library ladders! My initial love stemmed from watching the Disney movie “Beauty and the Beast”. I loved the library ladder in the bookshop that Belle rolled so gracefully across the room on! I knew I wanted a rolling ladder somewhere in the house. In the end, we decided to put one in the master closet! Keep reading for a full DIY rolling library ladder tutorial!
Estimated reading time: 11 minutes
Note: This post may contain affiliate links that won’t change your price but may share some commission.
Table of Contents
The Plan
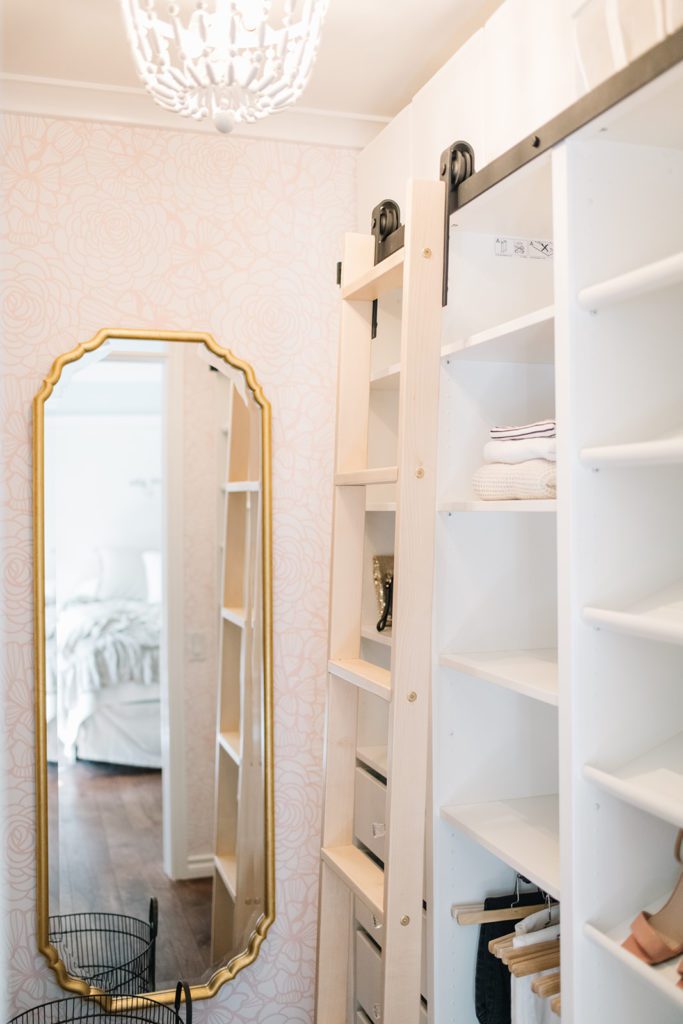
When we renovated our master closet we created custom built-ins using the Ikea PAX wardrobe system. (To see all the master closet makeover details check out DIY Custom Closet on a Budget). It’s a fairly small space and a rolling ladder allows me to reach the high shelves without having a stool or stepladder taking up valuable floor space!
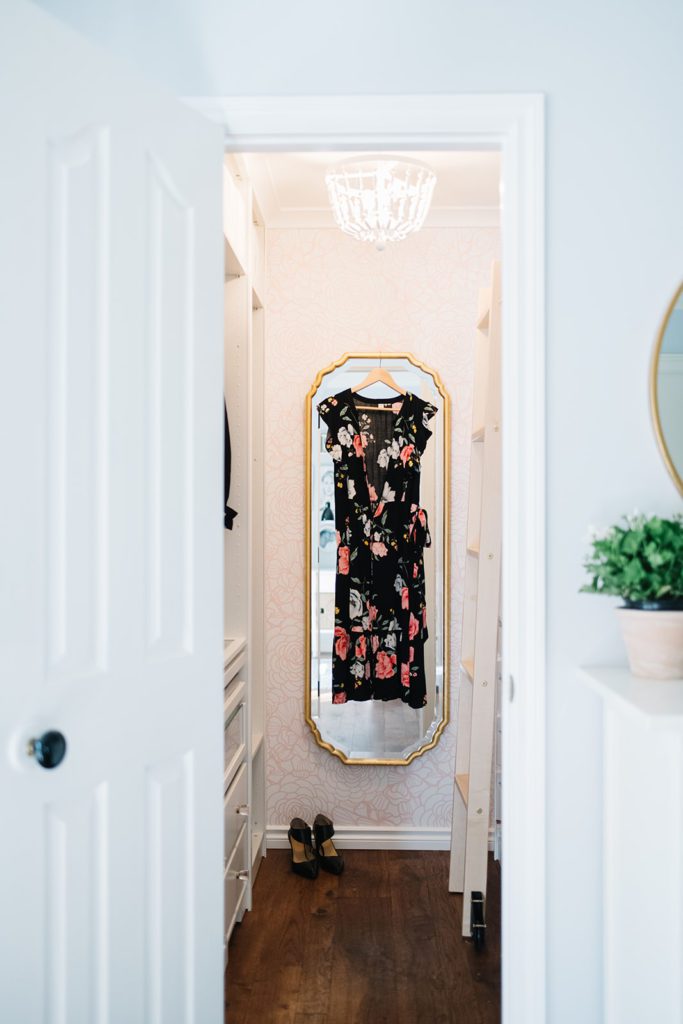
There are rolling library ladder kits available online that come with a track, mounting hardware, wheels and ladder. However, most of the kits include ladders that are too large or the angle is wrong and they are super expensive! So we knew that for our small master closet we were going to have to get creative and build our own! We needed a track that was only 5 ft long and a petite ladder that would fit the space. I also wanted a pretty blonde wood!
The Hardware
Instead of using rolling library ladder hardware we bought a barn door hardware kit! I found one with a track that was 60″ long. This track fit perfectly into the space without having to cut it!
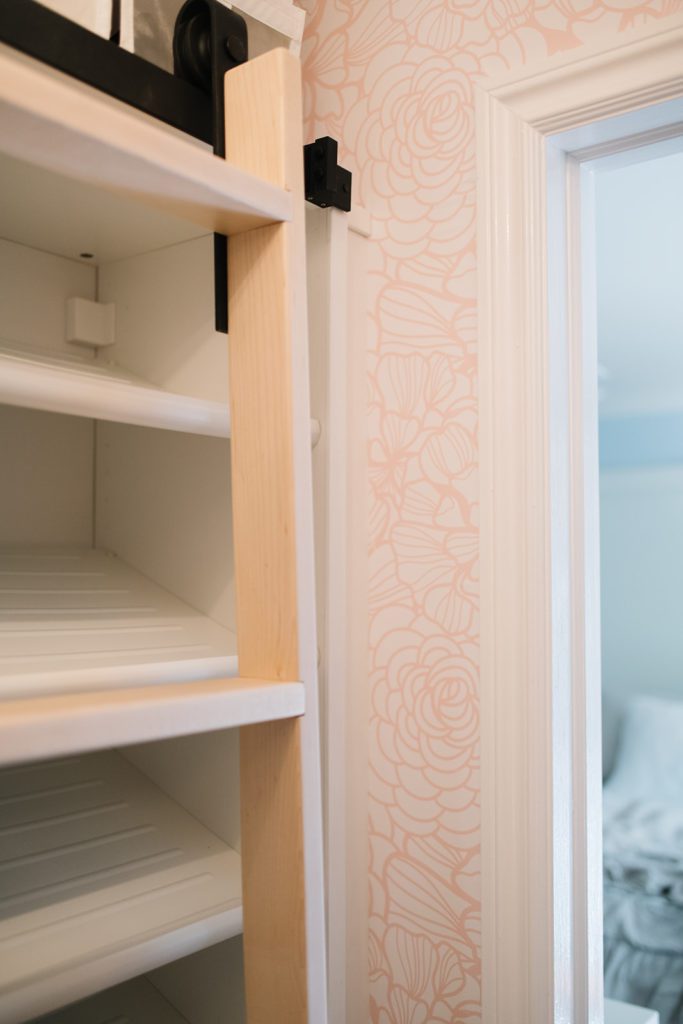
The barn door kit allowed us to mount the ladder in a more vertical position so that it didn’t protrude out into the small amount of floor space!
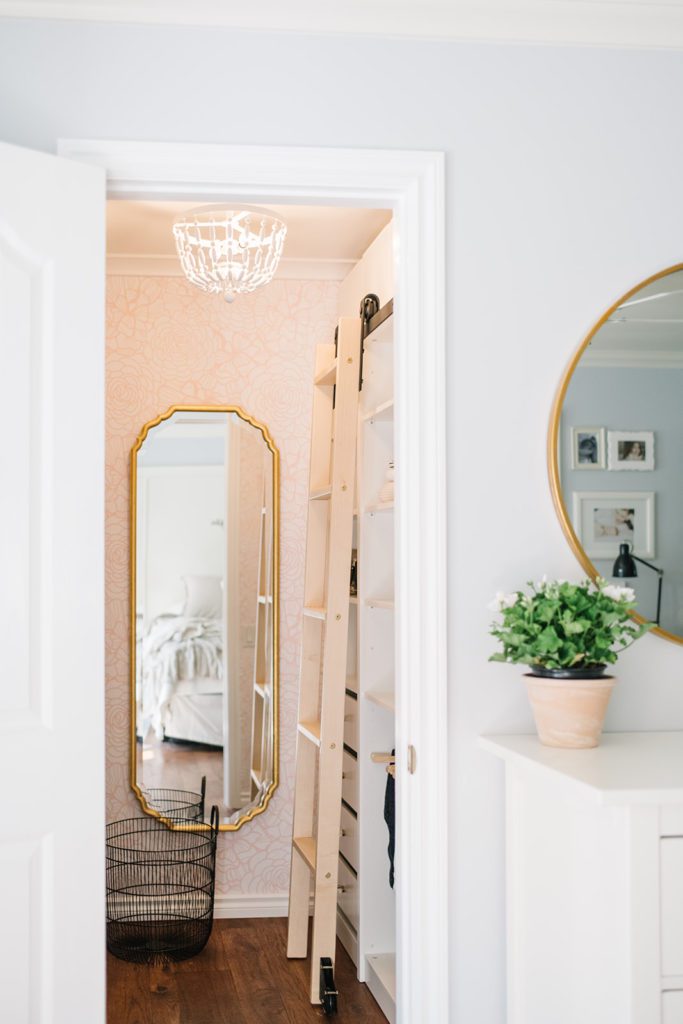
We bought a rolling ladder kit from Amazon and used the wheels that came with the kit. They were almost impossible to find separately! (We sold the track that came with them!)
The Wood
We splurged a bit on the wood! Mark found gorgeous solid maple wood in 3 1/2″x 5/4″ pieces. And yes, that says 5/4″. (This type of wood is made slightly larger than 1″ so that when it’s cut down its finished size is 1″)!
We ended up with pieces that were 1″ x 2 1/2″ after Mark cut them down to the size we wanted. We found this wood at Windsor Plywood here in Edmonton, AB.
DIY Rolling Ladder Tutorial
Here’s how we made this simple, petite ladder to fit our small space!
Supply List
- Wood – 3 x 8′ lengths of (3 1/2″ x 5/4″) maple or wood of choice and scrap wood to make a jig for the notches in the side rails.
- Level & pencil
- Mitre saw to cut lengths of wood
- Tablesaw if you need to make rip cuts (to make thinner pieces)
Check out this video if you need more information on using a table saw.
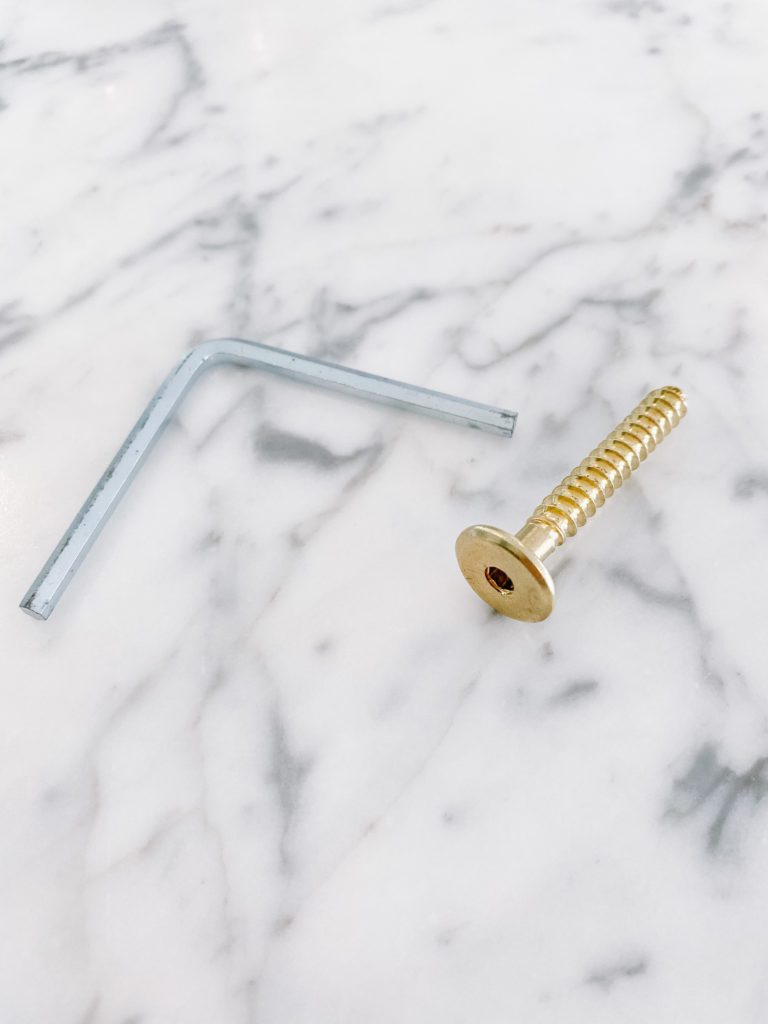
- Flat 5/8″ Allen head Lag bolts, 2″ length (look prettier than screws)
- Allen key
- Sandpaper – 100 Grit & 220 Grit
- Waterbased varnish & 3″ flat cut paintbrush

Ladder Build Instructions
The ladder we built is 15″ wide and 80″ tall with 13.5″ wide rungs! This petite size was just right for our small master closet, but you could scale yours to whatever size you need for your space!
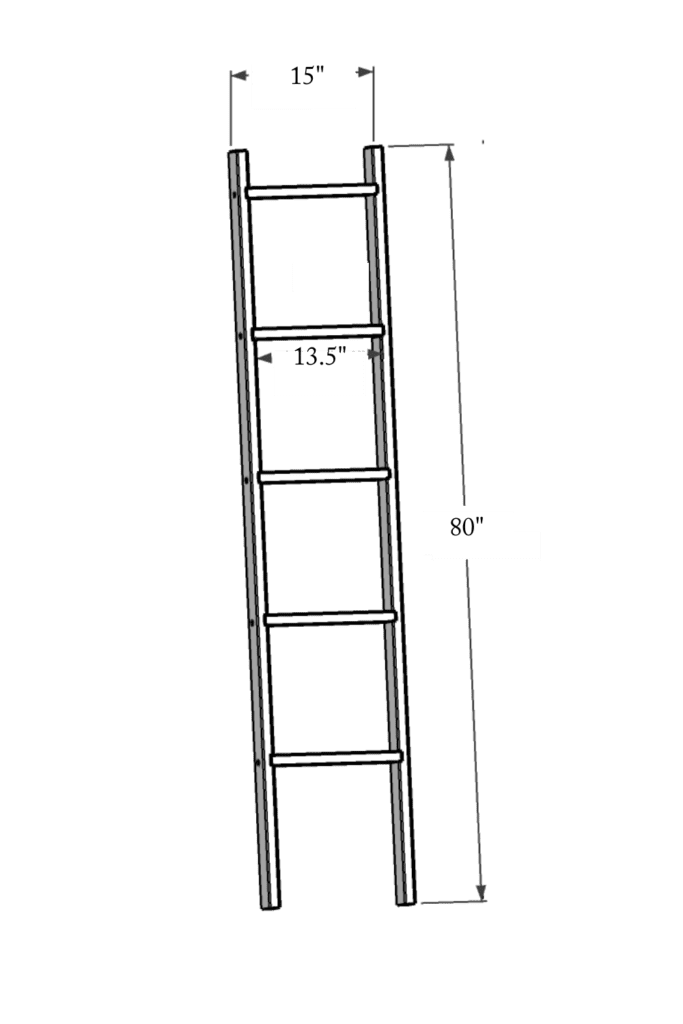
STEP 1: Cut your wood
Cut 2 x (80″H x 2 1/2″ D x 1″ W) pieces of wood to make the side rails of your ladder using a mitre saw.
Cut 5 x (13″L x 2 1/2″ D x 1″ H) pieces of wood to make your ladder rungs using a mitre saw.
For more info on using a mitre saw check out this Intro to Using a Mitre Saw video!
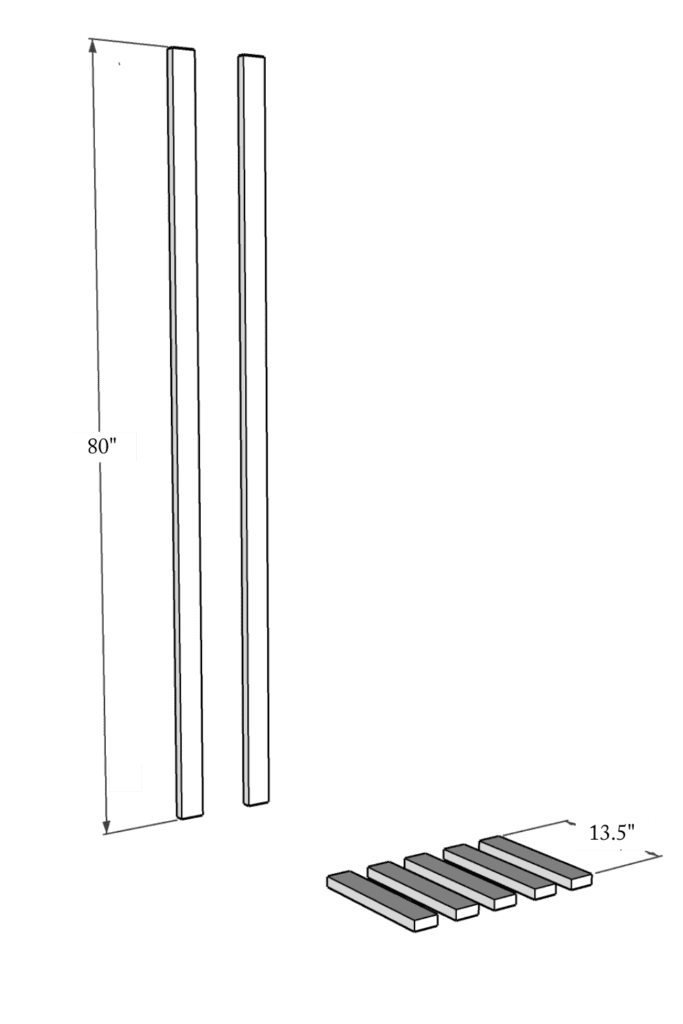
STEP 2: Mark where your ladder rungs will go
Place the ladder side rails in the space you will be installing the ladder at the angle you wish to install it. Hold up one of your ladder rungs and use a level to make sure the step will be flat.
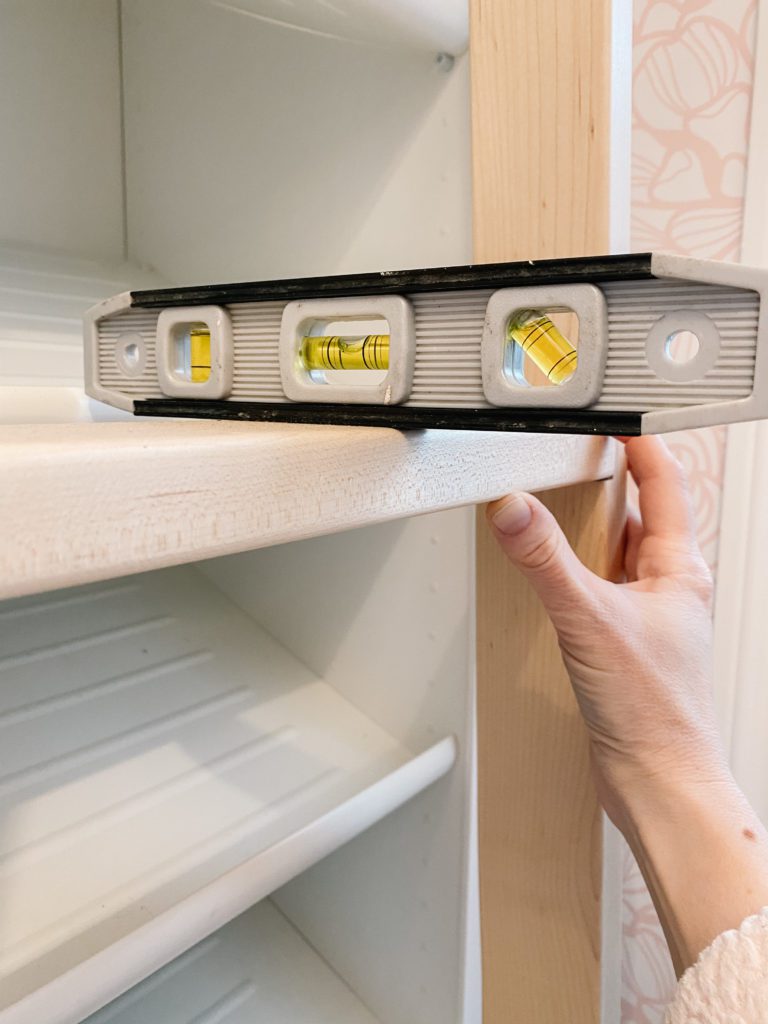
Trace the rung with a pencil to mark where to notch the side rail.
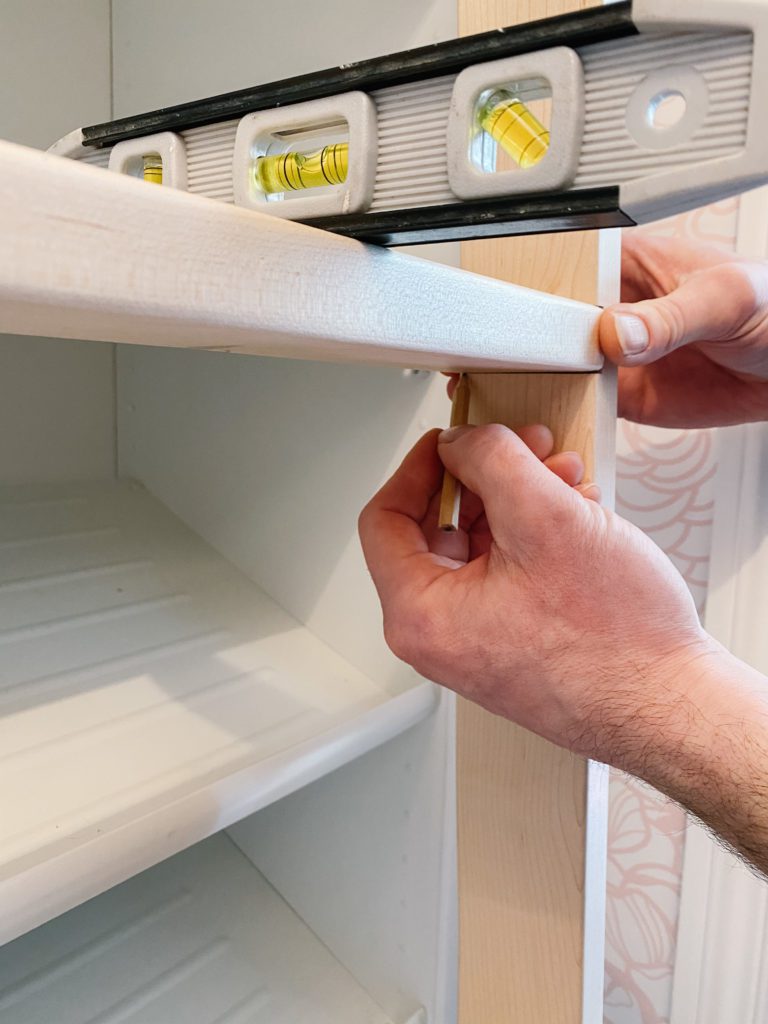
Build a jig around the lines that were drawn to allow you to reproduce the same angle for each additional rung. We used scrap wood and wood glue. Use C clamps to hold the structure until the glue dries. (We will have a tutorial on this soon if you need a little more help with this part!)
HOT TIP: You need to build 2 jigs – one for the left side rail and one for the right side rail. You can’t use the same jig for both sides!
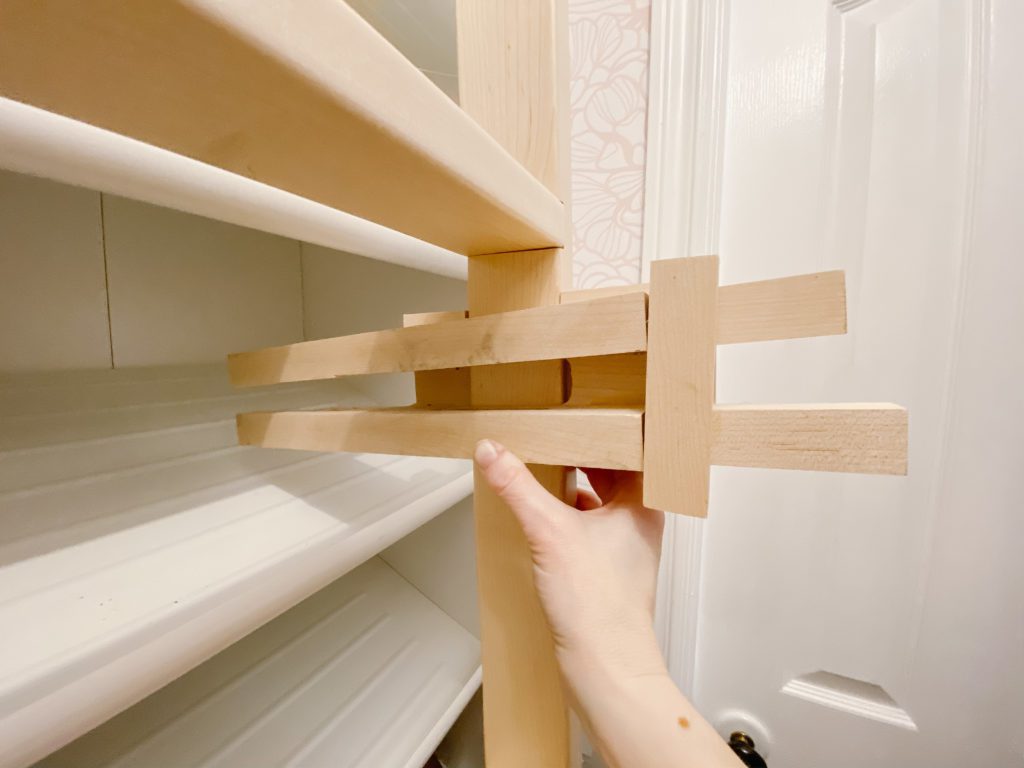
STEP 3: Router notches in the side rails
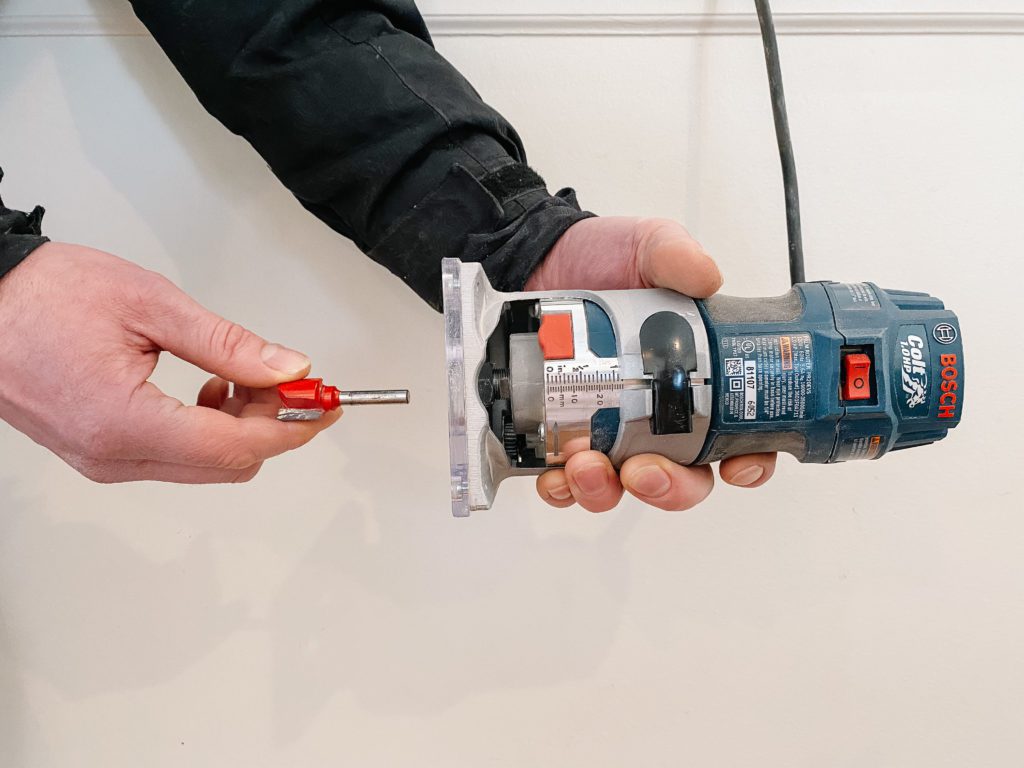
Clamp the jig you made onto the side rail and router a 1/4″ deep notch into the rail. The palm router will sit on top of the jig and you can adjust the depth of the bit.
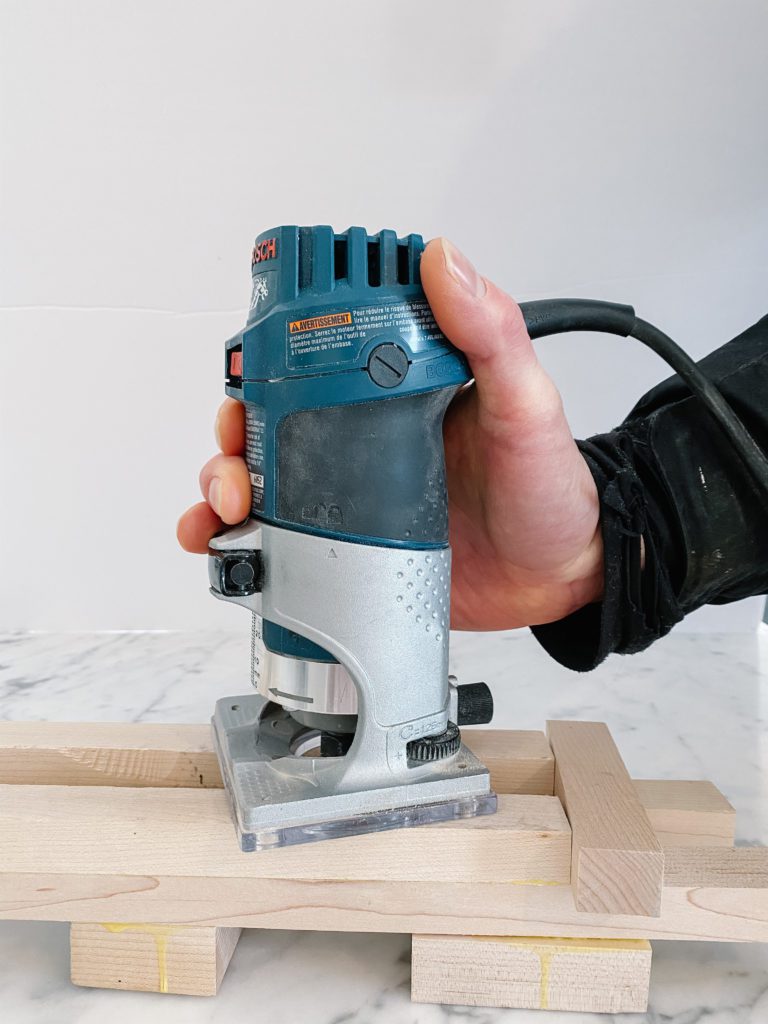
Make 5 notches on each side rail. Start at the bottom and notch every 14″.
STEP 4: Install the rungs of the ladder
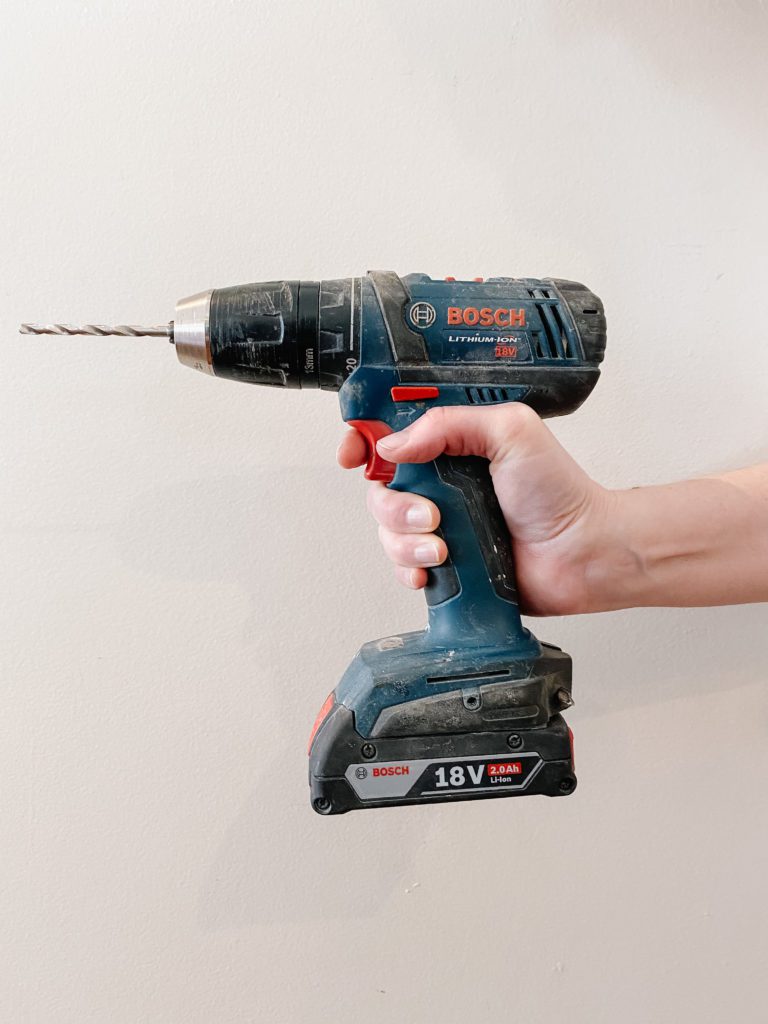
Clamp the rungs in place and drill holes through the side rails into the rungs. Use the Allen key lag screws to secure.
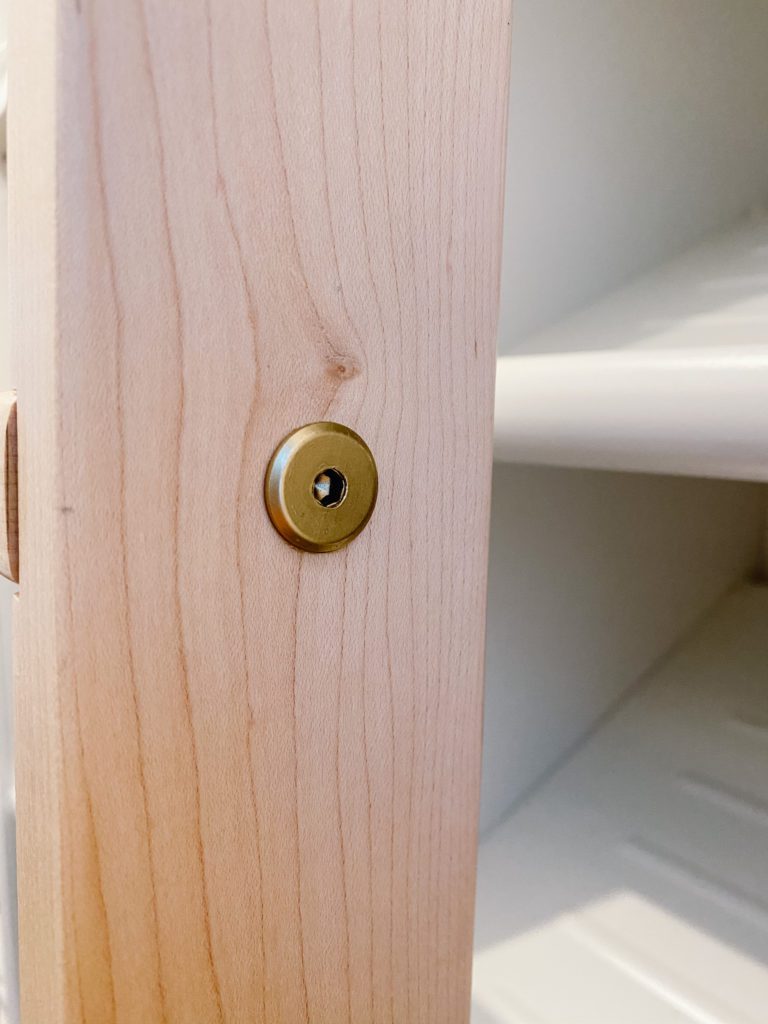
Step 5 : The Finishing Work
Now that you’ve put it all together, take it all apart lol! Disassemble the pieces and sand down any rough spots with 100 grit sandpaper. Round the edges of each component just slightly for a nice smooth finish. Then sand it all again with the finer 220 grit sandpaper until it’s buttery smooth!
Next, seal with the clear waterbased varnish. Apply 2 or 3 coats as per the instructions on the product. NOW you can put it back together again!!
Rolling Ladder Installation
We mounted the track directly onto the front of the Ikea cabinets at the top using the lag bolts that came with the track.
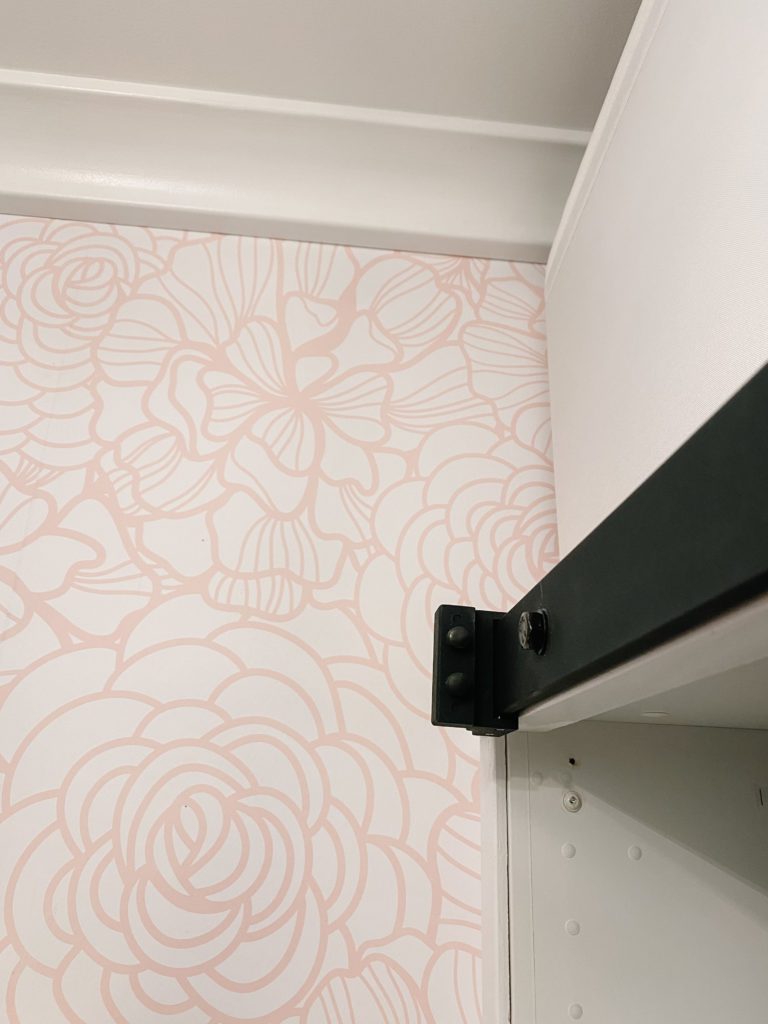
We used a 7/16″ drill bit to predrill holes into the top of the cabinets and then secured the rail to the cabinets.
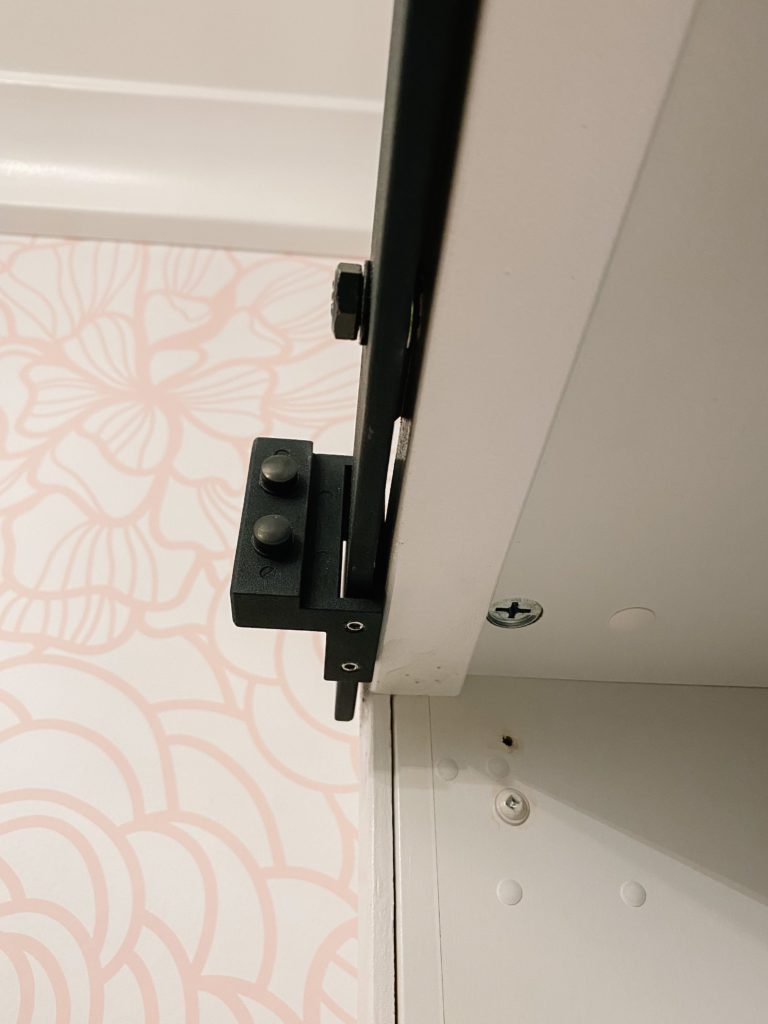
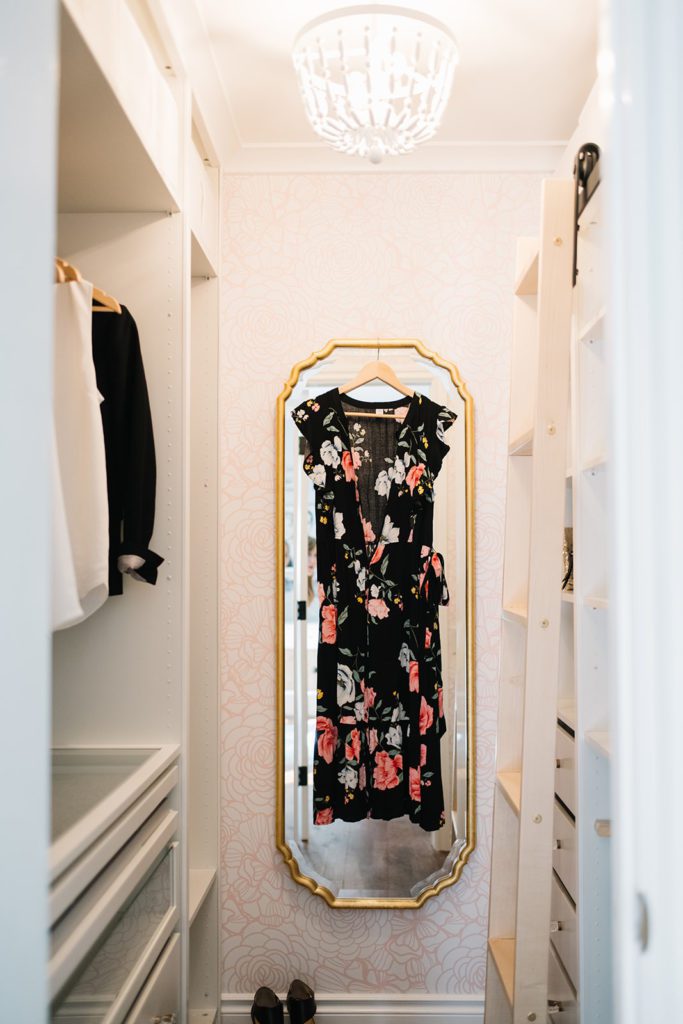
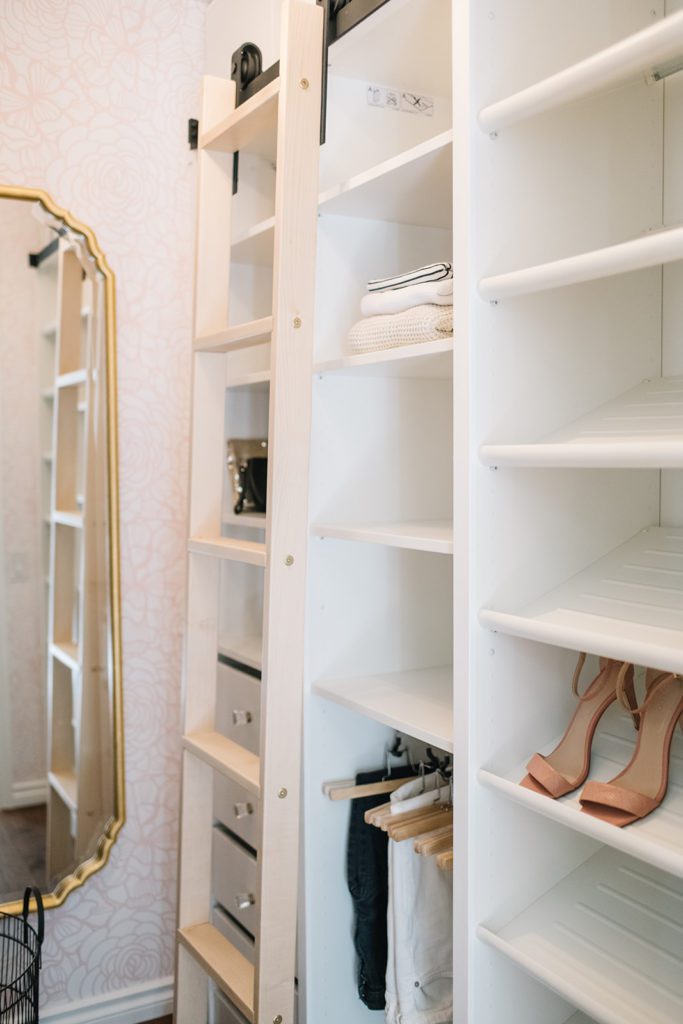
By installing the ladder more vertically than is typical, we were able to save floor space in the closet. A typical rolling ladder would have extended into the middle of the closet at the base.
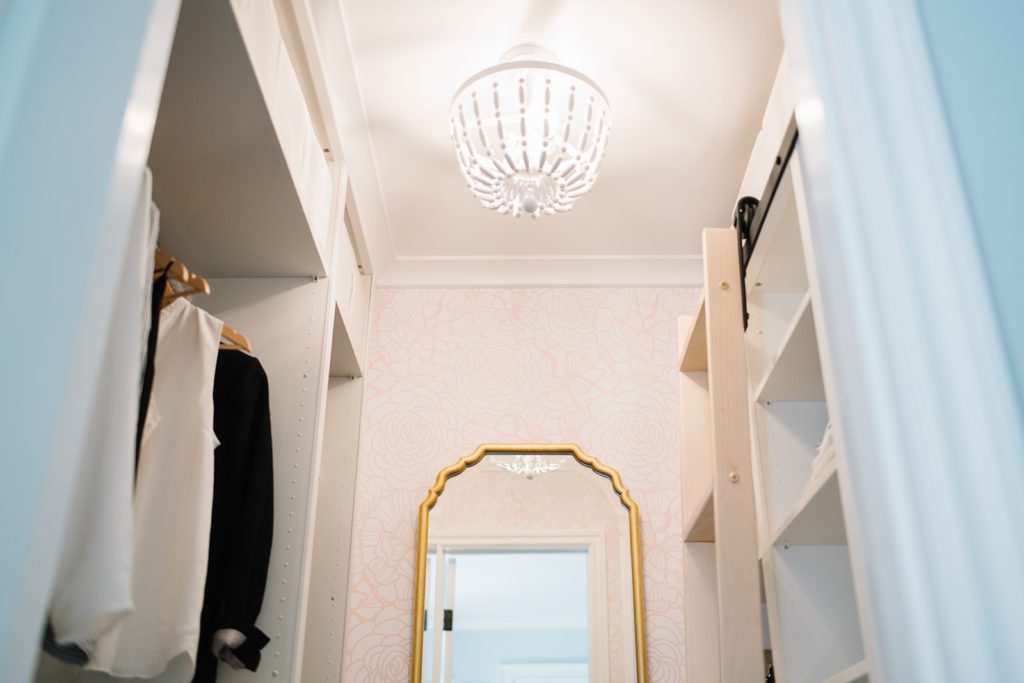
A con of installing the ladder vertically like this is that it does make it harder to climb! I only need to step on the first rung of the ladder to reach the top shelf so this wasn’t an issue for me! But something to keep in mind if you need to actually climb up higher!
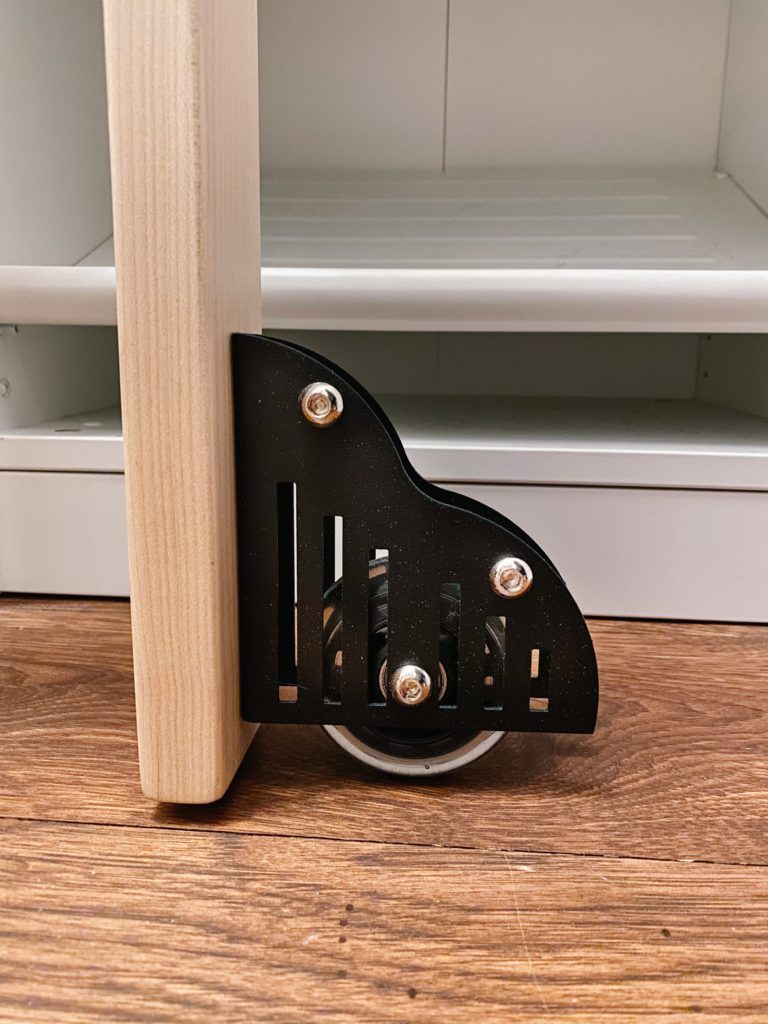
Next, we attached the back of the ladder to the track hardware using the supplied bolts. The roller wheels have enough flexibility to allow the ladder to sit at a slight angle as designed.
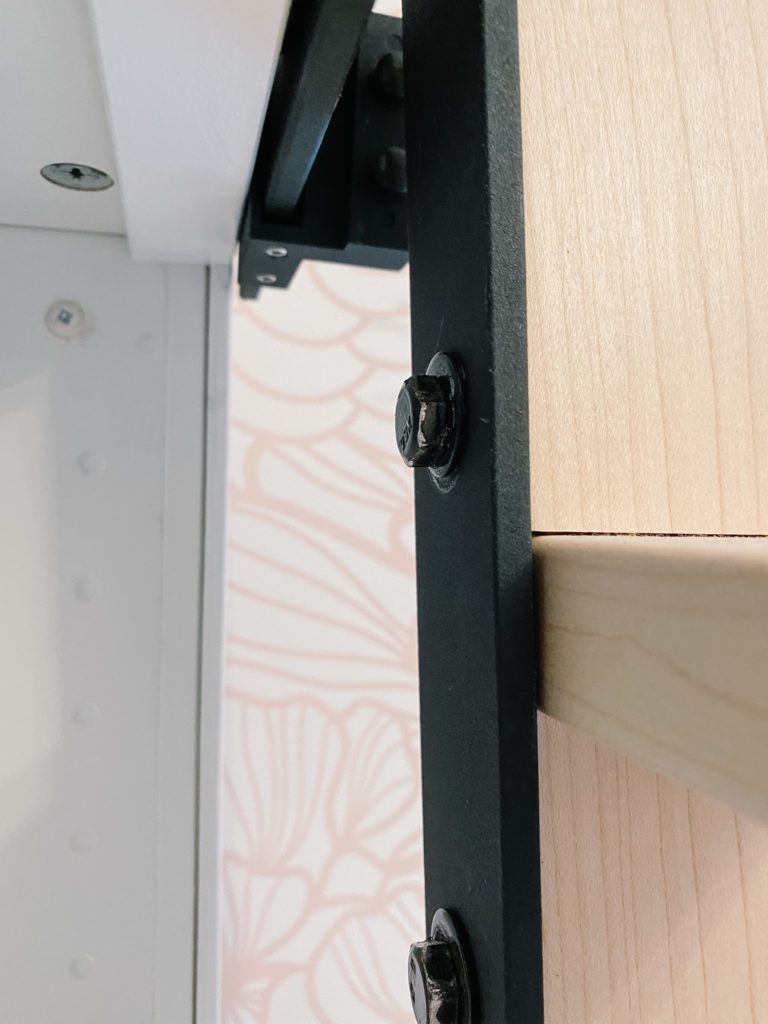
We attached the wheels to the outsides of the side rails. Make sure they are installed vertically to the floor to allow them to roll properly.
See The Finished Product
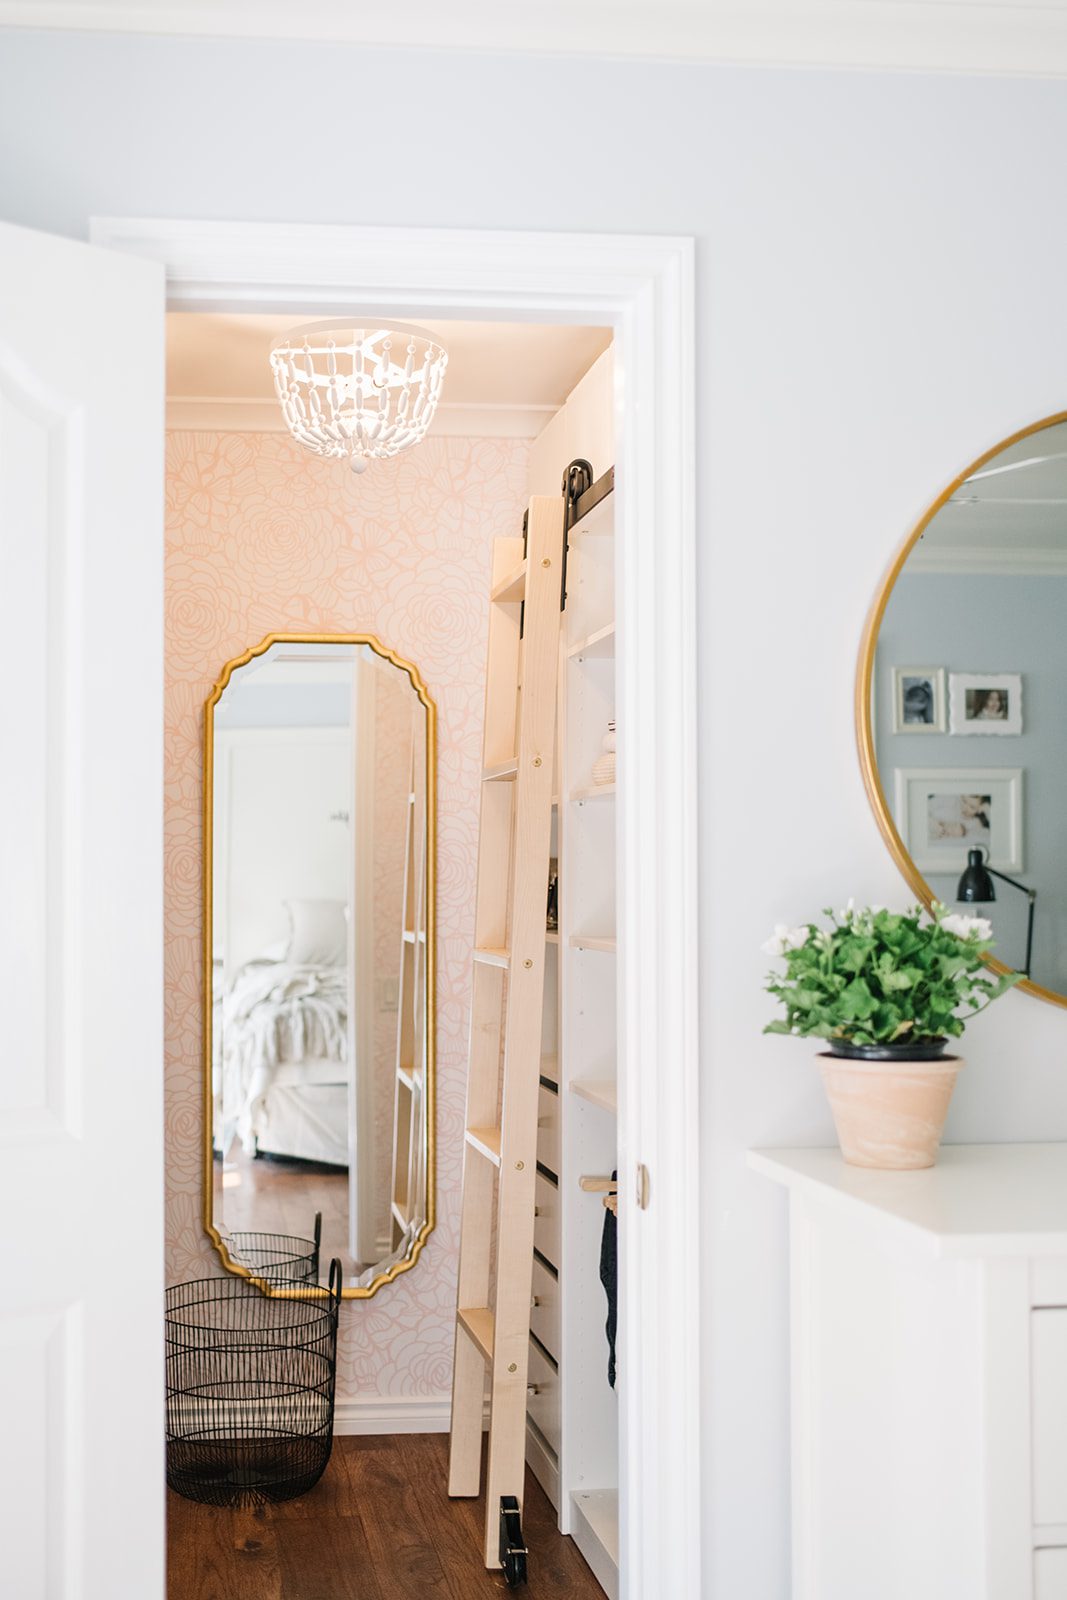
I’m so happy that my dreams of having a rolling library ladder have come true! We definitely had to get creative to make it happen. I hope this DIY rolling library ladder tutorial will inspire you to install a rolling ladder somewhere in your home too! Maybe there’s a space in your home that this petite version might just fit! Any questions? Just leave a comment at the end of this post!
For more DIY ideas from some talented bloggers check out:

You may also enjoy:
Leave a Reply Cancel reply
This site uses Akismet to reduce spam. Learn how your comment data is processed.
learn more...
shop favourites
HOME interior
HOME EXTERIOR
AMANDA's style
fall
WINTER
I'm Amanda and I’m passionate about creating a well loved and well lived in home for my family and I'd love to help you do the same!
Amanda this is amazing! I love rolling ladders!
Thanks Jackie! Me too!!!
This is AMAZING!! What a neat DIY project! Love it!
Thanks Andrea! So happy with this one!!
[…] This is such a beautiful + brilliant solution for reaching those top shelves! […]
Thanks so much!!
I love this!! I bought a sliding barn door hardware kit as well for my ladder that I am planning on placing in the living room. We have vaulted ceiling ledges that I am making into a bookcase. I don’t plan to use the ladder (just for looks) and was worried about the ladder angle. Any other tips on making sure the ladder isn’t completely flush with the wall when installing??
Oh that’s awesome! It will look so good! We literally just held the side pieces up to the wall at the angle we wanted and then drew lines where we wanted the ladder rungs at that angle! The hardware has enough flexibility in it that we were able to place the ladder just a couple of inches out on the bottom. And we marked the holes to drill and attach to the hardware as it was sitting at an angle too. Not very technical, but it worked!!
This is great! We are building a home in Costa Rica at the moment and already designed in a rolling ladder for our pantry (same feeling about library ladders here!). This solves a lot of challenges with the exception of how to make it roll around a track rather than just on a flat track (which may be more technical than I want to go…). One added suggestion would be to rip a header board with a slight angle which would allow you to attach the track with an angle and be able to better control the placement of the ladder feet. Going to have to test that out…
that’s a great idea! we didn’t need the ladder feet out further since this was such a narrow space, but I agree that would usually be helpful!
Love this!! Do you have any issue with the ladder falling off the upper wheels?
Not really…it does come off if I lift it or it gets bumped, but I haven’t really had an issue with it!